


3 Steps for Using a Jigsaw
Contents
– Before using a jigsaw
– Step 1: Choose your jigsaw blades
– Step 2: Prepare your workpiece
– Step 3: Cutting your workpiece
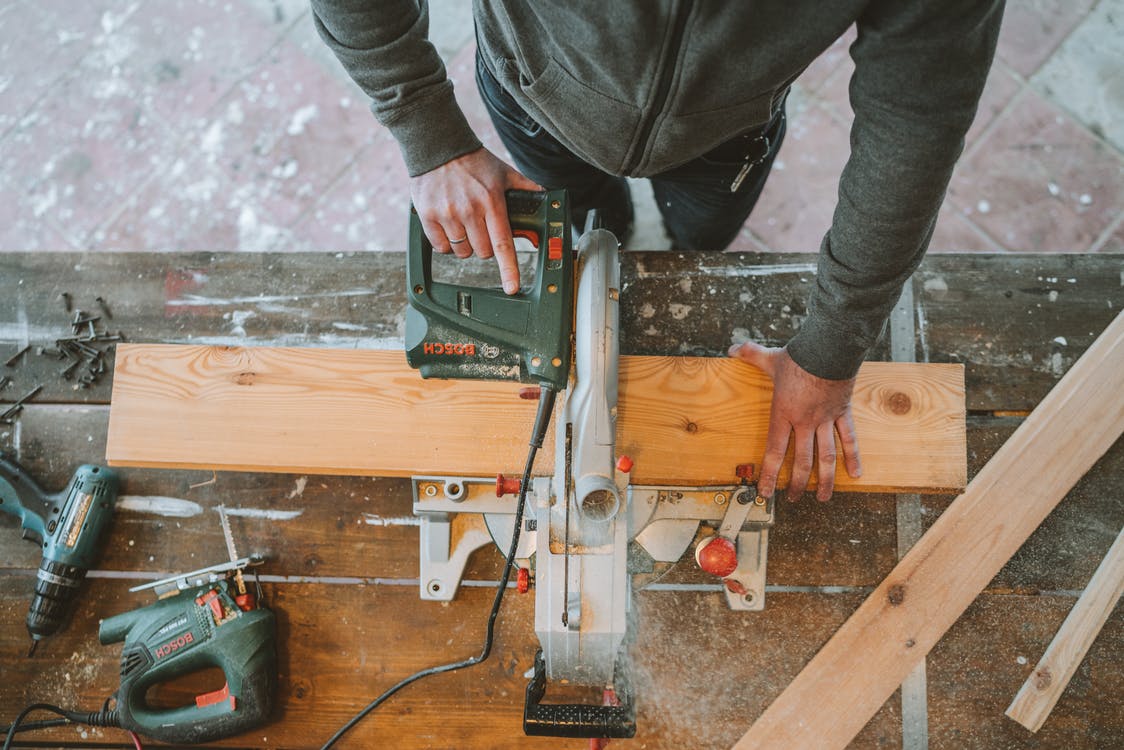
The jigsaw is one of the most commonly used saws in the DIY world.
This electric saw can cut wood, MDF (medium density fiberboard), metal, PVC… The choice of blades must be adapted to each material.
The jigsaw is a very affordable tool and is an integral part of any good handyman’s toolbox.
Here are our tips for using a jigsaw.
Before using a jigsaw
A jigsaw can release wood dust, so you should protect the furniture and the floor of the room you are working in with tarps.
In addition, this will allow you, once the sawing is finished, to recover the sawdust, and why not make wood pulp or use it in your garden?
It would help to also protect your eyes with goggles and your face with a mask to avoid dust projections.
Do not use a jigsaw in the presence of children, and pay close attention to the blade, especially at the end of the cut, because you can’t see it, and it’s still working.
1. Choose your jigsaw blades
The blade used with the jigsaw must match the material being sawn, or it may break during the sawing process.
Jigsaw blades wear out quickly, and a rigid material may require several blades.
When purchased, jig saws are supplied with sets of blades. These may not be sufficient, especially if the wood is very hard or thick (e.g., a worktop). In this case, it is necessary to buy suitable blades. This will be indicated on the packaging.
Tip: Not all jigsaws have the same blade attachment system. Take an old blade with you to compare and buy a suitable model.
2. Prepare your workpiece
Mark your cutting line. To do this, measure the workpiece, then mark your cut line with a felt-tip pen or mason’s pencil on the workpiece.
Before being sawn, the workpiece must be well fixed on your work support. For this, 2 solutions:
– Hold your piece in a vise or with a clamp.
– Hold it firmly by hand on a table or a board placed on a trestle.
Tip: To avoid splinters when cutting, in the case of a laminated worktop, for example, stick transparent tape on the cut line.
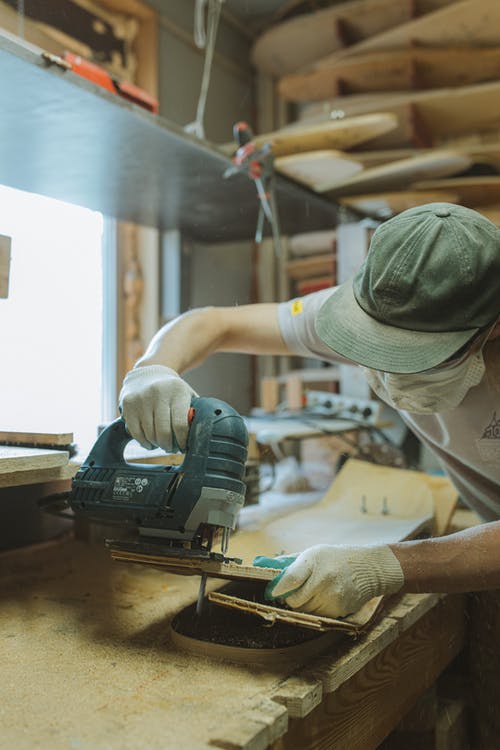
3. Cut your piece
– Place the blade in the center of the cut line.
– Start the jigsaw at minimum speed. Choose the lowest speed if you are not used to using this type of tool.
– Make a slight notch to guide the cut.
– Increase the speed.
– Cut your piece along the cut line you marked.
To cut along your line:
- Don’t look at the blade itself.
- Stand well above the jigsaw in the direction of the cut.
- Use the sight on the front of the saw to follow the cut line. You can also use a saw guide to make sure you cut straight.
Caution: the blade may be hot right after cutting.
Materials needed to use a jigsaw.
Jigsaw
Trestles
Carpenter’s pencil
Protective mask
Safety glasses
Electric extension cord
Vice
Tarp
Aluminum ruler 2 m
Clamp
Read More:
– DIY: How to Make a Wooden Crate;
– How to Clean Your Painting Equipment (Part 1);
– How to Paint With a Brush (Part 1);
– Painting With an Airless Sprayer;
– The Essential Craftsperson Tools (Part 1);
– The Tools Every Craftsperson Should Have (Part 2);