


Summary
– Step 1: Verify that it is possible to install a sink
– Step 2: Drill the sink for the faucet
– Step 3: Install your sink faucets
– Step 4: Place the sink bowl on the cabinet
– Step 5: Turn on the water supply
The sink is not a complicated item to install except when it is a sink bowl made of heavy material such as stone, which requires the intervention of a professional.
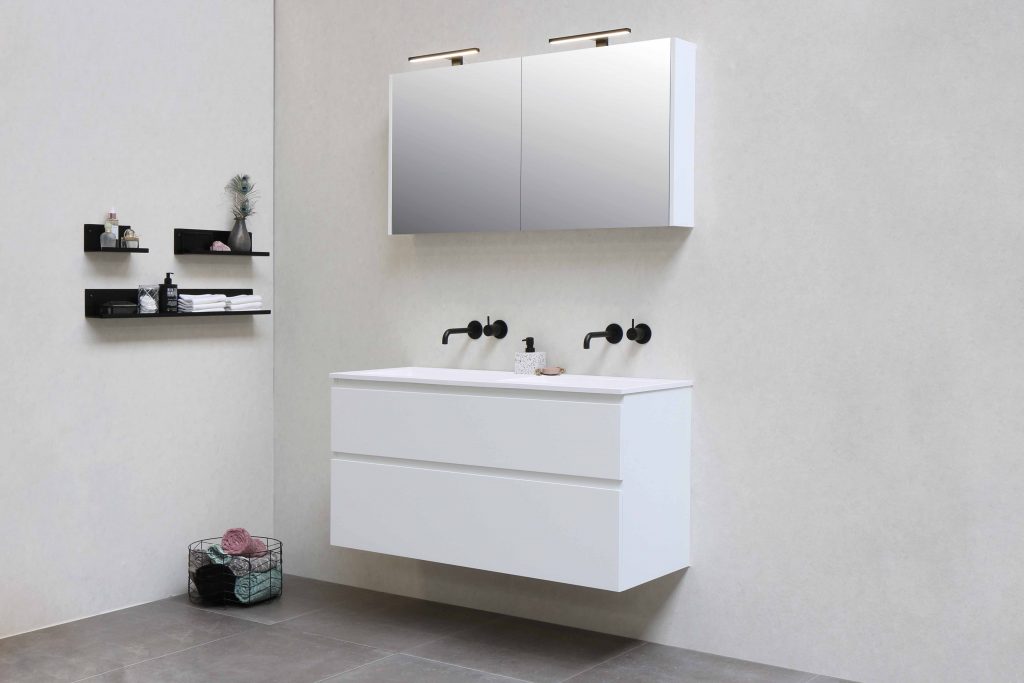
In this post, you will discover how to install a sink.
Materials needed to install a sink
| Wrench | Starting from $2 |
| Paper pencil | $0,50 |
| Lime | Starting from $5 |
| Hammer | Starting from $4 |
| Silicone putty | $6 |
| Bubble level | Starting from $4 |
| Drilling machine | Starting at $30 |
| Seal Gun | Starting at $6 |
| Adhesive tape | $1 approx. |
| Jig Saw | Starting at $30 |
| Trestle | 2 for $7 |
1. Verify that it is possible to install a sink
Before you start installing the sink, take a few precautions:
– no obstacles should interfere with the installation;
– the water supply pipes must be able to be connected to the drainage system;
– the cabinet under the sink must be perfectly straight.
2. Drill the sink for the faucet
To install a sink, you will find below the preparatory steps.
To facilitate the drilling of the sink, the strategic place is indicated with a colored marker.
Drill a large circle above the spot from the visible side of the sink:
– Preparation: Drill several small holes in a circle on the pad,
– drilling: remove the entire pre-cut pad with a hammer stroke,
– finishing: file the hole to make it homogeneous.
Good to know: ceramic or stoneware sinks must be carefully perforated to limit the risk of cracking.
3. Install the faucet fittings in your sink
The next step is the installation of the faucets and the drainage system.
Install the faucets
To install the faucet:
– Above: thread the faucet, mixer tap, pipes, and gasket (between the faucet and the top of the sink) through the hole previously drilled;
– Underneath: put a second rubber gasket on and secure the assembly with a nut.
Install the drain system
To install the exhaust system, proceed as follows:
– Screw the bung and its gasket just below the hole at the bottom of the tank;
– then screw in the siphon and overflow.
If no gasket has been supplied with the sink, apply a layer of silicone sealant.
4. Place the sink bowl on the furniture
To put a sink on a cabinet under the sink, it is better to have someone else help you. Indeed, the maneuver is precise and a sink is a heavy object:
– Put a layer of putty on the edge of the furniture;
– Once the joints are dry, place the sink on its furniture;
– Make sure the sink is perfectly stable and watertight, add mastic if necessary.
5. Connect the water supply
To connect the water supply, the tap pipes must be connected to the hot and cold water lines.
Caution: remember that, by convention, hot water is placed on the left and cold water on the right.
To connect the wastewater drain, the outlet pipe of the siphon must be attached to the drainpipe: this is located on the floor or on one of the side walls.
If you have installed a sink disposer, you will also need to consider connecting the power supply.
If you would like to find a professional to install your sink, we can put you in touch with one or more specialists in your area who will draw up a personalized estimate.