Summary
– Which brush to choose?
– Step 1: Mix the paint
– Step 2: Prepare the brush
– Step 3: Load the paintbrush
– Step 4: Apply the paint with the brush
– Step 5: Cross the brush passages
– Step 6: Smooth the surface
– Step 7: To paint the corners with a brush
– Step 8: Clean the equipment
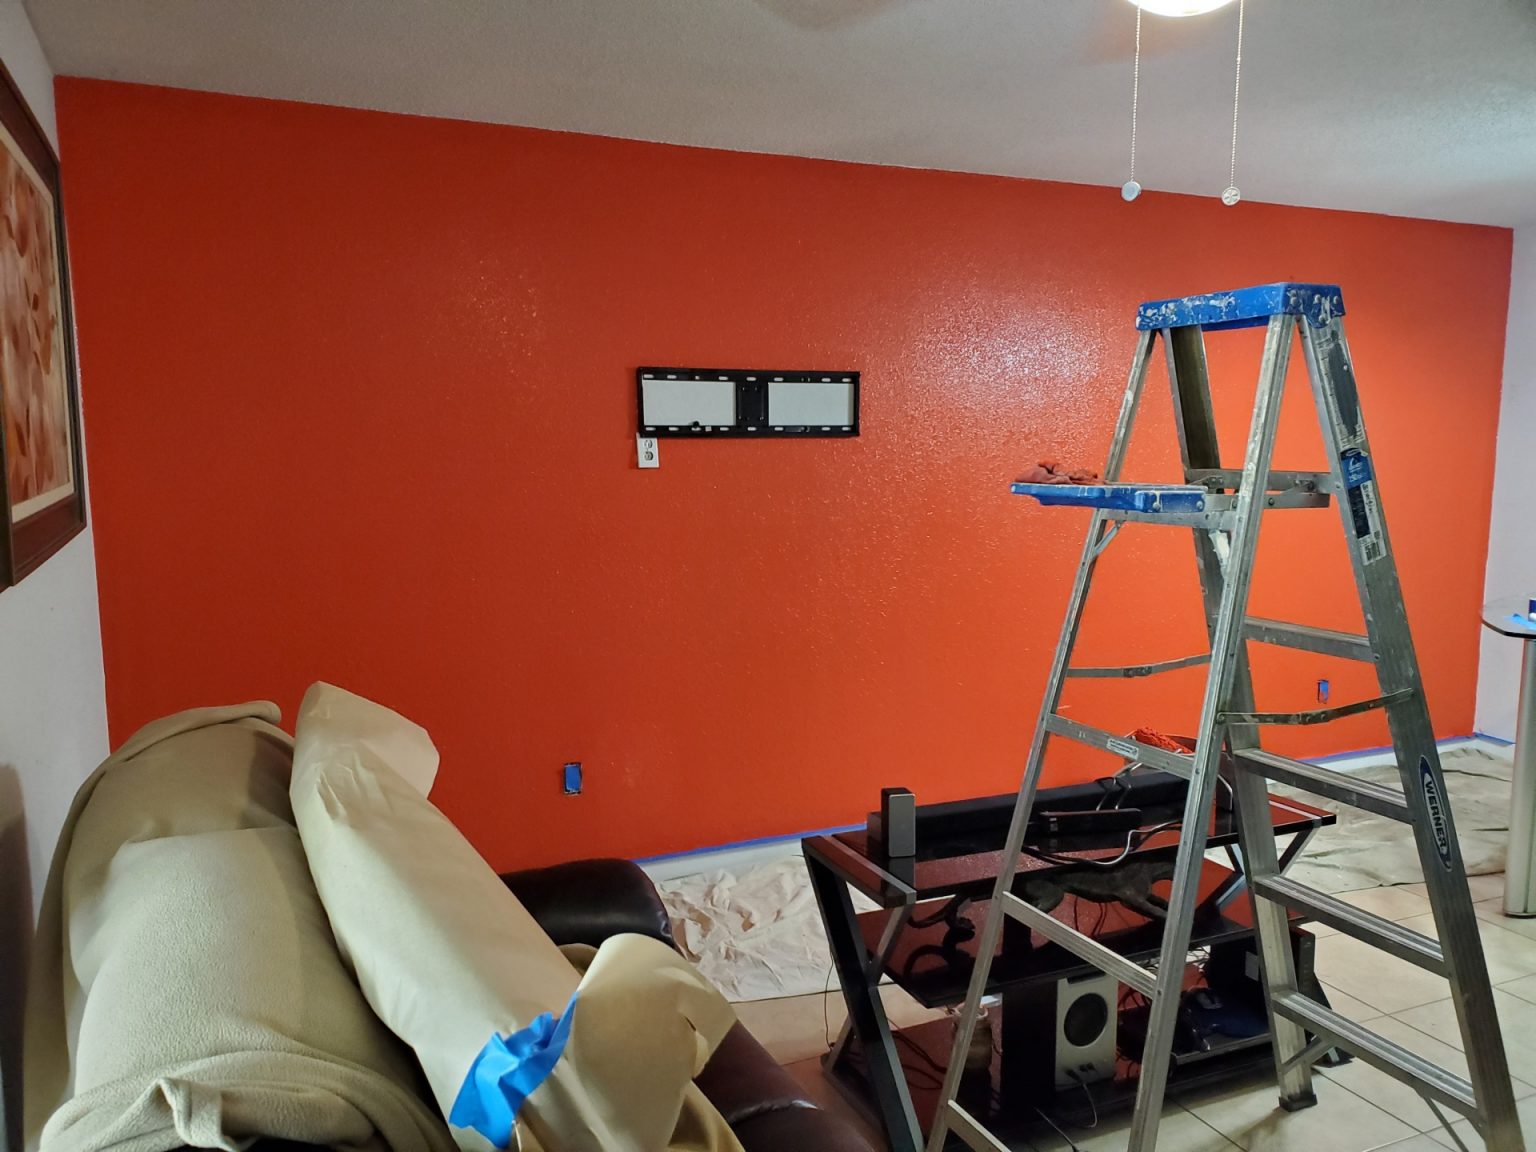
It is easy to paint with a brush, as long as certain rules are followed to avoid leaving streaks or brush marks. The brush, or paintbrush, makes it possible to paint large and small surfaces with little paint consumption. This post provides you a step-by-step process to help you paint with a brush, and feel happy about it!
Here are the materials and steps to paint with a brush.
Equipment for painting with a brush
| Wide brush | $6 approx. |
| Tarpaulin | Starting at $8. |
| Masking tape | $1 per roll. |
| Drilling machine with mixing whisk | From $30 ($20 for the drill, $10 for the mixer). |
Which brush to choose?

To paint with a brush, choose the right material. Brushes are intended for specific uses or the application of specific paints.
Brushes are suitable for different types of paint. The color of the handle of a brush indicates what type of paint it is intended for.
If the handle is:
– blue, the brush is intended for water-based paint (acrylic, vinyl, alkyd).
– red, the brush is intended for oil painting (glycerol, epoxy, polyurethane).
– brown, the brush is intended for varnish.
– yellow, the brush is intended for all types of work.
– purple, the brush is intended for decorative work.
Step 1: Mix the paint
Before painting with a brush, prepare the paint by mixing it to distribute the pigments. You can add pigments to the paint to obtain the color you want.
In all cases, mix the paint so that the color is homogeneous. You can mix the paint manually (with a stick or a hand mixer) or with a drill equipped with a mixing whisk.
Mix the paint manually
Mix the paint manually:
– Place a wooden stick or hand mixer in the center of the paint can.
– Mix the paint from the center outward, from the bottom of the can upward, from right to left, and vice versa.
– Do not beat the mixture to prevent air bubbles from forming.
– The color of the paint should be homogeneous.
Mix the paint with a mixing whisk
If you mix the paint with a drill equipped with a mixing whisk:
– Dip the mixing whisk in the center of the can and turn on the drill, set it to a slow speed. Do not activate the percussion function of your drill!
– Move the mixing whisk to the edges and bottom of the jar. Do not move the mixing whisk too close to the surface to avoid splashing.
– The paint color should be uniform.
Step 2: Prepare the brush
One of the brush defects is that it loses its hair, especially during the first use.
If you use a new brush:
– Crush the bristles of the brush with your fingers, without pulling or twisting them, to make the loose hairs fall out.
– Moisten the brush and run it over a smooth surface (wall, wooden board) to remove loose hairs.
This post will now continue In part 2. Meanwhile, I hope this article will help you paint your house with a brush. This is definitely going to be a satisfying experience. Good luck with your paint job! Stay posted, and remember to leave your comments and share your opinion with our readers in the comment section below.


