


Installing a skylight in a shopping mall requires the right tools and preparation. With the correct equipment, professionals can ensure a safe, efficient, and high-quality installation that complies with local building codes. This article outlines the essential tools needed for successful skylight installation and provides helpful tips to streamline the process.
The importance of using the right tools
Using appropriate tools is fundamental to achieving a safe and precise skylight installation. In a commercial setting like a shopping mall, mistakes can be costly and disruptive. The right equipment allows for accurate measurements, clean cuts, and secure fittings, all while maintaining safety standards and project timelines.
Safety equipment
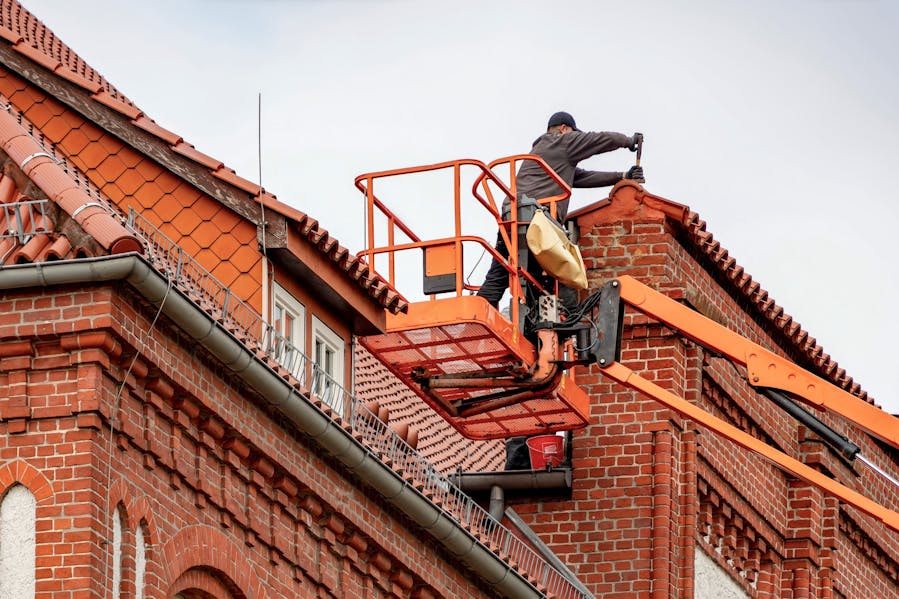
Working at heights, often on large-scale structures, makes safety gear non-negotiable. Proper protective equipment significantly reduces the risk of injuries during installation. Key safety tools include:
-
Hard hats: Protect workers from falling debris or accidental impacts.
-
Safety harnesses: Provide stability and prevent falls when working on rooftops.
-
Protective gloves: Safeguard hands from sharp metal, glass, or rough surfaces.
-
Non-slip boots: Offer better grip and reduce the risk of slipping.
Measuring and alignment tools
Accurate measurements are critical for skylight fitting. Even minor errors can lead to leaks or structural misalignment. Essential tools include:
-
Tape measure: Measures roof dimensions and skylight openings precisely.
-
Laser level or bubble level: Ensures the unit is correctly aligned for even installation.
-
Framing square: Confirms right angles for a clean and professional finish.
Cutting and drilling tools
Once the opening is planned, professionals must cut through the roofing material and prepare the installation zone. High-performance cutting tools ensure clean edges and minimize material waste.
-
Reciprocating saw: Cuts efficiently through wood, metal, and roofing panels.
-
Circular saw: Ideal for straight, long cuts across structural materials.
-
Drill with appropriate bits: Allows for secure attachment of skylight components and flashing.
-
Utility knife: Cuts insulation, underlayment, or other soft materials with precision.
Additional tools for sealing and fitting
Sealing is vital to prevent air leaks, water intrusion, and energy loss. After the skylight is positioned, these tools help complete the installation.
-
Caulking gun: Applies weatherproof sealant around the skylight frame.
-
Roofing nail gun: Speeds up the process of securing flashing and supports.
-
Putty knife: Useful for applying or smoothing sealant or flashing tape.
Considerations when choosing tools
The choice of tools has a direct impact on the quality and speed of the project. Below are some important aspects to keep in mind.
Quality and durability
Investing in high-quality tools may have a higher upfront cost but ensures consistent performance and fewer breakdowns. Durable tools are especially important in commercial settings where the equipment undergoes intensive use.
Size, weight, and mobility
In a shopping mall, access to the roof may be restricted or tight. Lightweight and compact tools make movement easier and reduce worker fatigue during prolonged tasks.
Compatibility with materials
Different roofing materials (e.g. metal, asphalt shingles, bitumen membranes) require specific tools. Ensure your tools are suitable for cutting, drilling, or sealing the chosen materials to avoid damage or improper fittings.
Typical timeline for skylight installation
Having a clear project timeline ensures better coordination among suppliers, workers, and mall management. Below is a realistic breakdown of the installation process:
| Stage | Estimated Duration |
|---|---|
| Planning and design | 1–2 weeks |
| Material procurement | 5–7 days |
| Site preparation | 1–2 days |
| Cutting and framing | 1–2 days |
| Skylight installation | 2–3 days |
| Sealing and finishing | 1 day |
Professional installation vs. DIY
While experienced DIYers might feel tempted to undertake small installations, shopping mall skylight projects are complex and require strict safety compliance. Hiring a professional ensures proper installation, adherence to building codes, and access to warranties. Poor installation can lead to costly repairs, mold, or even structural damage.
Installing skylights in a shopping mall is a technical process that demands the right planning and equipment. From protective gear to cutting tools and sealing equipment, every step of the process depends on having the proper tools on hand. Make sure to prioritize safety, accuracy, and quality when preparing for installation.
For smooth execution and compliance with regulations, consider working with a professionnal in commercial skylight installation. Their expertise will ensure your skylights are not only functional and energy-efficient but also enhance the visual appeal of the mall interior. Ready to bring natural light into your retail space? Contact a professional today to start your project with confidence.