


Summary
In which cases should I do a paint touch-up?
How do I do a paint touch-up?
Touch-up on an oil painting
Touch-up on a water-based paint
What equipment should I bring for a paint touch-up?
Price of a paint touch-up
The passing of time puts the paint on your walls to the test; it flakes, cracks, and is subject to shocks. But it is often useless to repaint your rooms entirely to rejuvenate them and give them back their original luster. Paint retouching is a practical technique to erase the ravages of time and daily life.
In which cases should you do a paint touch-up?
The cases most often represented are flaking due to water damage, a crack caused by the walls’ natural work, or a more or less light shock.
To make a retouch is to work on a little part of your wall and that it is not noticeable. To achieve this result, it is necessary that your support is not too old and that the problem comes from damage, more than from the natural aging of the paint. If your paint has aged a lot or has an accumulation of problems, it will probably be necessary to entirely repaint your room.
How do I touch up the paint?
Before touching up paint, it is essential to determine which type of paint you want to do: the technique differs depending on whether it is water-based (acrylic) or oil-based (glycero) paint. The second characteristic to take into account is the condition of the wall: if it is damp and flaking, you will first have to find the source of the moisture, repair the leak and wait for the wall to dry before touching up.
Finally, to be sure to do invisible touch-ups, it is preferable to have a jar of the original paint.
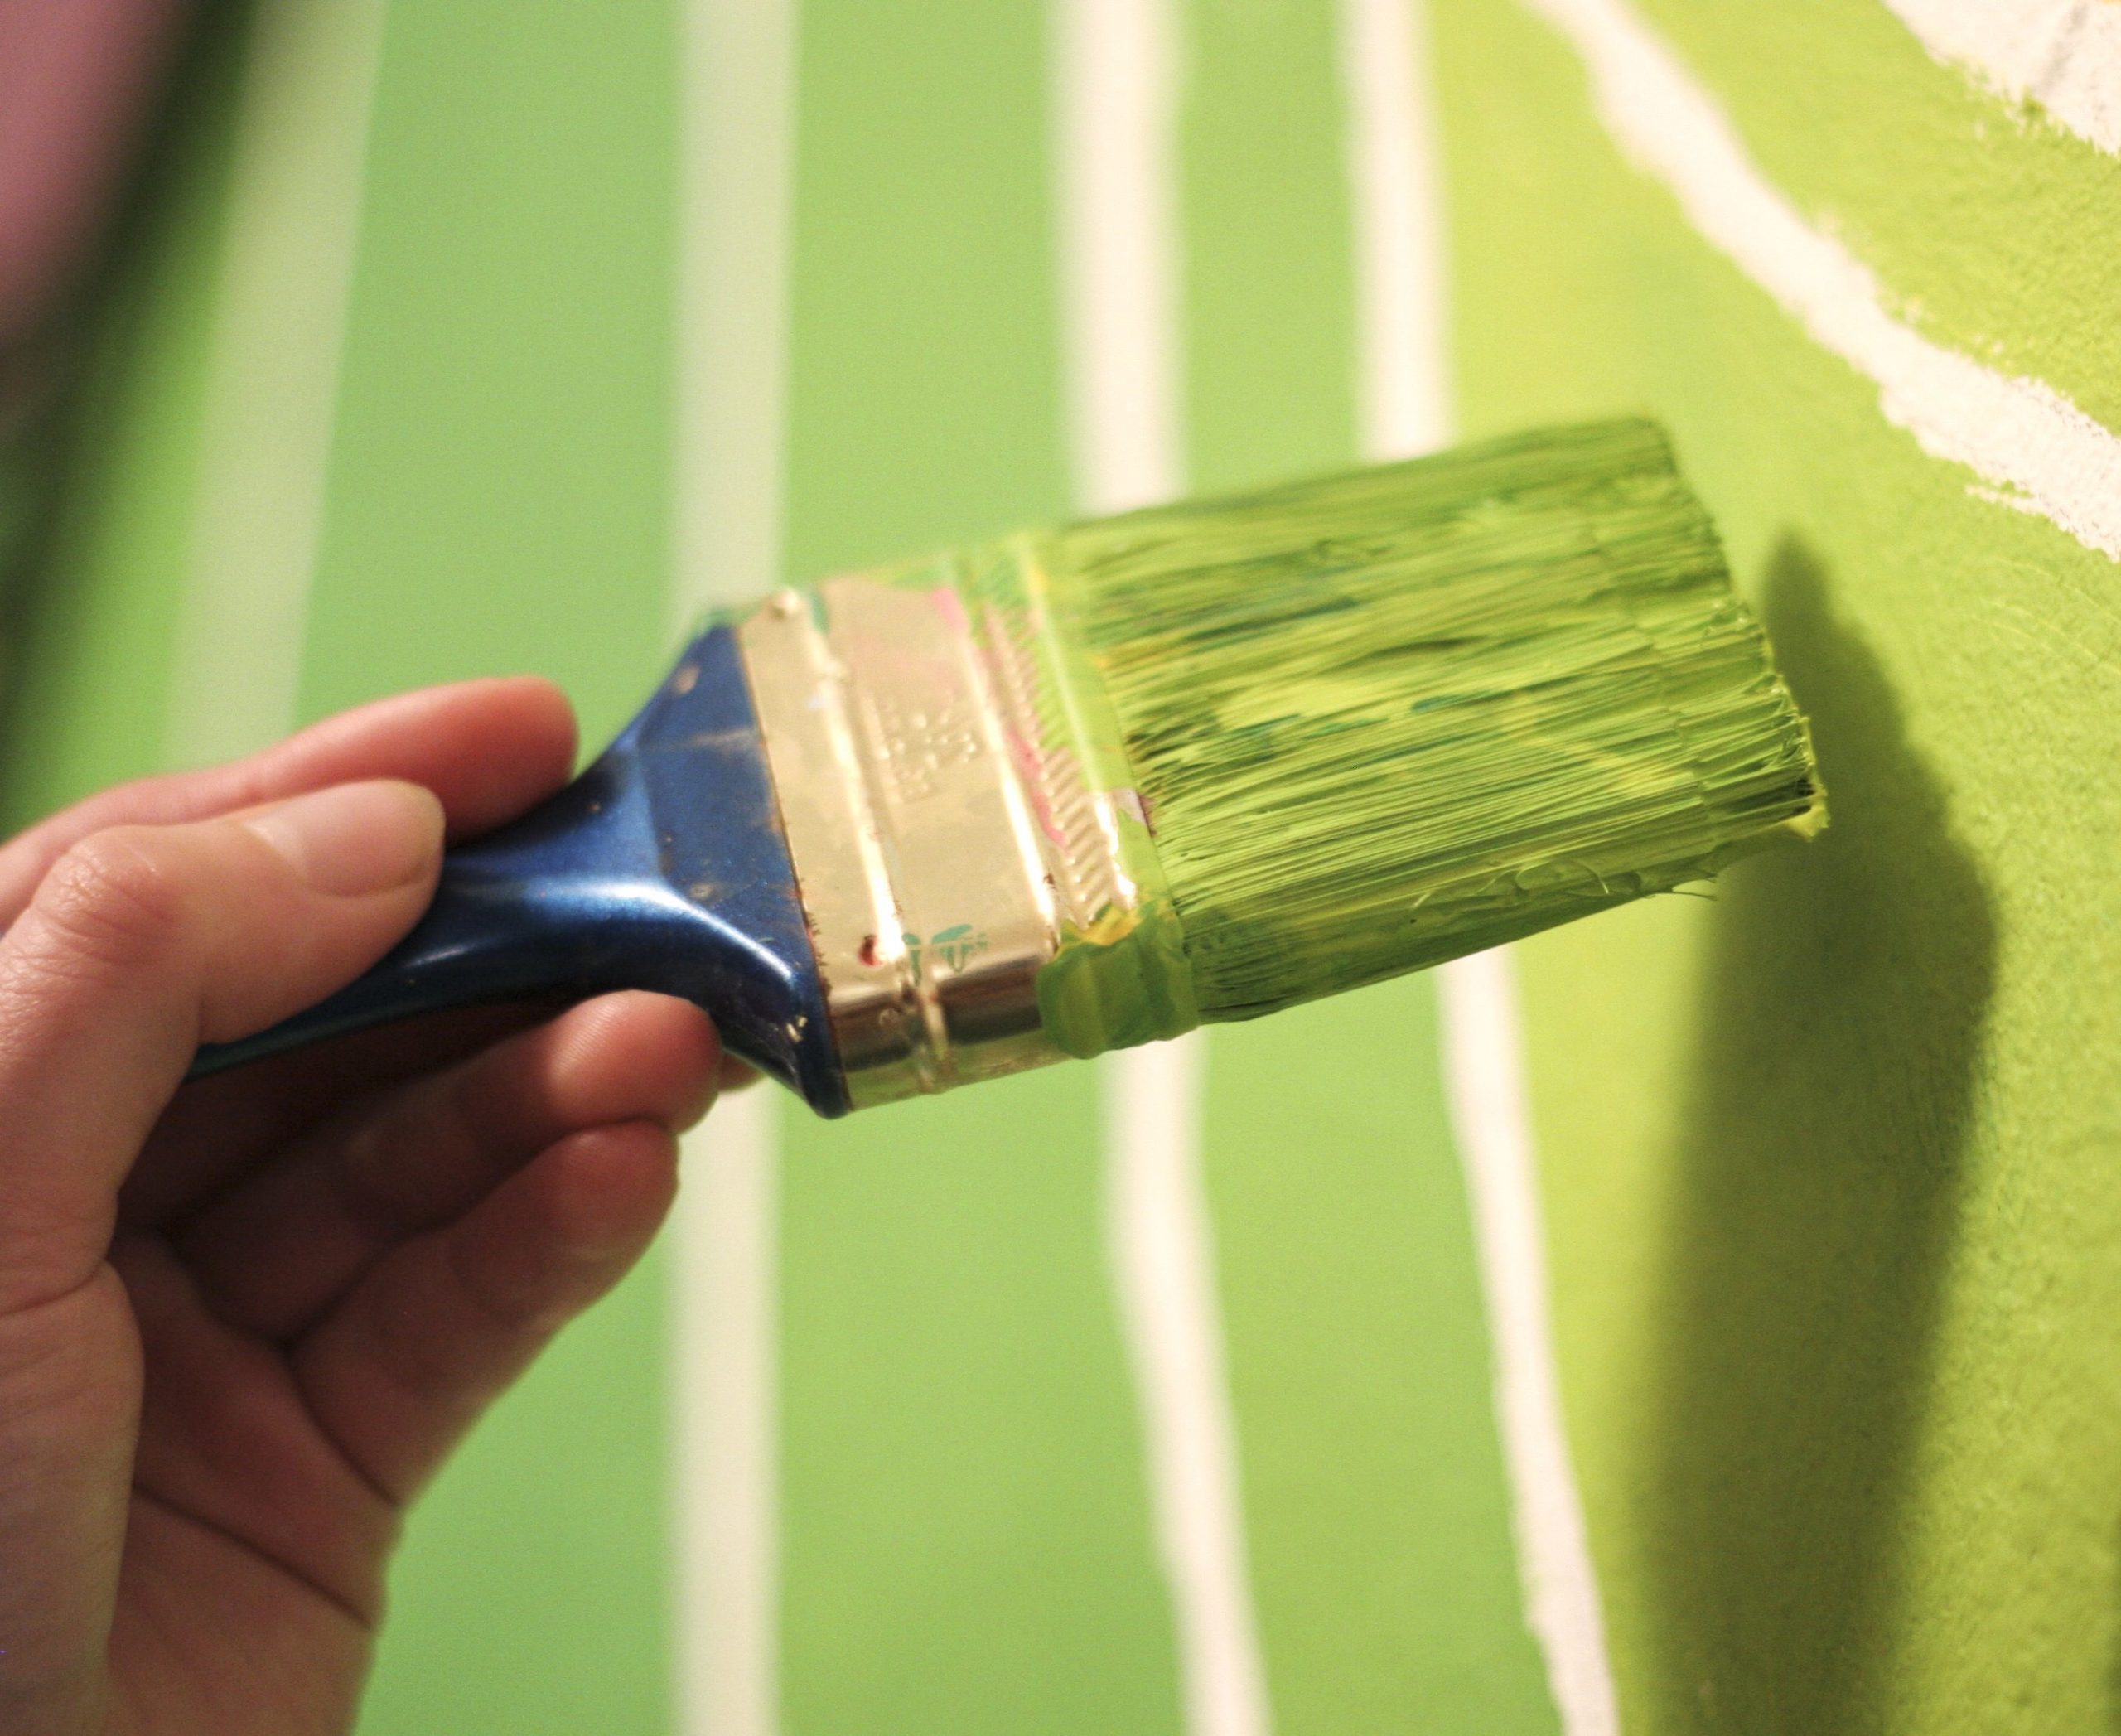
For small and hardly visible retouches, apply the paint directly with a fine brush without loading it more than necessary. In case of considerable retouching, it is essential to wash the entire wall to be retouched, rinse it thoroughly, and wait for it to dry completely before starting the retouching work (to avoid the color of the retouch to be too visible on a dirty wall).
Good to know: Leaching, whether on an oil-painted or water-painted wall, should always be done from bottom to top.
Touch-up on an oil painting
Once you have inspected your wall, it must be prepared. If it shows flaking, use a scraper to remove the damaged paint. You can choose manual stripping, which is sometimes difficult on oil, thermal, or chemical paint. If you have cracks or holes, first fill them with a suitable filler and sand to restore a clean surface.
For the touch-up to be invisible, paint with a slightly lighter shade by thinning your original paint. If you have thinned it too much, you can apply a slightly darker coat over the first one. If your retouch seems too shiny when dry, apply another coat diluted with white spirit.
Retouch on a water-based paint
The notable difference with retouch on an oil painting will concern the stripping of the wall. If it presents scales, stripping it will be much easier on a wall painted with water-based paint. A simple mechanical sanding will be sufficient to remove them. For the rest of the operations, you will have to follow the same advice, except for the paint’s dilution, which should be done with water and not with white spirit.
What equipment should I bring for a paint touch-up?
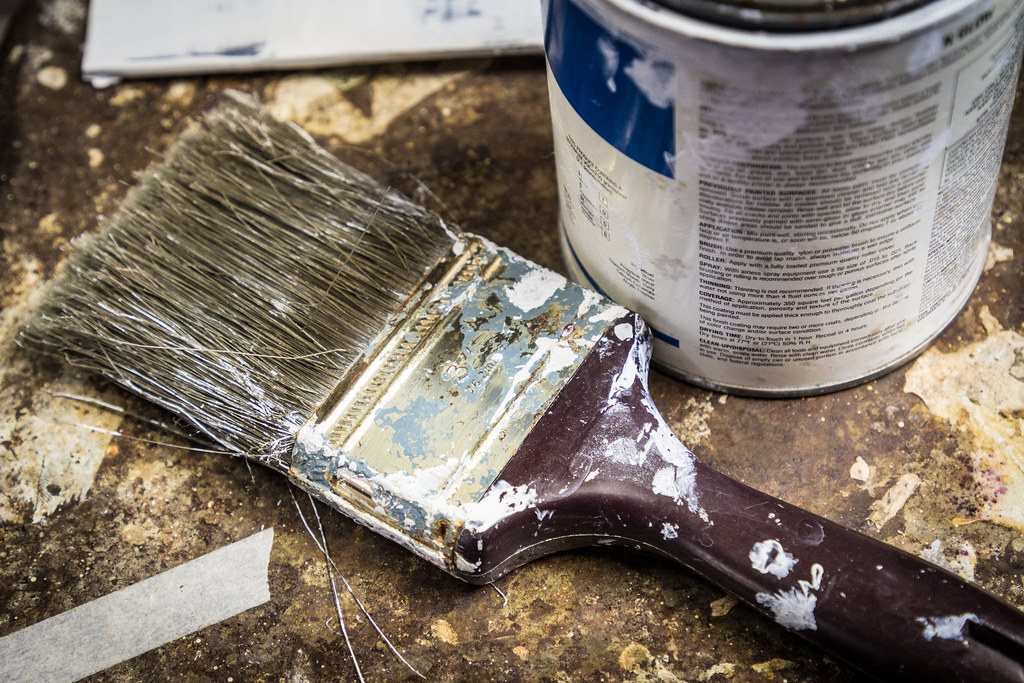
Depending on the problem and the type of paint, you will have to use different equipment.
To retouch an oil painting:
– a thermal or chemical scraper in case of presence of flakes;
– a detergent to clean the wall;
– plaster in the presence of holes and cracks;
– white spirit;
– a brush;
– a cotton pad soaked in white spirit will be used to thin the paint on the wall if it seems too dark, by tapping it lightly before it dries.
To retouch a water-based paint:
– a fine abrasive or a hand sander;
– a detergent to clean the wall;
– plaster;
– a brush;
– a cotton pad soaked in water to lighten the paint already on the wall if it seems too dark.
Good to know: when the painting work is finished in your home, don’t forget to keep the remains of used products or a new jar for possible future touch-ups.
Price of a paint touch-up
The cost of a paint touch-up is very affordable. It is often done using equipment and products that you already own, including the paint to be applied.
If you wish to entrust this work to an artisan, he will give you an estimate based on the time to be spent on the job.
2 thoughts on “How to Do a Paint Touch-Up”