


Summary
– Step 1: Draw a plan and quantify the materials required
– Step 2: Make the bottom of the wooden crate
– Step 3: Assemble the first row of boards
– Step 4: Finish the wooden crate by assembling the rows
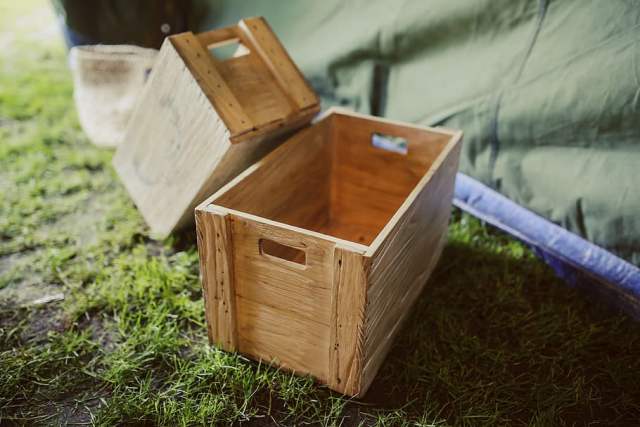
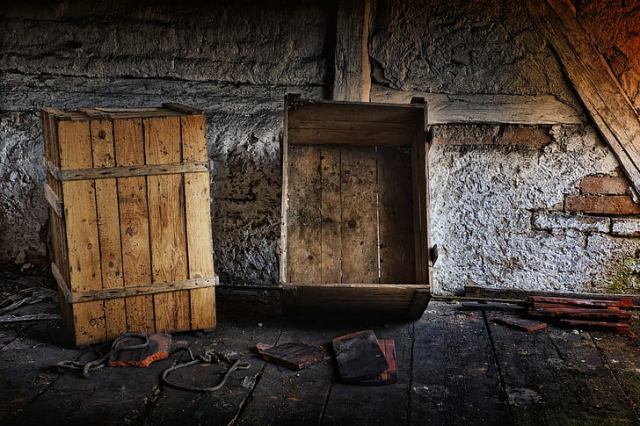
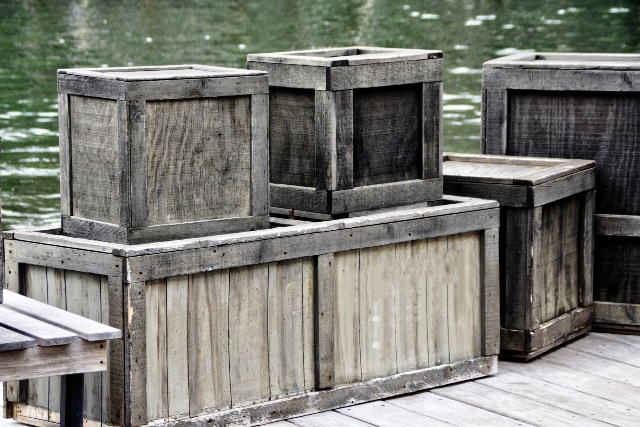
Both decorative and functional, a wooden crate offers multiple functions: storage, occasional furniture, etc.
The wooden crate is simple to build and it is an ideal project for a beginner do-it-yourselfer. It requires neither specialized tools nor advanced DIY skills. It’s up to you to customize your crate according to your tastes.
To make a wooden crate, simply follow the steps detailed below.
Materials needed to make a wooden crate:
– Flat head nails
– Hammer
– Measuring tape
– Paper + pencil
– Sanding paper
– Self saw
– Jigsaw
1. Draw a plan and quantify the materials required
Make a plan:
– Determine the dimensions of the crate according to its use: storage, decoration, occasional furniture, etc.
– Also take into account the measurements of its future location, if known.
– Make a quick sketch, noting the dimensions on paper.
Good to know: to avoid cutting the boards lengthwise, determine the height and width of the crate in proportion to the width of the boards if they are glued, or adjust the spaces between the boards.
Determine the materials needed:
– Make provision for the bottom of the crate:
◦ several planks of wood the length of the crate,
◦ 2 wooden cleats the width of the crate, which will form the legs of the crate.
– For the sides of the crate, you need:
◦ several wooden boards the length of the box to form the 2 long sides (front and back sides),
◦ several boards of wood the width of the body minus the thickness of the boards of the front and back sides, to create the 2 short sides (side faces),
◦ 4 square-section wooden slats, the height of the box.
– Calculate the number of planks and cleats needed based on the materials you have available.
Example: You want to make a crate 80 cm (length) × 40 cm (width) × 50 cm (height). To do this, you have boards of 10 cm (width) × 1 cm (thickness), which will be glued together. You will need: 4 planks of 80 cm long for the bottom, 2 × 5 planks of 80 cm long for the front and back, and 2 × 5 planks of (40 cm – 2 × 1 cm) long for the short sides.
2) Make the bottom of the wooden box
Saw to the right measurements:
– Saw wooden boards the length of the crate with a handsaw or jigsaw to form the bottom of the crate.
– Saw 2 strips of wood the width of the crate.
Position the elements:
– Position the 2 slats parallel on the ground. These will serve as feet for the crate.
– Position a first plank by adjusting it at one end of the cleats. Spread the cleats enough apart to leave an overhang of about 5 cm on each side of the board.
– Place the next planks on the cleats.
Attach the planks to the cleats:
– Nail the first and last board to the cleats.
– Then nail the intermediate planks, making sure that they are parallel to each other and, if necessary, evenly spaced.
The bottom of the wooden box is now finished.
3. Assembling the first row of planks
Saw the boards
– Saw the front and rear planks to length.
– For the sides, saw shorter boards: their length corresponds to the width of the body, minus the thickness of the 2 front and rear boards.
Note: Even if your crate is square, not all boards are the same length. On the sides, you have to deduct the thickness of the front and back boards.
Example: you make a square box with 23 cm sides, with 1 cm thick planks. Saw 23 cm planks for the front and rear sides, and 23 cm – 2 × 1 cm planks, i.e. 21 cm, for the side planks.
Nail the front and back planks together:
– Tilt the bottom of the body and position it to one side.
– Place a long plank on a long edge of the floor.
– Make sure that the bottom board and the long board are in line with each other.
– Nail the plank along its entire length, from underneath, through the body shell.
– Do the same on the opposite side.
Good to know: For ease of use, ask for help to hold the long plank in place while nailing.
Nail the side boards:
– Insert 1 short plank between the 2 long planks, on one edge of the bottom of the body.
– Nail it on each side, in its thickness, through the long planks.
– Do the same on the other side.
– Consolidate the fastening by turning the bottom of the body and nailing the boards evenly along their entire length.
This will give you the first row of planks in your wooden crate.
4. Finish the wooden crate by assembling the following rows of boards
Attach a cleat to the 4 corners of the body:
– Cut 4 square-section wooden strips from the height of the crate.
– Place one strip in an inside corner of the crate. Make sure that it is vertical, well wedged against the planks.
– Nail it from the outside, on the long side and on the short side.
– Do the same with the other cleats in the 3 remaining corners.
– Turn the crate over and consolidate the fastening by nailing each cleat through the bottom of the crate.
Nail the following rows:
– Assemble the next row, starting by nailing the 2 long planks to the 4 cleats positioned in the corners.
– Then nail the 2 short planks onto the cleats.
– Continue in this way until you reach the desired height for your crate.
Good to know:
– To make it easier to handle the crate once finished, cut a recess in the bottom of the last two side boards.
– When you are finished, sand the edges of the boards with sandpaper.
– Give free rein to your imagination and vary the finishes with a coat of paint, varnish, stencil inscriptions…
Hope this post helps you out! Remember to leave your comments and share your experience with our readers!
5 thoughts on “DIY: How to Make a Wooden Crate”