


How to Drill a Wall
Summary
– Step 1: Prepare your workspace
– Step 2: Prepare the drill
– Step 3: Drill the wall
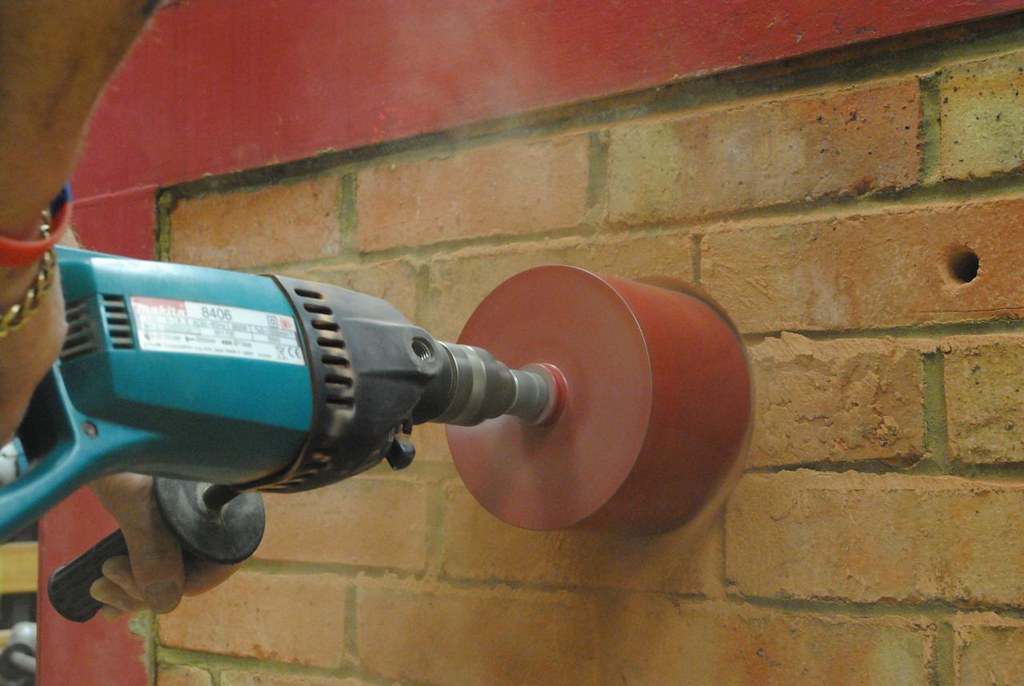
Drilling a wall is within everyone’s reach. Use the right drill bit for the material you want to drill. To make good drilling, do not buy a cheap drill bit; it will wear out very quickly. Depending on the material to be drilled, your drill should be more or less powerful. For example: – To drill plaster, a low-powered drill (500 W) will be sufficient. – On the other hand, an 800 W impact drill will do the best job for drilling stone or concrete. You will find drills with or without a wire in DIY stores with different options: – Percussion mode: generates percussion movements (back and forth) similar to a hammer. This option increases the contact force and allows you to drill through concrete, for example. – Reversible: Allows the drill bit to be safely removed after drilling. These drills also have the screwdriver function (with the addition of specific bits). – With automatic chuck: no need for a wrench. The drill is inserted into the chuck after unscrewing it.
Material required for drilling a wall
Vacuum cleaner
|
Cost
|
Tarpaulin
|
Starting at $8
|
Anchors
|
25 for $1
|
Drill
|
Approx. $2
|
Protective goggles
|
$6 approx.
|
Protective mask
|
$1 approx.
|
Drilling machine
|
Starting at $30
|
Electrical extension cord
|
About $5 per 5 m |
Masking tape
|
$1 per roll |
1. Prepare your workspace
Especially if you have to drill several holes, protect your work environment. Protect your furniture and the floor with a tarp, polyethylene film, or used sheets. Also, remember to protect your eyes with goggles and a face shield to avoid dust projections.
2. Prepare the drill
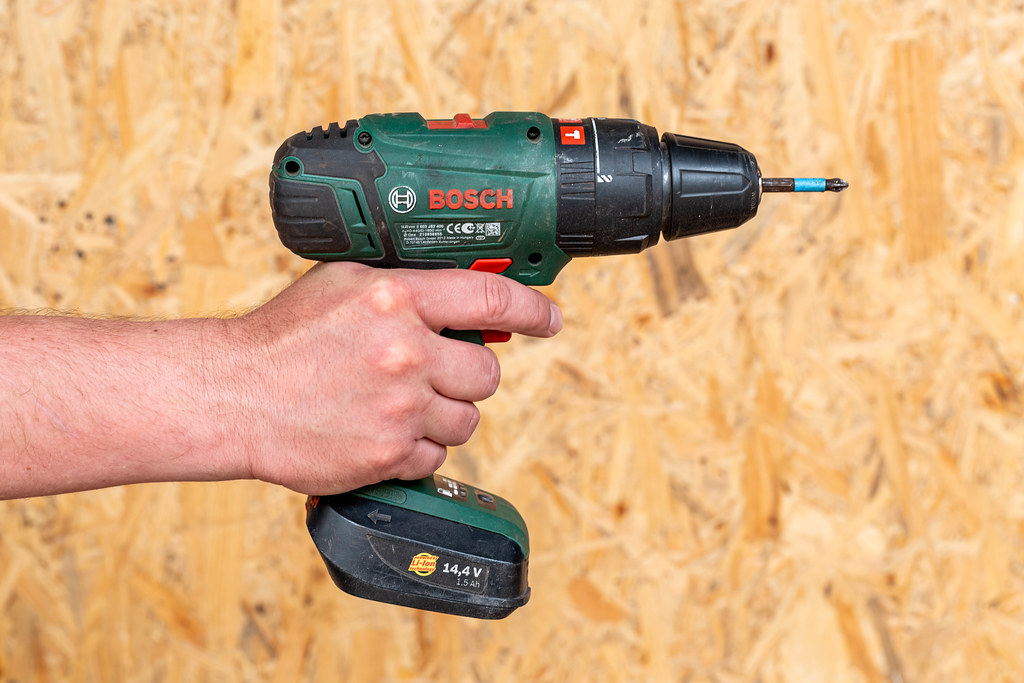
If you are using a cordless drill, make sure the drill is sufficiently charged. A charge level indicates the charging status of the drill. – If you are using a wired drill, you may need an extension cord. The drill bit size you choose should match the dowel’s size that will be inserted into the drilled hole. Insert the drill bit into the drill chuck: – Newer drills are usually equipped with a self-clamping chuck: ◦ Pull the chuck towards the drill. Insert the drill while holding the chuck pulled. ◦ Release the chuck: the drill is fixed! – Newer drills have a traditional chuck that can be screwed in and out by hand: ◦ Unscrew the chuck. ◦ Insert the drill bit. ◦ Tighten the chuck to secure the drill bit. ◦ Finish tightening with the key provided. Tip: There are as many manufacturers as there are types of drills. Therefore, to place the drill bit in the chuck, refer to the drill’s instructions.
3. Drill the wall
To determine the hole’s depth to be drilled, place the screw you are going to screw into the hole to be drilled next to the drill bit and surround the drill bit with a piece of masking tape to mark the location of the screw head on the drill bit.
– Mark the location of the hole to be drilled on the wall.
– Place your drill bit in the center of the mark you made.
– At minimum speed, drill the wall to mark the hole.
– Increase the speed of the drill and drill to the mark indicated on the drill bit.
– Stop the drill.
– Blow into the drilled hole to dislodge dust.
– Insert the dowel into the drilled hole.
– Use a broom or vacuum cleaner to remove any dust from the floor.
– Remove the polyethylene film, tarps, or sheets protecting the furniture and floors.
That’s it, you’ve done it! Remember to share your experience in the section below!
One thought on “How to Drill a Wall”