


How to Paint With a Brush (Part 2)
This post is a continuation of Part 1 on How to Paint With a Brush. Lately, we have gone through Step 1: Mix the paint and Step 2: Prepare the brush.
We will now cover:
– Step 3: Load the paintbrush
– Step 4: Apply the paint with the brush
– Step 5: Cross the brush passages
– Step 6: Smooth the surface
– Step 7: To paint the corners with a brush
– Step 8: Clean the equipment
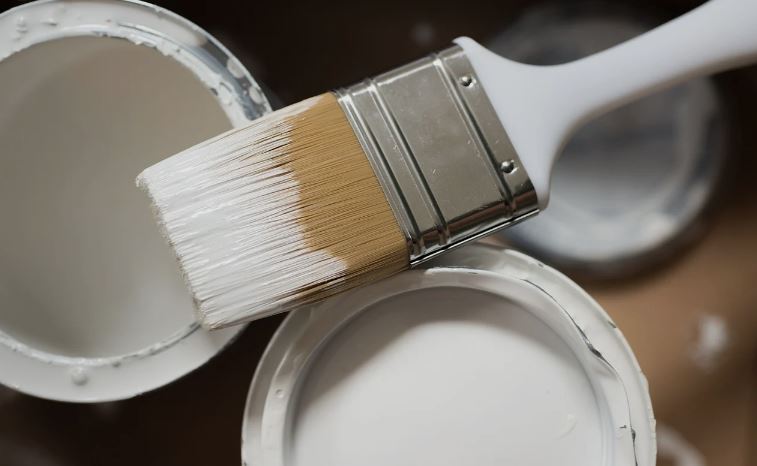
3. Load the paintbrush with paint
Dip the brush into the paint to load it:
– Hold the brush vertically.
– Dip the bristles of the brush two-thirds of the way into the paint to load the brush.
– Remove the overflow of paint by wringing it out on the edge of the pot, the paint should not run.
4. Apply the paint with the paintbrush
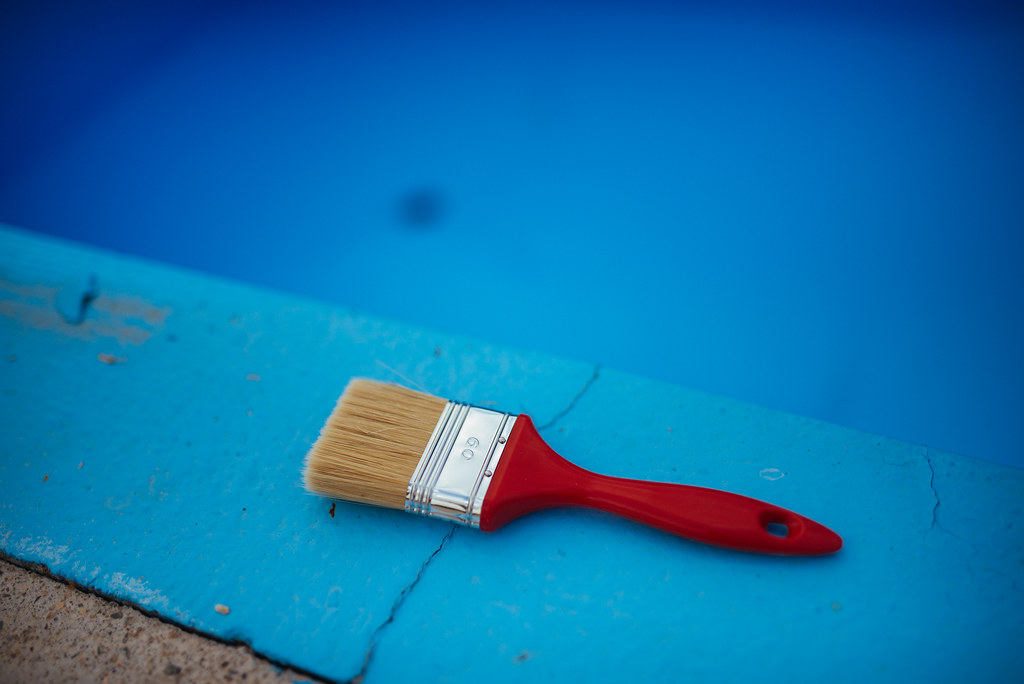
How to hold the brush?
It is important to hold the brush firmly when you paint:
– You can hold the brush in the way you feel most comfortable, full hand or the same way you hold a pen.
– Hold the brush by the handle. To work accurately, place your fingers on the ferrule (the metal part that holds the brush).
Spread the paint
Apply the paint methodically; if you are painting a large area, divide it into areas of 1 m² that you will paint gradually.
– Press the brush on the surface to be painted to blend the hairs without crushing them.
– Apply the paint in vertical strips, moving up and down and up and down.
– Slightly overlap the strips of paint.
5. Cross the brush passages
Once you have painted the vertical stripes, cross the passages of the brush:
– Apply the paint in horizontal bands, make movements from left to right, and vice versa.
– Overlap the paint stripes to cover the entire surface without leaving any gaps.
6. Smooth the surface
When you have covered the surface with paint, smooth to eliminate brush marks and unify the result.
– Do not refill the paintbrush.
– Move the brush up and down and up and down with light pressure.
– When you have smoothed the paint, paint the next square, making sure to overlap the areas.
Note: if the painted surface is wood, the last pass must be in the grain’s direction.
7. To paint the corners with a brush
To paint precisely the corners of the walls or ceiling, for example, use a paintbrush. It is a brush of small diameter, round at the base, and with a pointed end.
– Hold the paintbrush as if you were holding a pen.
– Press the brush against the wall without crushing it.
– To work with precision, lean on your little finger.
8. Clean the equipment
Once you have finished painting, clean the brushes.
– Squeeze the paint onto a piece of paper or cardboard.
If you have applied water-based paint, carefully clean the brush with warm soapy water until all paint traces are removed.
– If you have applied oil paint, clean the brush in a tray with the corresponding solvent. This is the same solvent in which the paint is diluted.
– Rinse with clear water.
– Wring out the brush without wringing its bristles.
For a new brush
To clean a new natural bristle brush:
– Let the brush soak overnight in linseed oil at ¾ of the bristles.
– Rinse it with warm soapy water, making sure to remove all traces of paint.
– Wring it out without twisting it, from the ferrule (the metal part that holds the bristles of the brush) to the top of the bristles.
To clean a new synthetic bristle brush:
– Let the brush soak overnight in clear water at ¾ of the bristles.
– If any traces of paint remain, rinse with clear water to remove them.
– Wring it out without wringing it out, from the ferrule to the top of the bristles.
Hope those 8 steps from Part 1 to Part 2 in this post help you out. If you doubt carrying out the painting task by yourself at the risk of a big mess in your home, you can call a professional for a stress-free home painting.
Remember to leave your comments and share your experience with our readers!
One thought on “How to Paint With a Brush (Part 2)”