
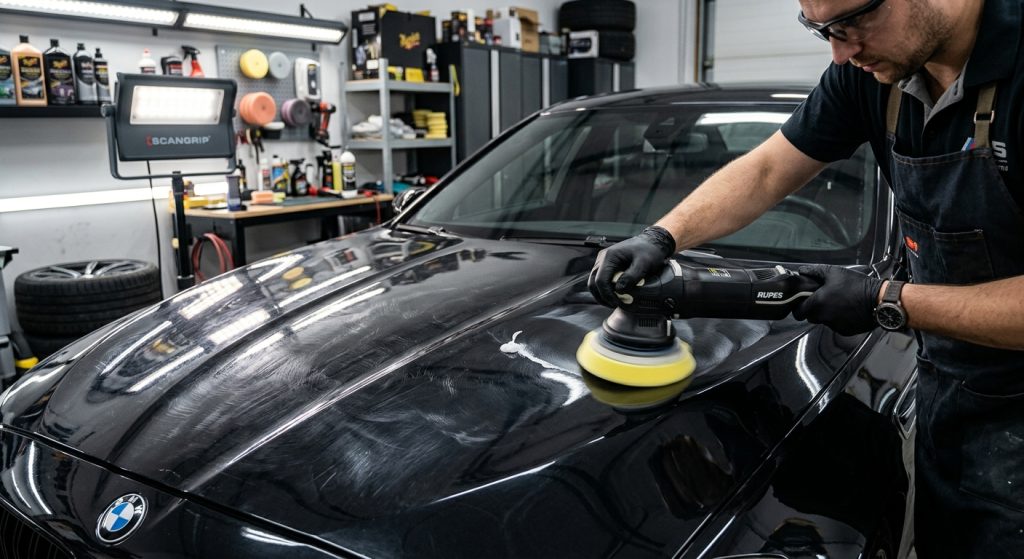
In car detailing, compound and pad pairing determines how quickly a machine removes paint defects and how clearly the surface finishes. The compound supplies abrasive particles, while the polishing pad influences their movement, pressure, heat, and contact with the clear coat.
Abrasive Cut and Pad Aggressiveness
When choosing a polishing compound for paint correction, consider both its abrasive cut and the pad’s aggressiveness, as their combination affects how quickly defects are removed, how much heat builds up, and how much finishing work is needed in a car detailing process.
A stiff pad can maintain pressure across the working face and encourage faster correction. A softer pad conforms more readily to curves and distributes pressure gently. Machine type, pad size, paint hardness, and operator technique also affect the outcome, so pad labels cannot predict every result.
For example, a heavy compound may remove moderate scratches quickly with a wool or dense foam pad. However, that pairing could leave visible haze on delicate paint. A medium polish and a softer foam pad may take longer, but they can preserve clarity while removing lighter swirls.
Why a Test Spot Guides the Process
A test spot checks whether a chosen combination removes the target marks without unnecessary paint removal. Clean a small area, apply a measured amount of product, and make a controlled series of passes. Then wipe away residue and inspect the surface under focused lighting.
Look for remaining scratches, haze, and changes in gloss. If the defects remain, increase aggressiveness gradually by changing the pad or compound, rather than both at once. If the surface looks cloudy, refine with a softer pad and finer polish.
This method turns paint correction into a sequence of informed adjustments. It also helps avoid the common mistake of treating every panel with the strongest setup. The best pairing removes enough material to improve the finish while keeping the clear coat intact.
Pad Construction and Compound Pairing for Different Correction Stages
Pad material and construction shape the balance between cutting power and finish quality. Foam, wool, and microfiber each respond differently under pressure, and foam density or cell structure further changes performance. Selecting the right type helps a compound work predictably instead of fighting the surface.
Color coding may suggest a pad’s intended role, but manufacturers do not use one universal system. Check the pad’s construction, firmness, and stated use before relying on its color. Also confirm that its backing, diameter, and machine compatibility meet the tool’s specifications.
Foam Pads for Controlled Cutting and Refinement
Dense, firm foam generally supports stronger correction than soft foam. Pair it with a heavy compound when a test spot confirms that deeper marks need more cutting. Dense foam can provide consistent contact, although it may retain more heat under pressure.
Open-cell foam allows more airflow and tends to disperse heat effectively. Its softer feel often suits light correction and final polishing, where finish clarity matters more than rapid material removal. It can also help reduce the risk of excessive heat on sensitive panels.
Medium-density foam offers a useful middle ground. Combined with a mid-grade polish, it can reduce moderate swirls while maintaining a refined surface. This pairing often works well when a heavy cutting stage would remove more paint than the defects justify.
Wool and Microfiber for Faster Correction
Wool pads can remove material quickly, particularly on rotary machines. Their strong cutting action suits significant defects, but friction can build heat rapidly. Use short, controlled passes, moderate pressure, and frequent inspections rather than holding the machine in one place.
Neither material guarantees a particular result. Paint hardness, pad condition, machine movement, and compound behavior all influence the surface finish. Clean pads often, because clogged fibers or trapped residue can reduce cutting consistency and create new marks.Defect Removal Strategies for Scratches, Swirls, and Water Spots
Different paint defects require different correction strategies. Swirls usually appear as fine circular marks, while scratches may cut more deeply into the clear coat. Water spots can leave mineral deposits or etching, and each condition calls for a careful assessment before polishing begins.
Matching the Setup to Defect Severity
For heavy scratches, a wool or firm microfiber pad with a heavy compound may provide the necessary cut. Use a limited test area and inspect often. If the scratch remains after a measured correction cycle, avoid repeatedly chasing it without checking paint depth and panel condition.
| Defect or goal | Starting pad | Product pairing | Inspection priority |
|---|---|---|---|
| Heavy scratches | Wool or firm microfiber | Heavy-cut compound | Check remaining depth and heat |
| Moderate swirls | Medium-density foam or microfiber | Mid-grade polish | Look for haze and residual marks |
| Light swirls | Soft finishing foam | Fine polish | Assess clarity under focused light |
| Light etching | Soft foam or finishing microfiber | Fine polish, after testing | Confirm safe, gradual improvement |
Test spots, clean pads, and careful inspections make correction more predictable. When paint depth, damage, or product compatibility raises concern, a qualified detailing professional can assess the finish and recommend a safer approach.


