

Installing pavers is more than just a visual upgrade, it’s a practical way to enhance your outdoor spaces with lasting durability. Whether you’re designing a cozy patio, a welcoming walkway, or a resilient driveway, a well-executed paver installation can elevate your property’s value and charm. This comprehensive guide walks you through each step to ensure your pavers remain beautiful and functional for years to come.
Laying the Groundwork: Base Preparation
A solid foundation is the cornerstone of any successful paver installation. The longevity and stability of your installation depend heavily on how well the base is prepared.
Excavation Depth Guidelines
Start by excavating the area to the appropriate depth based on the intended use:
-
Walkways and patios: 4–6 inches
-
Pool decks: 6–8 inches
-
Driveways: 8–12 inches
Proper excavation ensures the base can support the weight and usage of your pavers without shifting or sinking over time.
Selecting the Right Base Material
Choose a base material that promotes stability and drainage. Common options include:
-
Crushed stone
-
Gravel
-
Processed gravel (1½”)
-
Crusher run (¾”)
Crushed stone is often preferred for its excellent drainage properties, which help prevent future settling and cracking.
Compaction and Moisture Control
Compact the base material in layers of 2–4 inches using a plate compactor or hand tamper. Check moisture levels to ensure the sub-base is firm and stable. In areas with poor drainage, consider adding a woven geotextile fabric to improve water flow and prevent erosion.
Designing Your Paver Layout
A thoughtful layout enhances both the functionality and visual appeal of your project.
Choose a Pattern
Select a paver pattern that complements your space and style. Popular choices include:
-
Herringbone
-
Running bond
-
Basketweave
-
Circular designs
Each pattern offers a distinct aesthetic and can influence the structural integrity of the installation.
Maintain Consistent Spacing
Proper joint spacing, typically around ⅛ inch, is crucial for alignment and stability. Many pavers come with built-in spacers to simplify this step.
Use Precision Tools
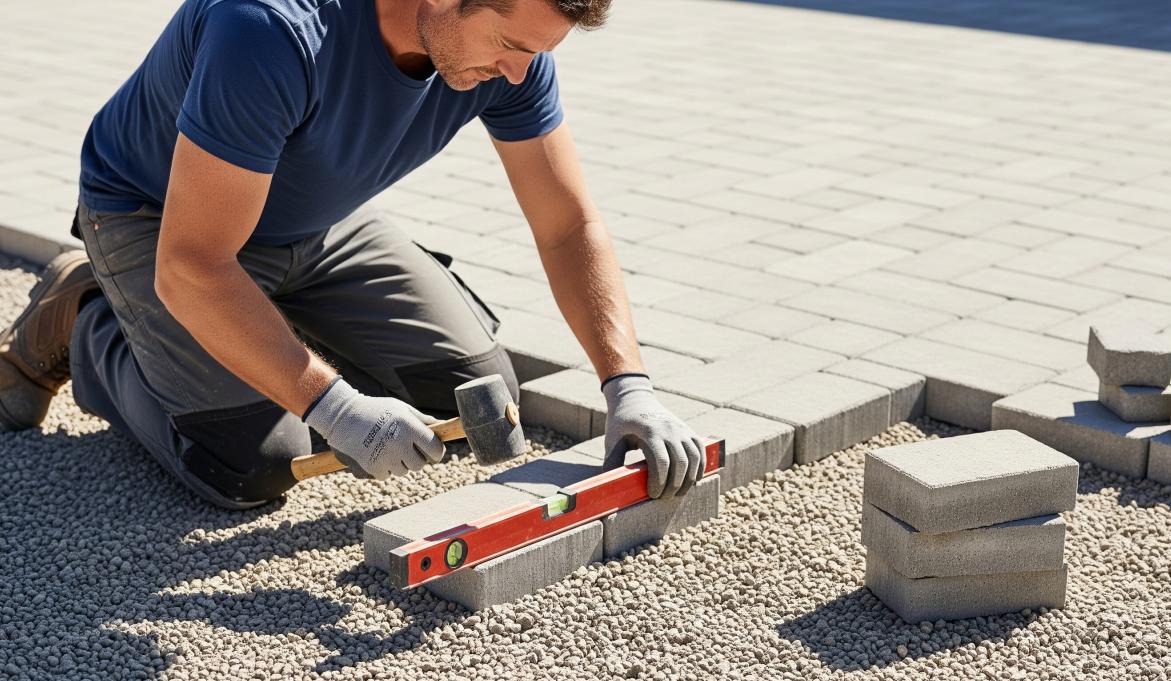
Ensure accuracy with tools like chalk lines, string lines, and measuring tape. These help maintain straight edges and consistent gaps, resulting in a clean, professional finish.
 Sealing for Protection and Longevity
Sealing your pavers adds a layer of defense against stains, weathering, and wear.
Select the Right Sealer
Choose between:
-
Penetrating sealers: Absorb into the paver for internal protection
-
Topical sealers: Form a protective surface layer
Your choice depends on the level of protection desired and your budget.
Prepare the Surface
Before sealing, thoroughly clean and dry the pavers. Remove debris, dust, and any substances that could interfere with adhesion.
Apply and Cure
Use a sprayer or roller for even application. Follow the manufacturer’s drying guidelines, typically between 4 to 24 hours, to ensure proper curing.
Filling the Joints: Stability and Weed Prevention
Joint filling is essential for maintaining the integrity of your installation and minimizing weed growth.
Choose the Right Material
Options include:
-
Polymeric sand: Hardens over time for superior stability
-
Paver sand or fine-grained sand: Effective but less durable
Polymeric sand is especially recommended for high-traffic areas due to its resistance to erosion and weed intrusion.
Apply and Compact
Sweep the sand into the joints using a soft-bristle broom. Then, compact the surface with a plate compactor to eliminate air pockets and ensure deep filling. Allow the joints to cure for at least 24 hours, keeping them dry during this period.
Maintenance for Long-Term Beauty
Regular upkeep preserves both the appearance and performance of your pavers.
Cleaning and Stain Management
Sweep or blow away debris regularly. For spills, clean promptly with mild soap and water to prevent staining.
Weed Control
Use polymeric sand and consider applying weed preventers in vulnerable areas to keep growth at bay.
Resealing
Reseal your pavers every 3 to 5 years, or as needed based on wear and exposure, to maintain their protective barrier.
Quick Recap: Steps to a Successful Installation
-
Plan and prepare: Mark boundaries, excavate, and build a solid base
-
Layer and compact: Add base material and a bedding layer of sand
-
Lay pavers: Begin from a fixed edge, keeping gaps consistent
-
Fill joints and compact: Sweep in sand and compact thoroughly
-
Seal and finish: Clean the surface and apply a protective sealer
With the right preparation and attention to detail, your outdoor space can be transformed into a durable and elegant retreat. For expert results, consider partnering with professionals who specialize in paver installations. Their experience can help ensure a flawless finish tailored to your home’s unique needs.
https://www.youtube.com/watch?v=rYOsvqze2LQ


