
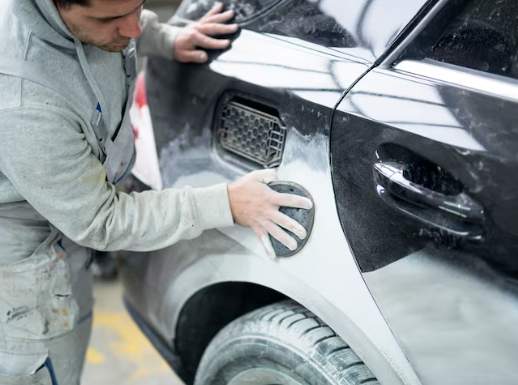
Uniform ceramic coating cross-linking begins long before an applicator touches paint. Contamination, polishing oils, and leftover defects can disrupt bonding or remain visible beneath the clear protective layer.
The reliable sequence moves from washing and paint decontamination to inspection, measured correction, surface refinement, and a final panel wipe-down. Each stage prepares the surface for the next, while careful assessment prevents unnecessary clear-coat removal.
Preparation Stages for Ceramic Coating Cross-Linking
Start with a pre-rinse, then wash by hand using clean wash and rinse buckets. Work from the roof downward, using a soft mitt and pH-neutral shampoo to remove loose soil without grinding grit across the finish, especially if a ceramic coating will be applied afterward.
Next, use an iron remover to dissolve embedded ferrous particles, then remove tar with an appropriate product. A clay bar treatment lifts remaining bonded contamination; generous lubricant and light pressure help limit marring. Rinse and dry before inspection.
These methods solve different problems: chemicals target particular deposits, while clay physically removes residue that remains attached. Skipping either can leave contamination for the polishing pad to drag across the paint.
Inspection Methods for Choosing Correction
Paint inspection determines which polishing stages the vehicle needs. Use a bright inspection light from several angles to reveal swirls, oxidation, water marks, and scratches that ordinary indoor lighting conceals.
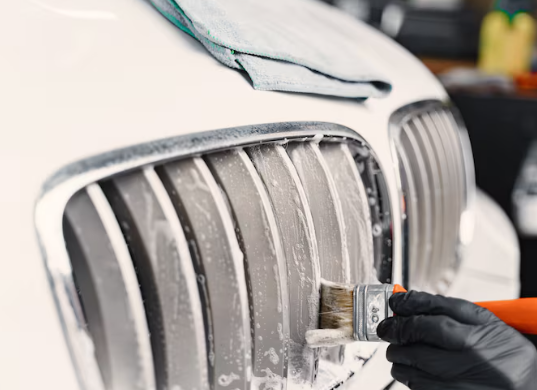
Check paint thickness when suitable equipment and expertise are available, especially on older panels or repaired areas. A gauge helps identify variation, but it does not reveal every risk or measure clear coat separately on every vehicle.
Choose correction according to actual defects, not a standard package. Nearly flawless new paint may need only cleaning and a compatible preparation wipe; visible wash marring generally calls for light polishing. Deep damage may exceed safe defect removal.
| Paint condition | Likely preparation | Purpose |
|---|---|---|
| Light swirls | One-step polish | Refine mild defects |
| Moderate haze | Compound, then polish | Correct and refine |
| Thin or damaged clear coat | Professional assessment | Avoid excessive abrasion |
Correction Stages Before Ceramic Coating
Paint correction levels the clear coat by removing a small amount of material around defects. A dual-action polisher usually offers a manageable approach, while pad choice and compound strength determine how aggressively the process cuts.
Correction and Defect Removal
For light marks, begin with a finishing polish and suitable pad. Test a small area, inspect the result, and increase cutting strength only when necessary. A moderate defect pattern may require a compound followed by a finer polish.
Do not chase every deep scratch. If a defect remains after a conservative test, accept it or seek professional assessment rather than repeatedly abrading limited clear coat. This decision protects the finish while improving its overall appearance.
Refinement Steps for Clean Bonding
After compounding, surface refinement removes haze and fine polishing marks. Use a clean finishing pad, suitable polish, and controlled overlapping passes. Inspect each panel again, because residues can disguise defects under workshop lighting.
Remove polish residue with clean microfiber towels, then perform a panel wipe-down using a coating-compatible panel preparation product. This is the isopropyl alcohol prep stage when the product manufacturer recommends diluted IPA; follow its stated method and dilution.
- Keep pads clean and use separate pads for cutting and finishing.
- Replace contaminated towels rather than spreading residue across panels.
- Wear gloves after the final wipe and avoid touching prepared paint.
Application Conditions for Uniform Cross-Linking
Apply coating only to clean, dry paint in a shaded, ventilated space. Temperature, humidity, flash time, and leveling instructions vary by formula, so follow the product label instead of relying on a universal timetable.
Work one small section at a time with overlapping strokes, then level residue using clean towels before it cures. Missed areas, excess product, fingerprints, or remaining oils can produce uneven appearance and interfere with consistent bonding.
Protect the vehicle from moisture and contamination during the initial cure, following the manufacturer’s guidance. The key sequence remains simple: decontaminate, inspect, correct only as needed, refine, wipe clean, and apply under controlled conditions.


