
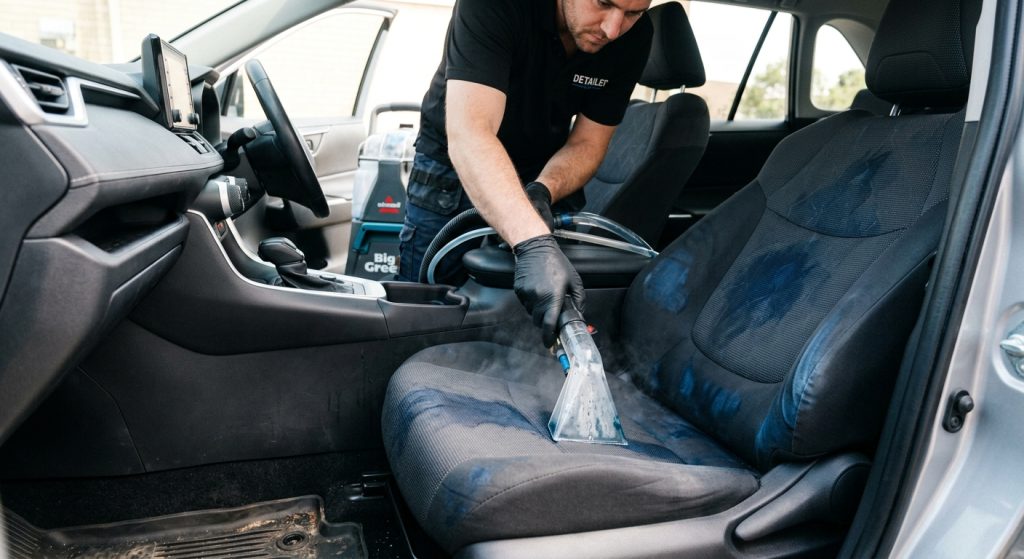
Dye stains in car interiors demand a controlled approach: heat can help release some contamination, yet it can also set unstable color into upholstery. Successful hot water extraction depends on identifying the stain, testing the fabric, and balancing water temperature, extraction pressure, cleaning solution, and moisture recovery. No single machine setting suits every seat or carpet, so careful trials matter more than maximum heat.
Dye Stain Assessment for Hot Water Extraction
Before cleaning, identify whether the stain comes from an external dye or color bleeding from the upholstery itself, as each requires a different approach. In car interior detailing, clothing transfer, ink, and colored drink spills may respond differently to treatment, while faded or unstable fabric can lose more color during cleaning.
Blot fresh spills with a clean white microfiber cloth. Avoid rubbing, which can spread pigment across the weave and push it deeper into the backing. Check the care label when available, identify the textile, and test the proposed cleaner in a hidden area.
Wait until the test spot dries before judging colorfastness. If the cloth picks up the upholstery’s own color, stop wet extraction and consult a qualified upholstery cleaner. Dye stain removal cannot always restore a finish once pigment bonds permanently with fibers.
Water Temperature and Cleaning Solution Settings
Heat supports soil release, but it does not guarantee dye removal. For an unknown stain or delicate fabric upholstery, begin with cool or lukewarm water and a textile-safe, low-foam cleaning solution.
Many synthetic automotive fabrics tolerate controlled warm extraction, but check the cleaner and extractor instructions first. A cautious working range often starts around 100–120°F at the tool; increase only after a successful colorfastness test. Avoid boiling water and never assume the tank reading matches the nozzle temperature.
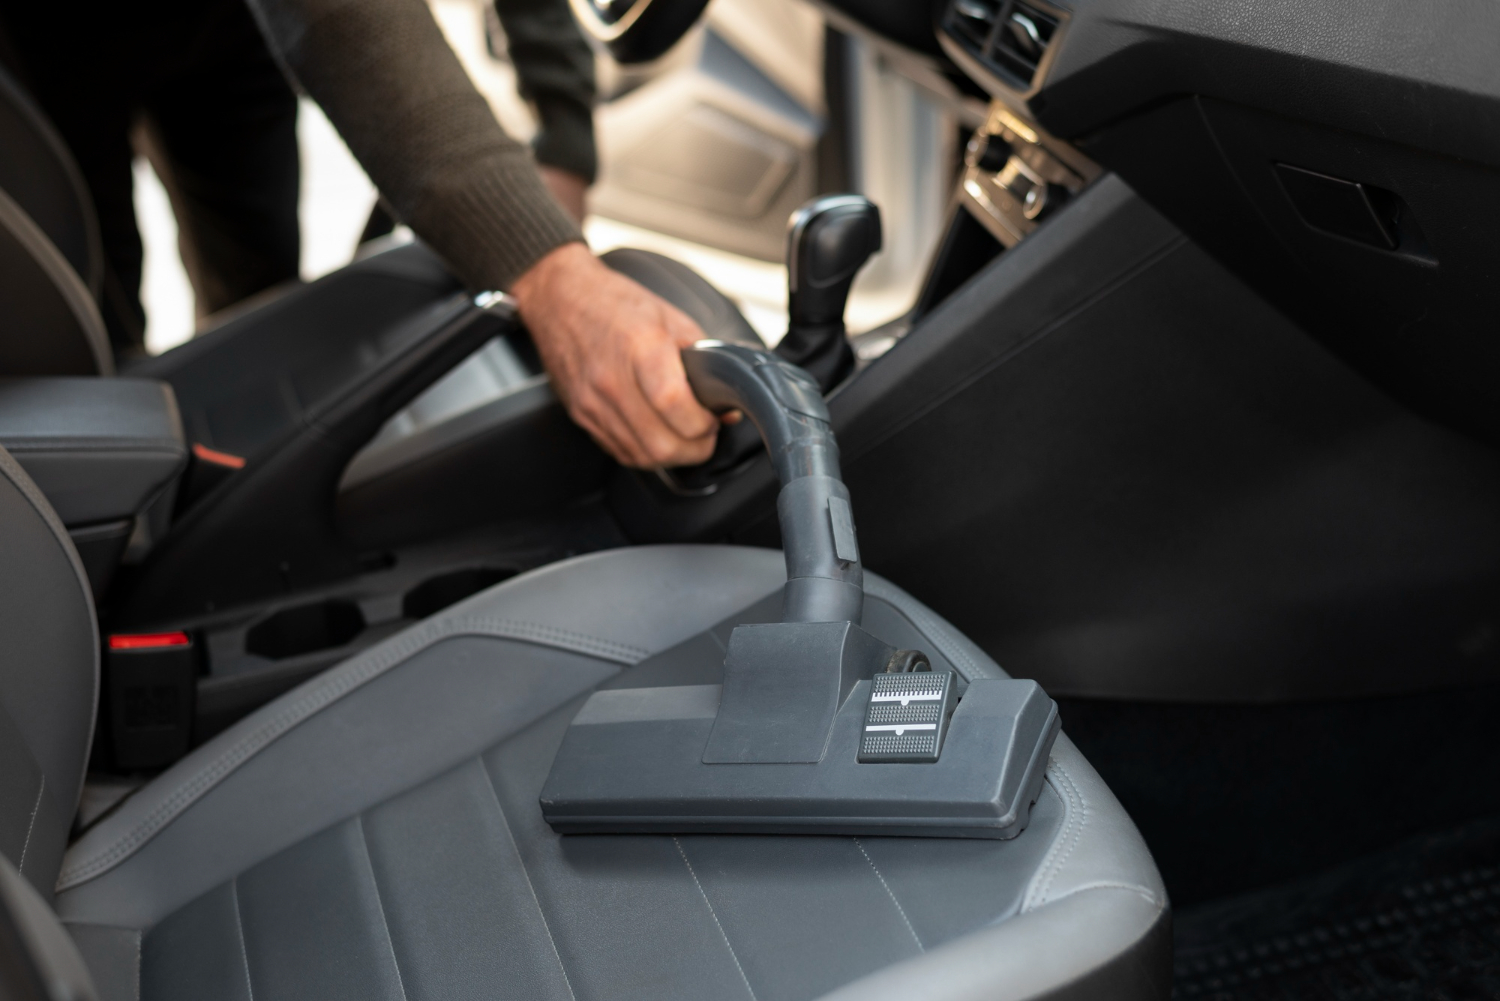
Use a product designed for automotive upholstery cleaning. Apply a small amount of spotter, allow its labelled dwell time, then blot or agitate gently with a soft brush. Strong solvents and household detergents can damage fibers, leave sticky residue, or interfere with later rinsing.
Extraction Pressure and Controlled Rinse Technique
Choose the lowest effective spray pressure and a light, even application. High pressure can drive colored liquid deeper, spread the stain, or over-wet seat foam. Follow the extractor manufacturer’s guidance rather than relying on a universal pressure figure.
Work from the stain’s outer edge toward its center. Use a brief solution pass, then make slow vacuum-only strokes with overlapping paths. Repeat a measured rinse technique with clean water when product instructions call for rinsing, and finish with several dry passes.
Stop if the stain expands or the fabric releases its own color. For a small test, compare the treated area with an adjacent section under consistent lighting. That simple check helps distinguish remaining contamination from a change in the textile’s original shade.
Practical Settings for Different Interior Materials
Use the material and stain response to guide adjustments. These starting points support cautious work, but the equipment manual, product label, and vehicle-care guidance take precedence.
| Situation | Starting approach | What to watch |
|---|---|---|
| Unknown fabric or fresh dye transfer | Cool to lukewarm water; minimal spray | Color transfer on the test cloth |
| Colorfast synthetic carpet | Moderately warm water; controlled passes | Even recovery and no spreading |
| Delicate upholstery or unstable dye | Spot treatment; avoid broad extraction | Fading, texture change, or bleeding |
Before cleaning, vacuum dry debris and protect nearby trim. Keep moisture away from seat controls, airbag components, and electrical connectors. After extraction, ventilate the cabin and use airflow to dry the fabric thoroughly.
Stain Pre-Treatment and Safe Next Steps
Pre-treatment should match the contaminant. A dye-transfer mark may need a textile-safe spotter, while ink may require a specialist product. Never combine chemicals, and do not heat an unidentified stain before testing; heat can make some colorants harder to remove.
A careful process follows a few repeatable steps:
- Blot excess liquid instead of rubbing the stain.
- Test the cleaner and temperature in a concealed area.
- Apply limited solution and allow the labelled dwell time.
- Extract gently, rinse only as directed, and make dry passes.
- Stop when original fabric color transfers or damage appears.
Professional dye stain removal may require specialized chemistry or color repair when pigment has bonded with the fibers. A trained detailer can assess the material and choose a treatment that protects the surrounding upholstery.


