
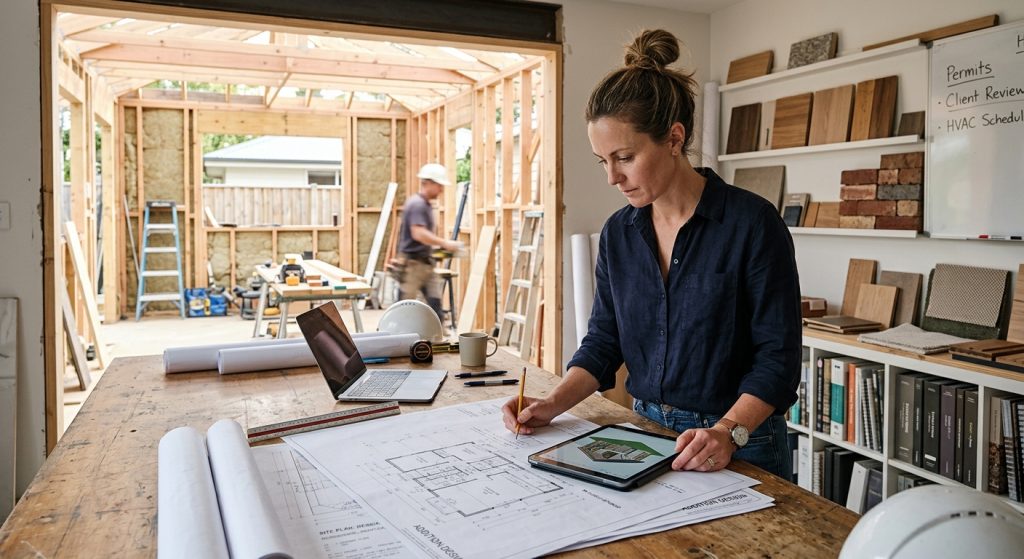
When an addition meets an existing roof, new rafters must connect to more than nearby timber: they must continue the building’s existing load paths. Sound addition design traces how roof weight, snow, and wind move through structural connections into walls and foundations. That careful rafter integration helps prevent movement, leaks, and costly structural problems.
Rafter Integration Begins With Existing Load Paths
Before selecting lumber or fasteners, a designer identifies how the original roof carries loads. Rafters may transfer weight to exterior walls, a ridge beam, interior supports, or combinations of these elements. Ceiling joists and rafter ties can also resist outward thrust, so their role matters.
The new roof section should continue those routes rather than interrupt them. For example, a valley connection can concentrate loads where an existing rafter was never designed to receive them. A qualified professional checks the framing, bearing points, and foundation capacity before approving the layout.
Structural Engineering Defines Safe Connections
Structural engineering evaluates span, lumber species, spacing, roof pitch, and local snow and wind demands. Those factors determine rafter dimensions and whether the existing structure needs roof reinforcement. A designer also checks whether walls can support added weight without excessive deflection.
Connection details must match the forces at each joint. Approved hangers, straps, and fasteners can resist uplift or lateral movement when designers specify them correctly. Nails or screws chosen by habit may not provide the required capacity, especially at a valley, ridge, or wall plate.
Designers may also specify supplemental beams, posts, or purlins when existing members cannot carry new loads. The objective is dependable load transfer, not simply a tight-looking joint. Resources on adding rafters to an existing roof can help explain common framing approaches, but they cannot replace project-specific calculations.
Roof Framing Plans Coordinate Geometry and Support
Roof framing plans align the addition’s ridge, valleys, hips, and eaves with the existing roof. Even a modest pitch difference can change where rafters meet and how rainwater drains. Accurate measurements help avoid awkward transitions and unexpected load concentrations.
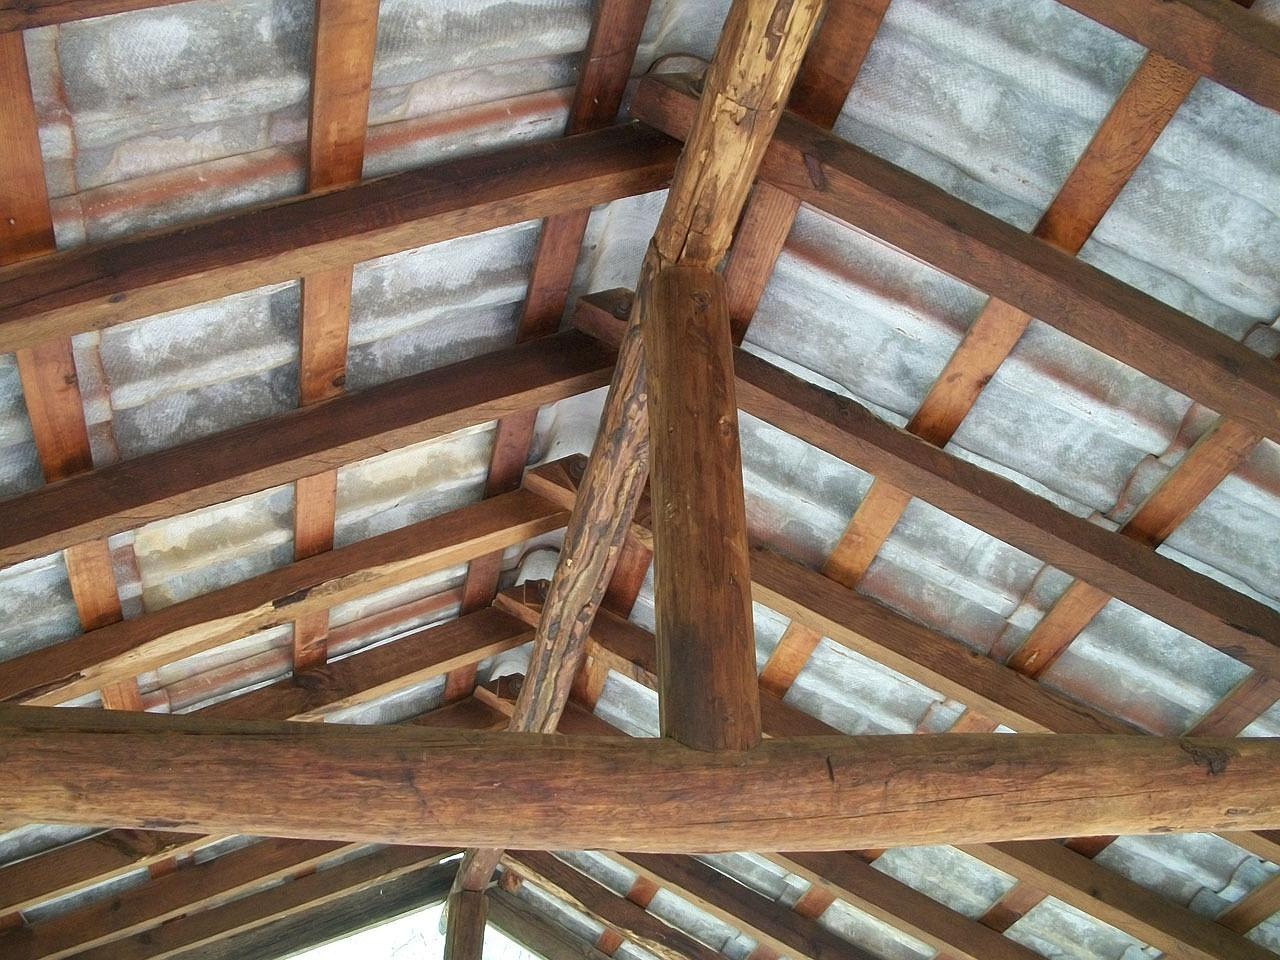
The designer should document member sizes, spacing, bearing locations, and connection hardware. Drawings also need to clarify how new rafters meet ridge boards or structural ridge beams. A ridge board aligns rafters, while a ridge beam carries loads to supports; the distinction affects the whole design.
Before work begins, compare the proposed details with existing conditions. Hidden damage, altered framing, or an unsupported ceiling assembly may require revisions. A guide to planning a roof addition tie-in offers further context for evaluating transitions.
Building Codes Shape Permits and Construction
Structural additions commonly require permits and plan review. Local building codes may address design loads, fire blocking, ventilation, insulation, and acceptable connection methods. Requirements vary by jurisdiction, so designers should confirm current rules with the relevant building department.
Permit documents typically identify materials, structural calculations, and the work scope. Clear drawings help reviewers assess whether the design safely connects new framing to existing supports. They also give carpenters a shared reference during construction, reducing guesswork when concealed framing differs from expectations.
Before crews open the roof, they should plan temporary supports and weather protection. They can then position rafters with levels and plumb lines, install specified connectors, and integrate the roof covering. Inspection at required stages verifies concealed work before finishes hide it.
Insulation and Ventilation Protect the Completed Roof
Structural performance alone does not guarantee a durable addition. Changes to roof geometry can block airflow or create cold surfaces where moisture condenses. Designers therefore coordinate insulation, air sealing, and ventilation before framing closes the assembly.
For vented roofs, intake and exhaust openings need a continuous, unobstructed route. For unvented assemblies, climate-appropriate materials and detailing control heat and moisture differently. Air sealing around penetrations also limits drafts and reduces moisture movement into the roof.
Useful design checks include the following:
- Confirm that insulation forms a continuous thermal layer.
- Keep ventilation pathways open where the design requires them.
- Flash chimneys, skylights, and roof intersections carefully.
- Inspect connectors and exposed framing for movement or moisture.
After completion, periodic inspections can reveal leaks, blocked vents, or shifting connections early. When a proposed tie-in affects load-bearing framing, consult a licensed structural professional before construction begins.


