
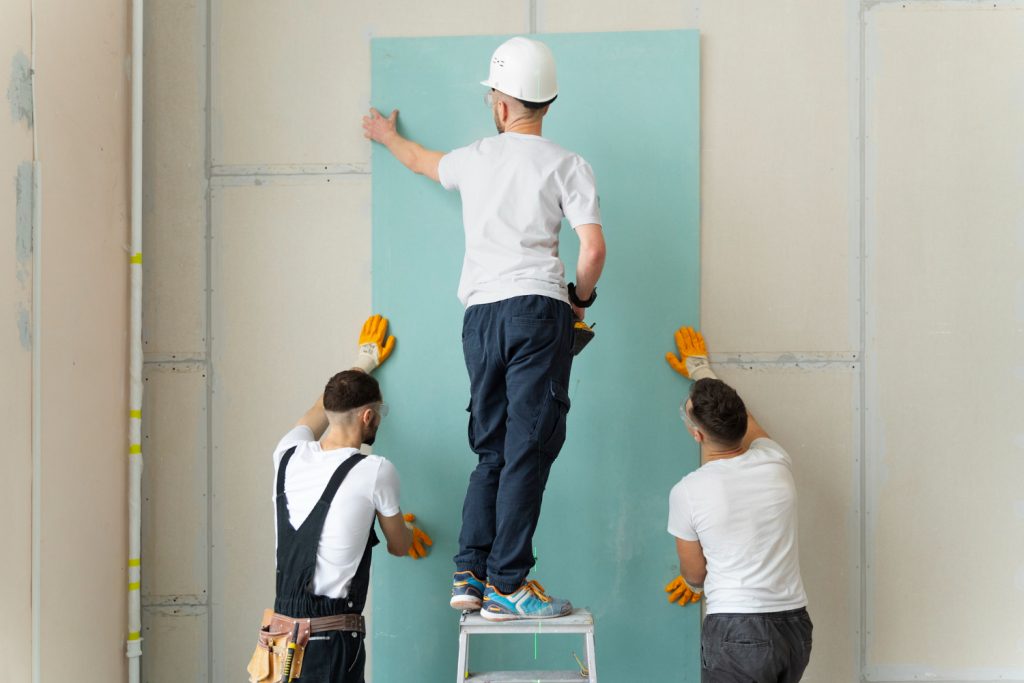
Transforming your interior space often begins with drywall installation. The significance of achieving a flawlessly smooth finish cannot be overstated, as it sets the foundation for a polished and visually appealing environment. In this guide, we will explore essential finishing methods that ensure your walls not only look stunning but also provide lasting durability. From understanding the proper preparation to mastering the application of joint compound, every step will be covered to help you achieve perfection in your interior walls.
The Essentials of Drywall Finishing
Have you ever gazed at your walls and thought they could use a touch of love? The art of drywall finishing is pivotal for transforming rough, unfinished walls into stunningly smooth surfaces. Typically, this process involves concealing joints, screw indentations, and other minor imperfections to achieve a seamless aesthetic. With the right techniques and a bit of effort, you can upgrade the interior of your home significantly.
Preparing Your Workspace for a Flawless Finish
Before diving into the nitty-gritty of drywall finishing, proper preparations can make a world of difference. Here’s what you need:
- Clear any clutter from your work area.
- Gather necessary tools and supplies, including drywall tape, joint compound, and sandpaper.
- Ensure adequate lighting and ventilation for a seamless workflow.
With everything in order, you set a solid foundation for a professional-grade finish.
Applying the First Coat: Foundation for Perfection
Once your workspace is prepped, it’s time to tackle the first layer of joint compound, commonly referred to as mud. Using a taping knife, apply a thin layer over the seams and screw indentations. Don’t forget to embed drywall tape in the compound, smoothing out any creases or air bubbles. This step is critical as it lays the groundwork for a flawless finish.
Refining the Surface with a Second Coat
After allowing the first coat to dry, it’s time for the second application. This layer should be thicker, focusing on filling in any remaining voids and smoothing out the surface. Employ a larger taping knife and maintain even strokes, feathering out the edges to match the surrounding drywall. Precision is key at this juncture to avoid lumps or discrepancies.
The Art of Sanding: Achieving a Smooth Finish
Next comes the sanding process. Once the second coat has dried, use a sanding sponge or fine-grit paper to gently smooth the compound. Start by removing any high spots, then progress to finer sandpaper for an ultra-smooth texture. Patience during this stage is essential; over-sanding can lead to unintentional damage.
Completing the Details: Perfecting Corners and Edges
With the main surface refined, it’s time to focus on the details—specifically the corners and edges. Install corner beads to add support and enhance durability. Smooth joint compound around the edges to ensure a clean transition to the walls. Paying attention to these details not only completes the look but also provides a touch of sophistication.
Common Challenges and How to Overcome Them
Even with careful preparation, challenges may pop up during the drywall finishing process. Air bubbles in the compound or uneven surfaces can be particularly frustrating. Always keep extra materials on hand for quick fixes and don’t hesitate to seek advice if you encounter issues beyond your expertise.
Lighting in your workspace can be a game changer, helping you spot imperfections more easily. Additionally, patience is crucial. Rushing through the process may lead to mistakes, potentially resulting in costly rework. A smooth, seamless finish is achievable when properly executed.
Advanced Techniques: Taking Your Skills to the Next Level
For those looking to hone their craft and achieve even more impressive results, exploring advanced drywall techniques may be the answer. Options such as texturing the walls can introduce an appealing visual element. Techniques like orange peel or knockdown can elevate your work from ordinary to extraordinary.
Moreover, experimenting with design elements—such as accent walls or recessed niches—can transform an unassuming wall into a striking feature. Different drywall textures can also be utilized to complement various interior design styles.
Professional Tips for Success
To ensure the finest drywall finishes, approach the task with meticulous attention to detail. Take your time to prepare thoroughly, apply each coat with care, and sand effectively. If you’re feeling overwhelmed, reaching out to a professional for guidance or assistance can be invaluable.
Ultimately, while DIY drywall finishing can be rewarding, the expertise of professionals can make a significant difference in achieving expert-level results. For anyone navigating the complexities of drywall installation, reaching out to a qualified service can simplify the process and elevate the outcome.


