
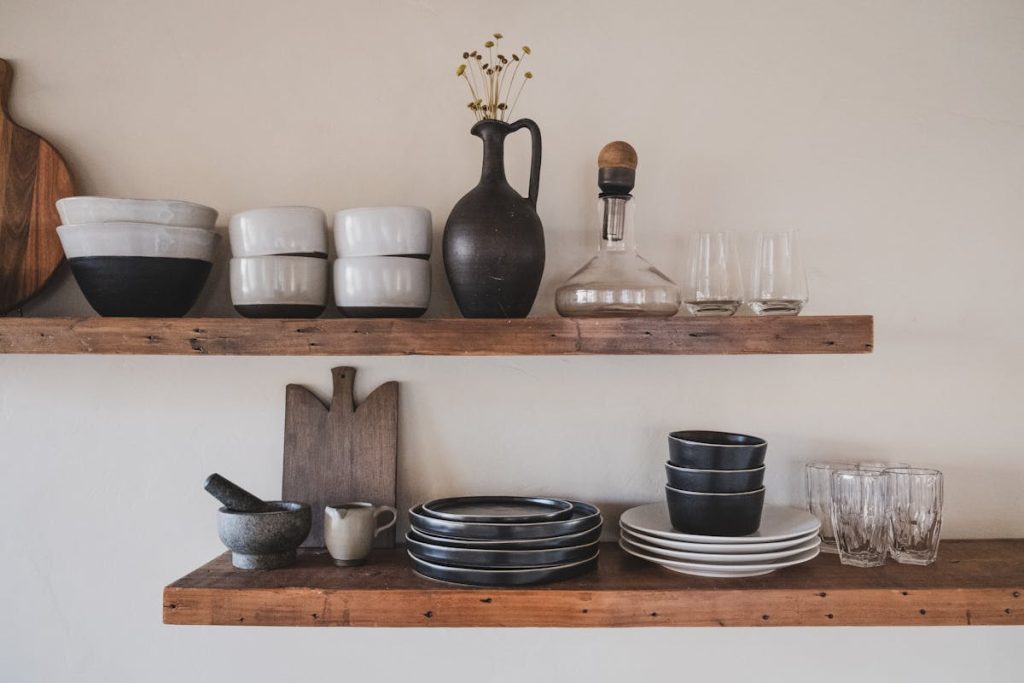
Transform your bare walls into a stylish showcase with hanging wall shelves crafted from leather and wood. This simple DIY project combines rustic charm and modern elegance, offering a unique and functional decor piece that’s easy to make with just a few materials. Whether you’re revamping your living room corner or adding a cozy touch to your nursery, these shelves provide a chic, personalized solution to elevate your space.
Materials and Tools Needed for Your Hanging Shelf
Before starting any DIY project, gathering the right materials and tools is key to success. For these sleek shelves, you will need basic woodworking and leather supplies, most of which are easy to find. Preparing everything beforehand will save time and ensure your build proceeds smoothly.
- Wood plank: a pine shelf board approximately 5″ x 16″ or 12 x 40 cm, 3/4″ thick
- Leather straps: about 40″ of 1/2″ thick leather or double the length at 1/4″ thickness
- Paint: a dark denim or other preferred color suitable for wood
- 1/2″ Forstner drill bit: for clean, flat-bottom holes in the wood
- Basic tools: saw, drill or drill press, fabric scissors
Step-by-Step Instructions to Make Hanging Leather Shelves
Follow these practical steps to assemble your stylish shelves. Each step builds on the previous one to ensure a balanced, durable outcome. Take your time and enjoy the process.
1. Preparing Your Wood
Cut your pine shelf to precise measurements: 5″ wide by 16″ long. Then, mark 3/4″ from each edge to form a square in each corner. This ensures the holes you drill for the leather straps sit perfectly centered. Use the Forstner bit carefully to drill through these marks. To avoid splintering, place a scrap piece of wood underneath during drilling.
2. Painting and Finishing
Once drilled, paint the wood with your chosen color. The dark denim paint adds a contemporary touch and highlights the leather straps beautifully. Let the paint dry completely before continuing.
3. Cutting and Attaching Leather Straps
Cut two leather strips of roughly 40″ each, about 1/2″ wide. One strap should be an inch longer to reach the front holes comfortably. Thread each strap through the respective holes and tie knots underneath the board. The knots secure the shelf and also create an eye-catching design. Adjust knot tightness to level the shelf when hung.
4. Hanging Your Shelf
Use a level to ensure the shelf hangs straight on the wall. If needed, adjust knots slightly. The hanging shelf is ready to display light décor items, small plants, or books, offering both function and style in one compact piece.
Variations and Tips for Customizing Your Shelf
You can personalize these shelves in multiple ways to suit different aesthetics. Here are some ideas to inspire your creativity:
- Rustic look: swap leather for thick rope for a natural vibe
- Different colors: experiment with bright paint tones or natural wood stains
- Additional shelves: make smaller or larger shelves to create a wall cluster
These modern hanging leather shelves combine elegance and function, perfect for any room needing a touch of style. The project is budget-friendly, requires minimal tools, and offers lots of room for personalization. Gather your pine, leather, and paint, and try this delightful DIY to transform an empty wall into a beautiful display.
Ready to start your own hanging shelf? Gather your materials and enjoy this simple, creative project that adds character and storage to your home walls!


