
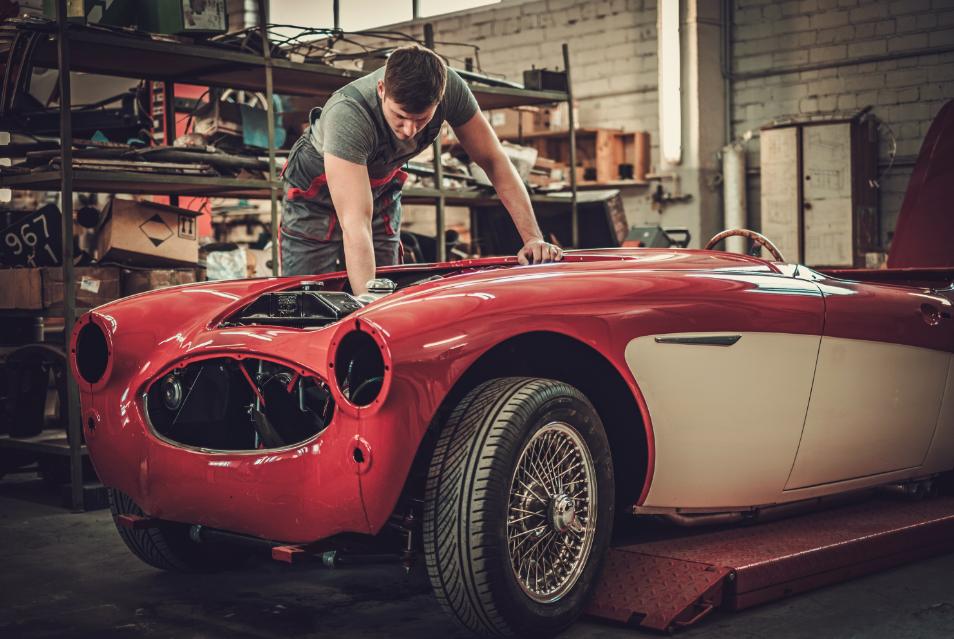
Preparing your car for a new paint job is like setting the stage for a theatrical performance; every detail matters. Let’s delve into the essential steps you need to ensure that your car glides smoothly into its fresh, new look.
1. Cleaning the Surface
The first step in your preparations is to thoroughly clean your car’s surface. This means scrubbing off dirt, grease, and grime, which can interfere with the paint’s adherence. Using a quality automotive detergent will help wash away any contaminants lurking on your vehicle.
Once cleaned, allow your car to dry completely before proceeding. A waterlogged surface will only lead to paint disasters later on. For an extra touch, consider using a degreaser to make sure every spot is free from oils that can affect the paint quality.
2. Inspecting for Imperfections
Now, take a close look at your car’s exterior for imperfections like dents, scratches, or rust spots. Any damage to the surface needs to be addressed before applying paint. Ignoring these flaws will lead to a subpar finish that won’t impress anyone.
For dents, use a body filler to smooth things over. Rust spots can be dealt with using a rust converter to halt decay before it spreads. Congratulate yourself, you’re halfway to a flawless finish!
Once your car is clean and free from imperfections, it’s time to prepare that canvas. Smooth surfaces are crucial for paint adhesion, so let’s ensure we’re all set before the shiny magic happens.
3. Sanding the Surface
Sanding is the not-so-secret ingredient in achieving that perfect paint job. Start with a coarse grit sandpaper to tackle any stubborn old paint or rough spots, gradually moving to finer grits for a silky finish. The goal is a surface that feels as smooth as glass!
Remember to sand in even strokes, and take your time here. Rushing through this process will only result in a less than desired outcome. The smoother you get your car, the better the paint will adhere and look!
4. Masking and Protection
Next, let’s talk about the masking process. You’ll want to cover any parts of your car that aren’t meant to be painted, such as windows, tires, and trim areas. Using high-quality masking tape will give you sharp lines, ensuring a professional appearance.
Don’t skimp on this step! Proper masking prevents unwanted overspray and keeps your detailing crisp and clean. A little prep now can save you from countless headaches later!
5. Ventilation and Safety
Now that your car is beautifully prepared, we need to focus on the finishing touches that will set you up for a successful paint application. Remember, it’s all about the details.
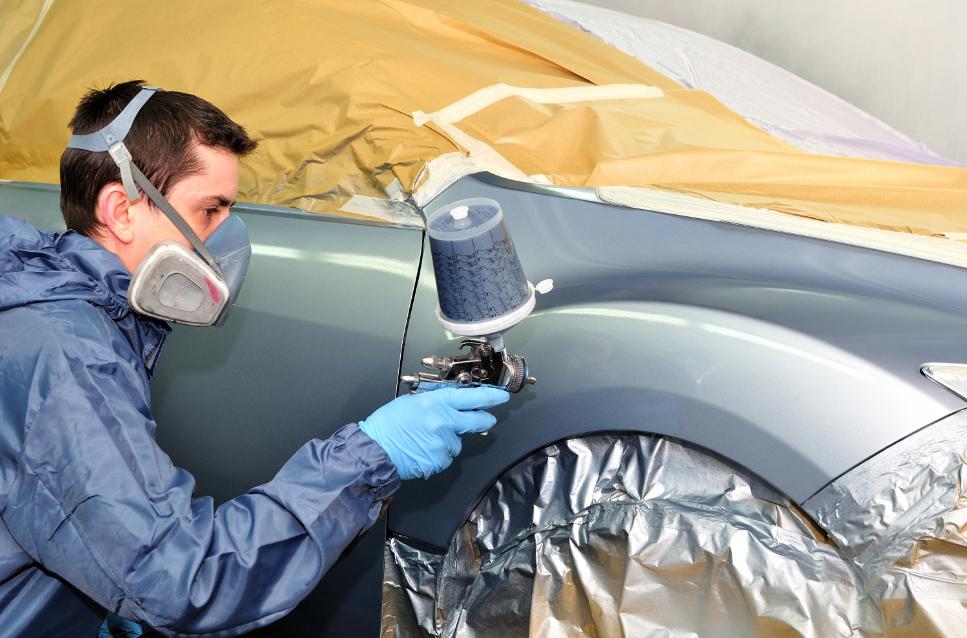
Before any paint touches the surface, ensure that your workspace is well-ventilated. Proper airflow helps avoid harmful fumes from accumulating, thus safeguarding your health. If you’re in a confined area, consider wearing a respiratory mask and goggles to protect yourself from inhaling particles.
Work in a spacious area where windows and doors can remain open, or use fans to briskly circulate the air. Your safety and comfort are paramount during this stage!
6. Choosing the Right Paint
Choosing the right paint can be the cherry on top of your marina-quality finish. Whether you decide on urethane or enamel, ensure that it suits your car’s needs. Urethane paint is known for its durability and glossy finish, while enamel can offer more varied options in color.
Make sure to follow the manufacturer’s instructions when mixing and thinning your paint. This step can significantly affect how well the paint will apply and adhere.
7. Applying the Base Coat
Your car is now exquisite and ready for its shiny new update! Let’s dive into the painting process that will turn heads and make your vehicle look showroom-ready.
 Using a spray gun will help achieve an even and consistent layer of paint. Start by applying your base coat in multiple thin layers, allowing each coat to dry as per the manufacturer’s recommendations. Patience is key to avoiding drips and achieving that flawless finish!
Remember to overlap your strokes slightly to ensure complete coverage. Keep the spray gun about 6-8 inches from the surface for optimal application.
8. Finishing Touches
Once your base coat is dry, you can apply the clear coat that adds a glossy finish and extra protection to your paint job. Completing a few layers of clear coat can provide an immense boost in durability.
After the final clear coat dries, perform a careful inspection for any remaining imperfections. Small touch-ups can be made with a fine brush, ensuring that your new car paint job looks pristine and professionally done.
By following these steps meticulously, you can achieve a dazzling result that showcases your vehicle’s newly transformed beauty.
Want professional results without the hassle? Contact a specialized company today to get expert guidance, high-quality materials, and a flawless finish that lasts. Whether you’re prepping your car or ready to paint, their team can help you every step of the way. Your vehicle deserves the best!
https://www.youtube.com/watch?v=c12exa2ug5U


