
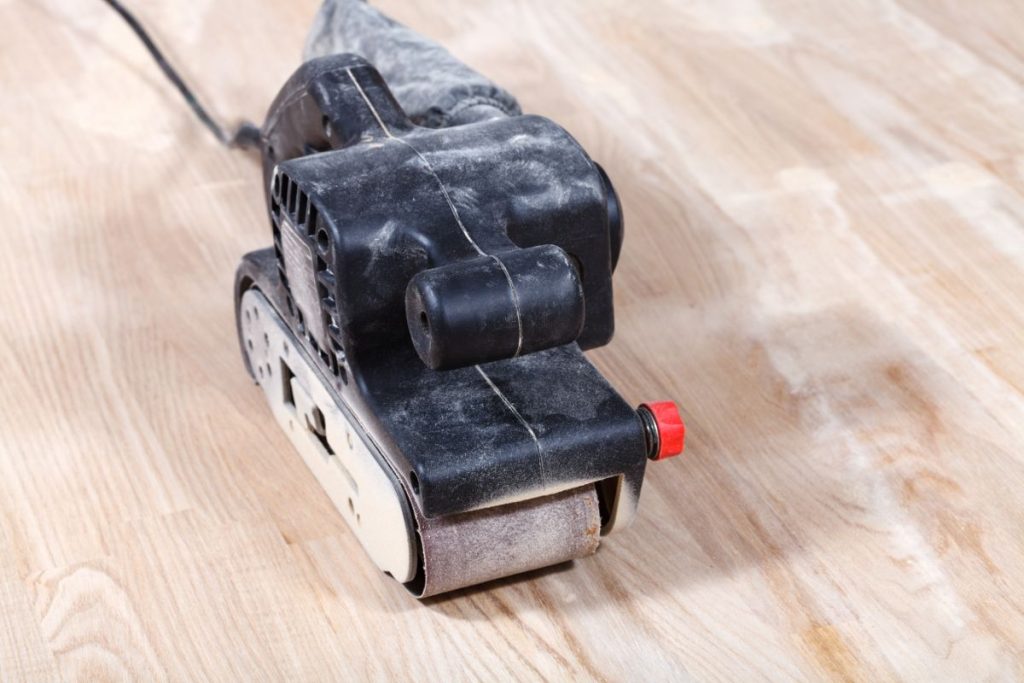
When your floor sander suddenly refuses to start or runs inefficiently, the culprit is often the motor components. As the heart of your sanding tool, maintaining and repairing this essential part can extend your equipment’s lifespan and prevent costly downtime. This guide offers practical steps to diagnose and fix common motor issues, focusing on critical repairs that will keep your floor sander running smoothly.
Essential Preparations Before Repairing a Floor Sander Motor
Before opening the floor sander, preparation is crucial. Properly marking wires and components ensures a smooth reassembly process, preventing wiring mistakes that could damage the motor further. Using labels or colored markers to identify connections avoids confusion and speeds up repairs.
Take the time to photograph or sketch the current wiring setup. This visual record serves as a helpful reference when reattaching wires later. Investing a few moments in this step saves valuable hours during the rebuild, and helps avoid operational failures caused by miswiring.
Testing and Replacing Faulty Capacitors
The motor’s capacitors are key to delivering the electrical boost needed to start and maintain motor speed. A defective capacitor can result in a sluggish or non-starting floor sander motor. Diagnosing this involves safely discharging the capacitor with a resistor first, then using a multimeter to measure its capacitance.
Compare these readings against the manufacturer’s specifications. Capacitors with significantly lower values must be replaced with units matching the original’s microfarad rating and physical dimensions. This swap often restores full motor function and eliminates starting problems.
Safety Tips for Handling Capacitors
Always discharge capacitors carefully to prevent electric shocks. Use insulated tools when testing, and double-check your multimeter’s functionality before use. Capacitors store energy even when the device is unplugged, so skip no safety precaution.
Choosing the Right Replacement Capacitor
Consult your floor sander’s manual or parts list to identify the exact capacitor type. Using a capacitor with incompatible ratings or improper size can cause mechanical fit issues or electrical malfunctions. Reliable suppliers and OEM parts ensure proper fit and longevity.
Troubleshooting and Replacing the Stationary Switch
The stationary switch, also known as the centrifugal switch, controls the transition between motor start and run modes. Failure of this component can lead to a motor that refuses to start or runs erratically.
This switch may fail due to mechanical wear, debris accumulation, or welding of contacts from electrical arcing. Disassembling to inspect and clean the switch often reveals the source of the issue. If cleaning doesn’t restore function, replacing the switch is straightforward with basic screwdrivers.
Mark wire connections before detaching the switch, then reinstall the new component ensuring each wire matches the corresponding posts. This careful approach guarantees seamless motor startup.
Regular Switch Maintenance
Integrate periodic inspection and cleaning of the stationary switch into your maintenance routine to prevent future failures. Keeping this component debris-free extends motor life and improves reliability.
Reassembling the Motor and Ensuring Reliable Operation
Once repairs are complete, carefully reassemble all parts. Attention to detail during this phase is vital for maintaining motor integrity and performance. Use your earlier notes and photos to reconnect wires accurately, and ensure all screws and components are securely tightened.
Testing the motor after reassembly allows you to verify that the repairs were successful. If problems persist, consulting the manufacturer’s repair manual or seeking expert support will provide further guidance.
Understanding Different Sanders and Their Maintenance Needs
Sanders come in many varieties like belt, orbital, and disc models, each with unique motor requirements. Knowing the specific type of sander you own helps tailor your maintenance approach. For example, random orbital sanders are designed to avoid sanding marks thanks to their round pads, whereas orbital sanders have square pads that require different sanding techniques.
Whether you’re working with a floor buffer or specialized wide-belt sander, consistent motor care improves sanding performance. Keeping all electrical and mechanical parts in top condition guarantees smoother finishes and fewer project interruptions.
For broader advice and repair tips on maintaining your sanding equipment, resources like The DIY Blog’s sanding repair guide offer helpful tutorials and insights.
Effectively troubleshooting and repairing your floor sander motor requires a methodical approach focusing on wiring, capacitors, and switches. Attention to detail in preparation and reassembly ensures your equipment stays reliable for demanding flooring projects.
By applying these targeted repair techniques, you can minimize downtime and maintain high-quality finishing results without frequent professional intervention.
If you search for expert help with floor sander motor issues, don’t let breakdowns stall your project. Contact a specialist today to protect your equipment’s reliability and ensure flawless flooring results every time.
https://www.youtube.com/watch?v=BT_bdZvFYKA


