


5 Steps for Sanding Parquet
Summary
– Step 1: Repair the floor
– Step 2: Protect yourself before sanding the floor
– Step 3: Sand the center of the surface
– Step 4: Sand the edges
– Step 5: Dust and clean the floor
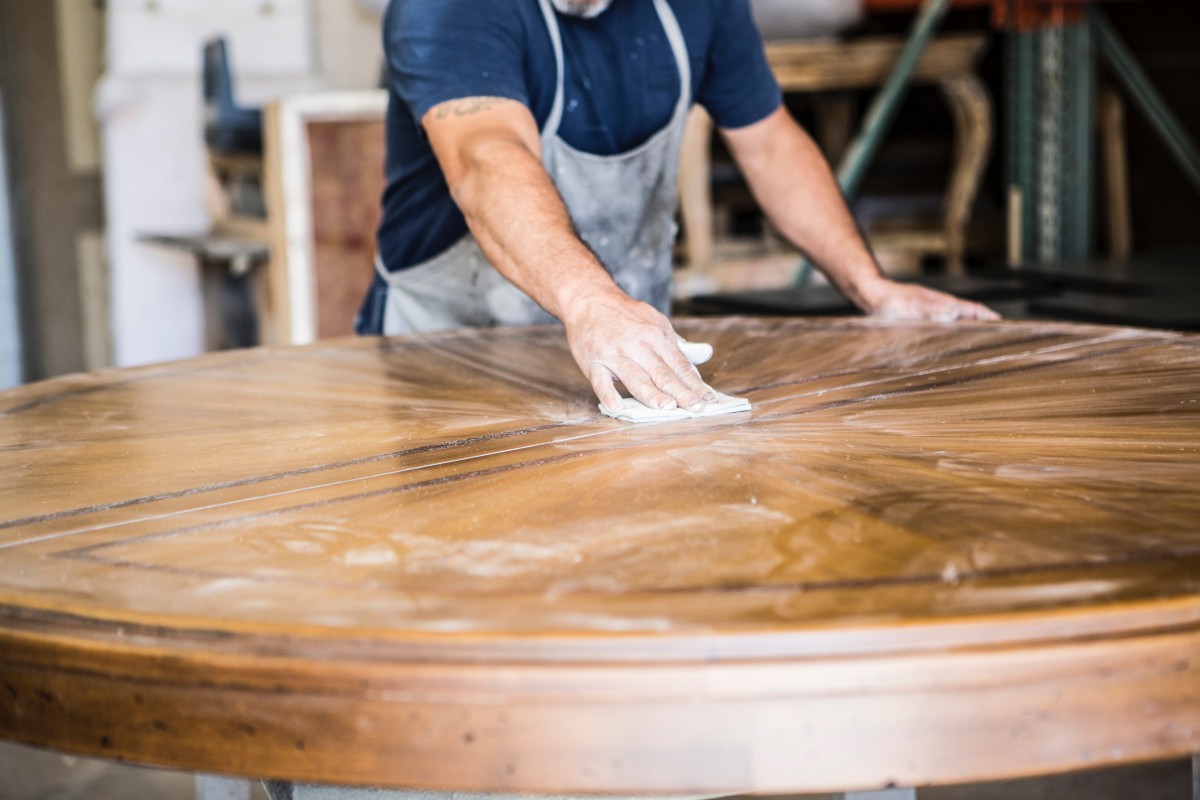
Sanding the floor exposes it to the elements by removing all traces of wax, varnish, or paint.
Sanding the floor is done in three steps and requires two types of sanders. You will start with coarse-grit sandpaper, then medium grit, and finally fine grit to completely smooth the surface. You will use a belt sander to sand the center of the surface and a corner sander, or edger, to sand the edges.
Here are the materials and steps for sanding a wood floor.
1. Repair the floor
There is no need to repair a new or good floor, but you will need to make repairs if the floor is old. If the boards are broken, wobbly, or cracked, make repairs before sanding the floor.
Cracks and splits
If the floor has small cracks or splits, you can fill them with wood filler. Wood filler is applied with a spatula.
– If the crack is less than 1 cm, fill it with the wood filler.
– If the gap is more significant than 1 cm, fill it with string or wood shavings before applying the wood putty.
– Use a spatula wider than the gap to fill it.
– Scoop out the wood filler with the spatula.
– Fill the crack or crevice.
– Smooth the surface.
– Let the wood putty harden.
Nails
– Locate bent or damaged nails and remove them with a nail puller or pliers.
– Locate protruding nails and hammer them in.
2. Protect yourself before sanding the floor
Sanding wood floors generates a lot of dust, so it’s essential to take a few precautions and protect yourself before sanding the floor.
– Open the windows.
– Keep children and pets away.
– Wear safety glasses to protect your eyes from dust.
– Wear a mask to avoid inhaling dust.
– Finally, wear headphones to protect yourself from the noise of the sander.
3. Sand the center of the surface
Use a belt sander for sanding the center of the surface:
– Start by equipping the sander with sandpaper or coarse-grit corundum paper.
– You will start sanding the floor from a wall, being careful not to get too close to baseboards and corners. Sanding is always done in the direction of the wood grain: position your belt sander accordingly.
– Turn the sander on and run it over the floor without pressing down, as the sander’s weight is sufficient to keep it firmly on the floor.
– Never park the sander while it is running, as you may damage the floor by digging into it. Start moving it as soon as you turn it on.
– Sand in straight strokes, always following the direction of the wood grain. When you reach the opposite wall, turn around.
– Criss-cross the belt sander passes, so you can ensure that the entire surface is sanded.
– When you have finished sanding the floor with the coarse paper, dust it off, equip the sander with a medium grit sanding paper and repeat the operation.
– Finally, sand a third time with the fine grit sander.
4. Sanding the edges
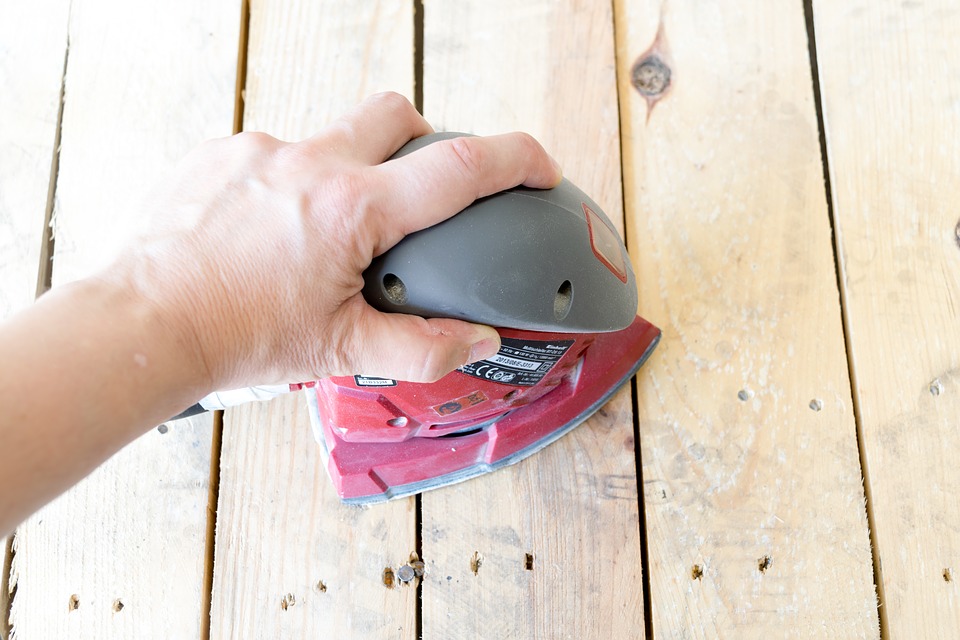
Use an angle sander or edge sander for sanding the edges:
– Equip the angle sander or edger with coarse-grit abrasive.
– Turn it on and sand the edges.
– Sand the floor along the baseboards and in the corners, without pressing and without parking the sander.
– When you have sanded the first time, dust off and fit the sander with medium grit abrasive. Finish by sanding with fine-grit paper.
5. Dust and clean the floor
When you have finished sanding the floor, clean it:
– Vacuum or broom the surface to remove dust.
– Damp-mop to catch any remaining dust.
– Let the floor dry.
Below is a list of equipment you will need to do the job.
Equipment for sanding the floor
Vacuum cleaner
Helmet, mask, and safety glasses
Nail punch
Hammer
Sanding paper
Wood paste
Belt sander
Angle sander
Mop
Spatula