
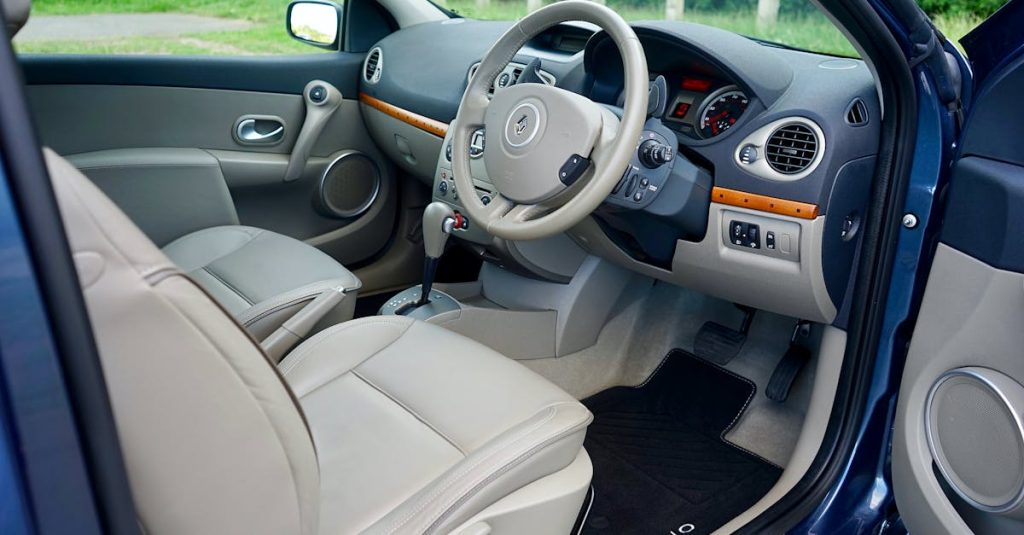

Replacing your car carpets isn’t just about aesthetics, it’s about comfort, noise reduction, and even vehicle value. A well-done installation makes your car feel newer and more enjoyable to drive. Doing it wrong? That usually results in wrinkled floors, unpleasant odors, or even faster wear and tear.
Whether you’re a hands-on DIYer or just trying to understand the process better before hiring a professional, learning how to install car carpets the right way can save you time, money, and headaches.
Tools of the Trade: What You’ll Need to Get Started
Getting professional results starts with using the right equipment. While most carpet kits are pre-cut and molded to fit your car’s specific model, you’ll still need a few tools to secure everything in place and finish the job cleanly.
Must-Have Equipment
Here are the essential tools and materials you’ll need:
- A pre-molded carpet kit suited for your specific car model
- A utility knife or heavy-duty carpet cutter
- High-temperature spray adhesive or double-sided automotive carpet tape
- A rubber roller for smoothing out air bubbles
- Screwdrivers (flathead and Phillips)
- A vacuum and cleaner to prep the surface
- Optional: a heat gun or hairdryer to help mold the carpet into tight corners
Gathering all tools before you begin makes the entire process smoother and prevents delays mid-project.
Step-by-Step: How to Install Car Carpets Like a Professional
You’ve got the tools. Now it’s time to get your hands dirty, in the cleanest way possible.
Step 1: Remove the Old Carpet
Start by removing your car seats, center console, door sills, and any other interior components that rest on the carpet. Disconnect the car battery for safety. Once those are out, gently pull out the existing carpet, which might be glued down or held by clips.
Don’t toss the old carpet just yet, it can serve as a useful template for trimming your new one later on.
Step 2: Clean the Floor Pan
With the old carpet out of the way, give the metal floor a thorough vacuuming. Wipe away any grease, debris, or rust. If there are any rough patches or rust spots, use a rust inhibitor or sealant to prepare the surface. A clean, smooth floor ensures better adhesion and longevity for your new carpet.
Step 3: Position the New Carpet
Place the new carpet into the vehicle to see how it aligns. If needed, let it sit in the sun for a few hours or use a heat gun to soften the material. This makes it easier to contour the carpet around the footwells, transmission tunnel, and other tight areas.
Use the original carpet as a guide to cut necessary holes for seat mounts, gear sticks, or cable access.
Step 4: Apply Adhesive and Secure
Lift one section of the carpet at a time and spray adhesive both on the underside of the carpet and the floor area. Press it firmly in place and use a roller to eliminate air bubbles and wrinkles. Continue section by section, working from the center outward for best results.
Step 5: Trim and Reinstall Interior Parts
Once the adhesive sets, trim any excess edges. Cut out access holes as needed, then reinstall the seats, trim panels, and any other components you removed. Make sure everything fits flush and that no material obstructs moving parts or seat tracks.
Tips and Tricks from the Pros
Even if you follow every step, a few insider tricks can elevate your result from “good enough” to “dealership quality.”
Let the Carpet Relax
Unfold your carpet at least a day before installation. Letting it settle removes deep creases and helps you visualize where it will lay once in place.
Work Slowly and in Sections
Applying glue across the entire floor at once can lead to a sticky mess. Break the job into smaller areas, this gives you more control and reduces errors.
Use Heat Sparingly
A little heat can help the carpet fit into sharp curves and corners. But too much, and you risk warping or melting the fibers. Always test the heat gun on a hidden area first.
Mistakes to Avoid
Even seasoned DIY enthusiasts fall into common traps. Here’s what not to do.
Rushing the Job
Cutting corners leads to crooked layouts, exposed floor pans, and loose edges. Take your time. Let glue dry fully and double-check each section before moving on.
Poor Surface Prep
Laying carpet on a dirty or rusty floor compromises adhesion. Always clean, dry, and treat the metal before laying anything down.
Improper Trimming
Overcutting holes for bolts or mounts can leave unsightly gaps. It’s better to start small and enlarge only as needed.
Installing car carpets like a pro is all about preparation, patience, and precision. With the right tools and a methodical approach, your car’s interior can look and feel like new, without needing to visit an expensive detailing shop. Whether you’re updating a classic car or just freshening up your ride, this is a project that pays off both visually and practically.
Looking to skip the hassle? Contact a certified company for professional installation and expert advice. Give your car the finish it deserves, inside and out
https://www.youtube.com/watch?v=b0pAAs1gzx8


