


This post is a continuation of Part 1 on How to Paint With a Roller. Lately, we have gone through:
– Which roller to choose to paint well?
– Step 1: Mix the paint
We will now cover:
– Step 2: Pour the paint into a paint tray
– Step 3: Load the paint roller
– Step 4: Wring out the roll
– Step 5: Apply paint with a roller
– Step 6: Cross the roller passages
– Step 7: Smooth the paint
– Step 8: Clean the equipment
So let’s continue with Step 2…
2. Pour the paint into a paint tray
The width of the paint tray you use must be wider than the roller so that it can be easily dipped in paint.
When the paint is ready, pour it into a paint “truck”: this is a tray into which the paint is poured to dipped the roller. Some paint bins have a built-in wringer grid. If your paint bin does not have a built-in grid, place a wringer grid.
Fill the paint tray about one-third full.
Tip: Remember to protect the surfaces you are not painting by installing protective tarpaulins or newspapers.
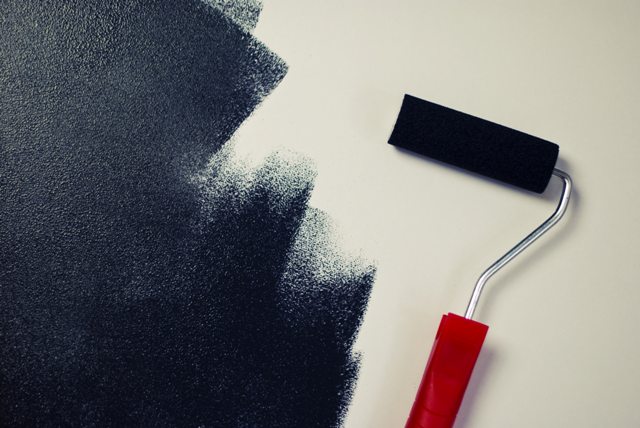
3. Load the paint roller
Start by preparing the roll:
– Scrub the roll with your hand, you can also pass it over a dry cloth, to remove dust and hair that won’t stick to it.
– If the hairs at the ends of the sleeve protrude, cut them off with scissors. This will prevent paint from accumulating on the sleeve edges and the roller from leaving marks on the surface to be painted.
Dip the roller sleeve into the paint truck (paint tray) to load it with paint :
– Do not dip the roller entirely into the paint: if the sleeve is too heavily loaded, the paint may run onto the walls.
– Dip only half of the roller sleeve into the paint.
4. Wring out the roller
Once you have dipped the roller in the paint, wring it out. This is important because it removes excess paint.
– Place a wringing grid in the paint truck.
– Slowly roll the roller back and forth over the grid to wring it out.
– Press lightly if necessary to remove excess paint: the aim is to impregnate the roller sufficiently to cover the walls without the paint dripping.
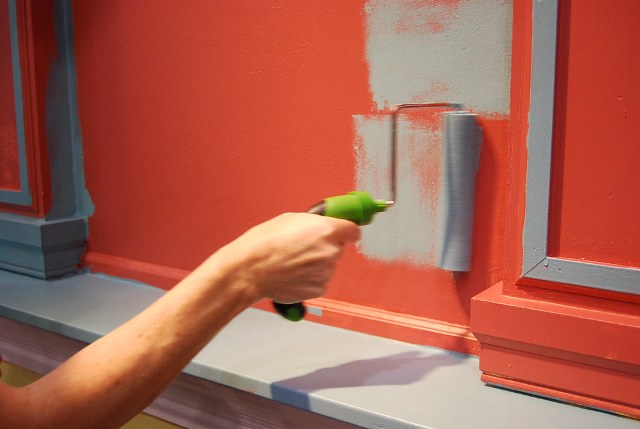
5. Applying paint with a roller
When the roller is loaded and wrung out, apply the paint to the surface to be painted.
To paint a large area with a roller, proceed zone by zone, covering the surface by 50 cm squares.
Apply the paint in vertical strips:
– Press the roller to squeeze the sleeve a little on the surface to be painted. Do not press too hard; you risk leaving roller marks.
– Move the roller up and down to spread the paint without peeling it off the surface. “Stretch” the paint to spread it evenly.
– Overlap the strips of the paint slightly to avoid streaks.
– Avoid loading the roller unnecessarily or too often, load the roller only when it is no longer depositing paint.
Tip: Follow the direction of the light when painting a wall or ceiling. This way, the roller tracks will not be visible in the light once the paint has dried. For example, start painting from the window to the door.
6. Cross the roller paths
Cross the roller passes over the surface to be painted to obtain a consistent result, without streaks or demarcations.
– Roll the roller in horizontal strips to cross the passages.
– Take care to cover the entire surface, do not leave unpainted areas.
7. Smoothing the paint
Smooth the paint with a roller to even out the surface.
– Do not load the paint roller, pass it up and down the wall without pressing.
– Once the surface is smoothed, paint the next area, making sure to overlap slightly with the first painted area.
– Once you have painted the entire surface, allow it to dry for the time indicated on the packaging.
– If necessary, apply a second coat using the same procedure as with the roller painting.
Tip: To keep the rolls between two coats of paint without washing them and drying out, wrap them tightly with cling film, or cover several newspaper sheets around them.
8. Clean the equipment
When you have finished painting, clean the painting equipment.
It is essential to clean the painting equipment before the paint dries so that you can reuse it.
Important: do not throw the paint residues in the trash; they contain harmful products to the environment. Put them back in the paint can that you will deposit at the waste disposal site.
So, that’s it. Now you know how to paint like a pro with a roller. However, if the above seems too time-consuming and too messy for you to undertake such a task, you can get in touch with LK Painting Service. They are a painting company that can handle all your residential or commercial painting projects.
One thought on “How to Paint With a Roller (Part 2)”