


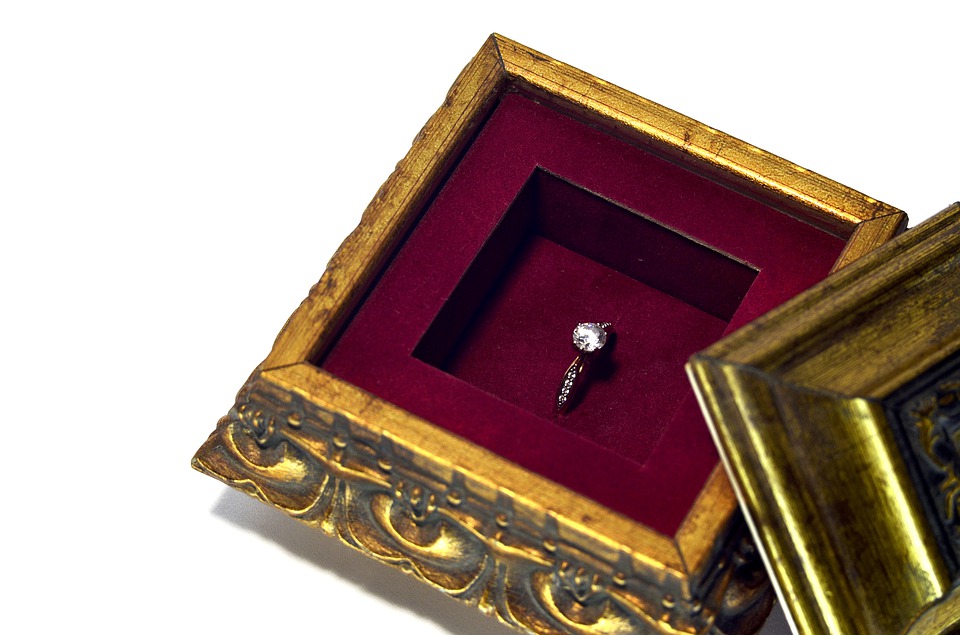
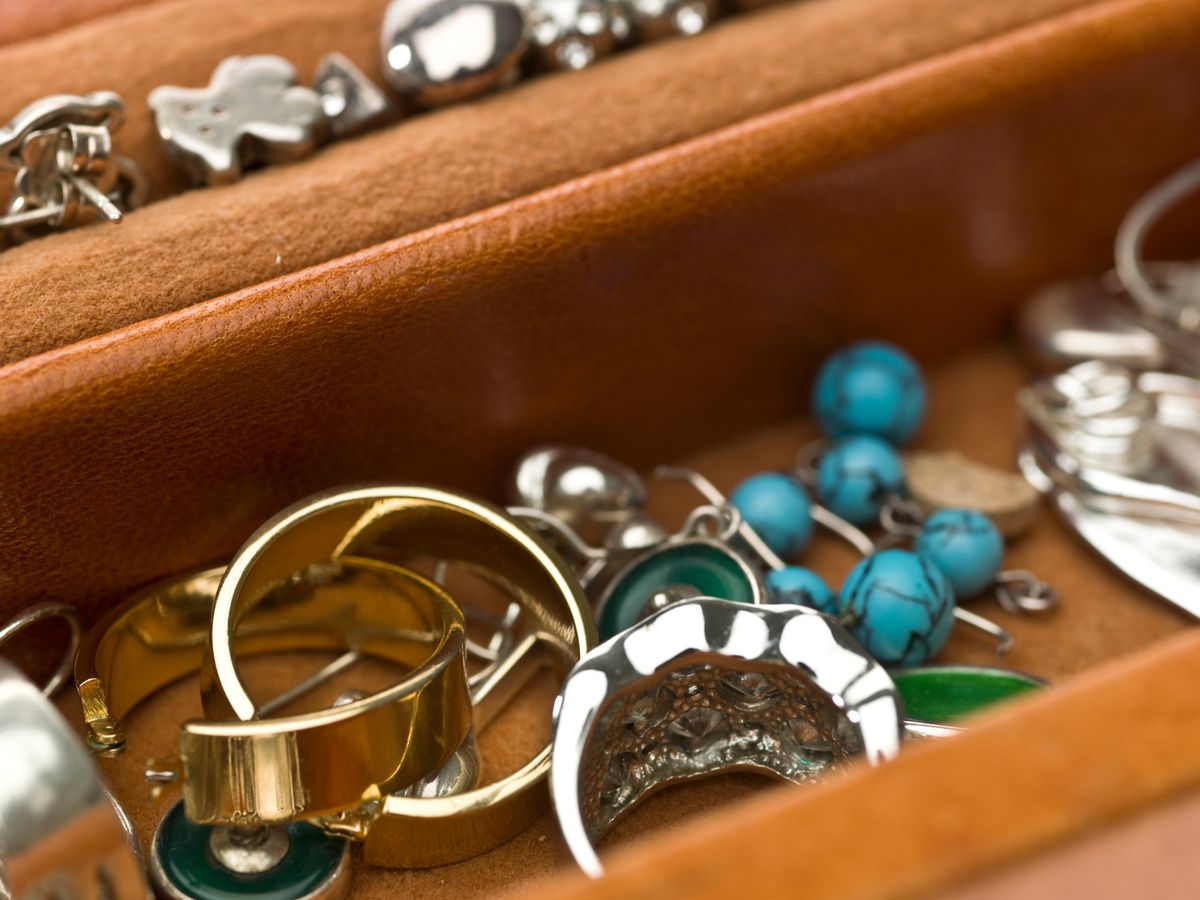
Be it a young girl who wants to look pretty, hot and tempting on her first date or an independent woman who wants to look bold and confident on her first job interview, it’s no surprise that most women and style-loving girls waste half of their time looking for specific jewelry lost in a huge box or cluttered drawer, only to result in a waste of time and an unwanted mess.
What do you say about putting an end to jewelry storage issues?
But, why waste your money on some fancy and expensive jewelry organizer when you could create your own?
Using Cardboard Tubes
To keep your necklaces and bracelets from tangling, wrap them around tubes. Use an empty paper towel roll for additional hanging space, but a toilet paper tube would suffice for a shorter holder. Paint or attach a piece of cloth or vinyl around the roll to hide the cardboard. Hot-glue the roll to a candlestick or the top of a vertical tube, allowing enough room for your necklaces and bracelets to dangle. Then, lay your jewels over the roll’s ends.
Special Note: Make your jewelry holder more attractive by adding some imitation flowers. Cardboard tubes are also excellent for storing watches.
How About Using Some Tiered Plates And Candlestick Holder?

Arrange rings, earrings, and bracelets here so they’re easy to find. Purchase two plates of any size as well as a short candlestick holder. If desired, use paint pens to create designs on the plate to make them stand out more. Once the paint has dried, use super glue to connect the candlestick holder’s base to the middle of one plate. After that, apply adhesive to the top of the candlestick holder and push the bottom of the second plate on top. To dry the glue, place a heavy book on top of the plate.
Strong Recommendation: If you’re using two different-sized plates, put the larger one on the bottom to make it more balanced.
Wait, A Cheese Grater?
Make a stunning earring holder out of an old grater. Clean as much as you can from an old grater and roughen the surface with sandpaper. You may leave the grater as is, or you can paint it with an oil-based paint to make it stand out in your decor. Allow the grater to dry completely before using it if it has been painted. When you’re not wearing your earrings, just hook them into the grater’s holes.
Little tip: Hooks may be screwed into the holes on one side of the grater to hang necklaces and bracelets. After painting the grater, hot-glue pearl beads to the bottom corners to make it more attractive.
You Could Even Use Branches
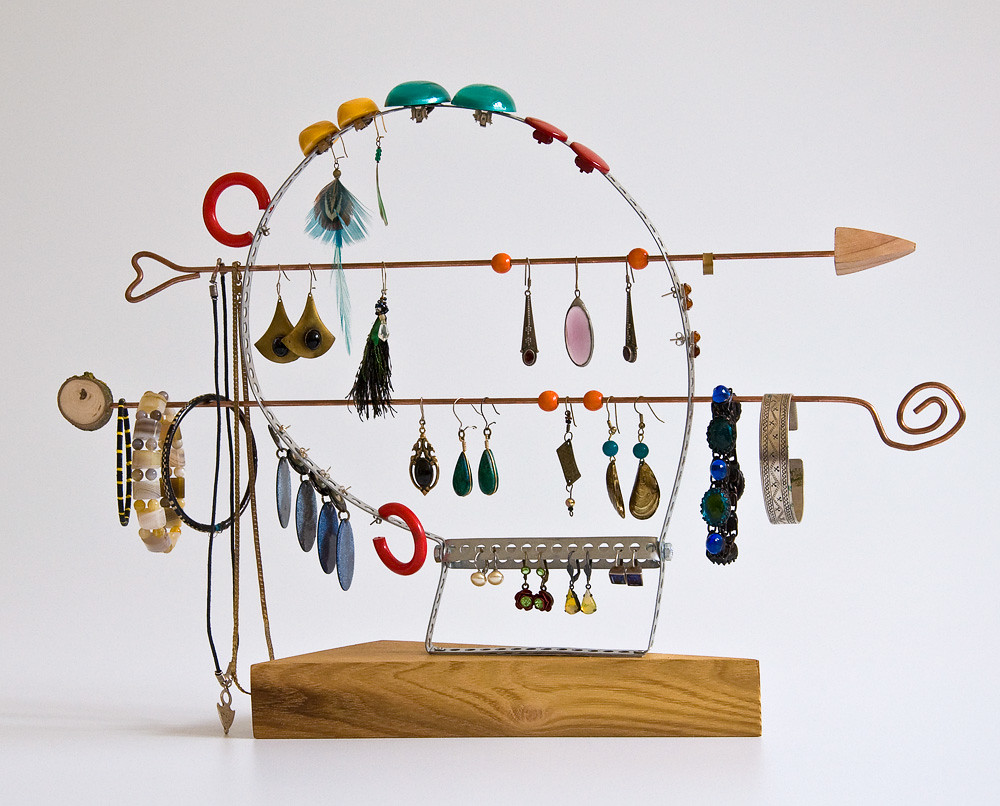
For your earrings, necklaces, and bracelets, try this natural aesthetic. Decorative branches can be purchased at a hobby store or found outside. If you don’t want to tie the branch’s base to anything, simply place it in a vase. Otherwise, hot glue the thickest end of the branch vertically into the middle of a wooden plaque. Once the glue has dried, screw through the back of the plaque into the branch to keep it in place. If you want more places to hang your jewelry, hot-glue more branches. Then, just put your jewelry onto all of the top vertical twigs.
Personal Tip: If you want to make your jewelry tree stand out, recolor the branch and the plaque using spray paint. Use an accent color or something that complements the rest of your décor.
Alternatively, you may screw the branch into the bottom of an old wooden bowl. You may effortlessly toss rings, bracelets, and other valuables inside this manner.
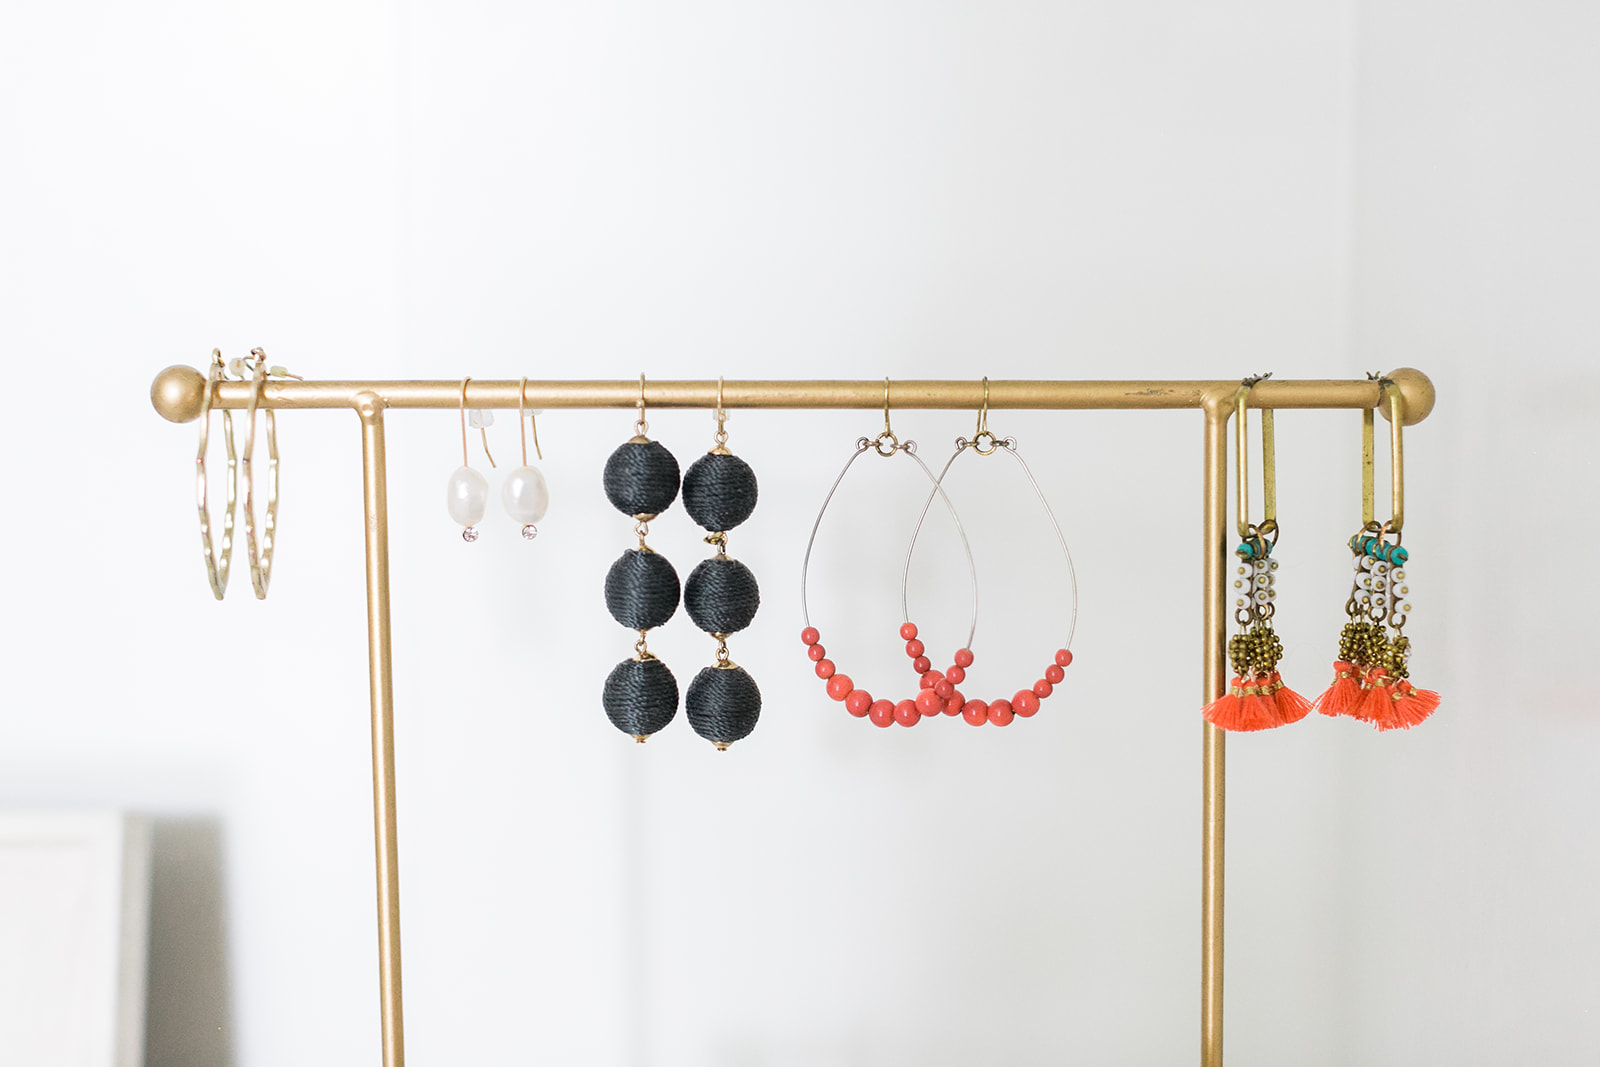
What About A Clothes Hanger?
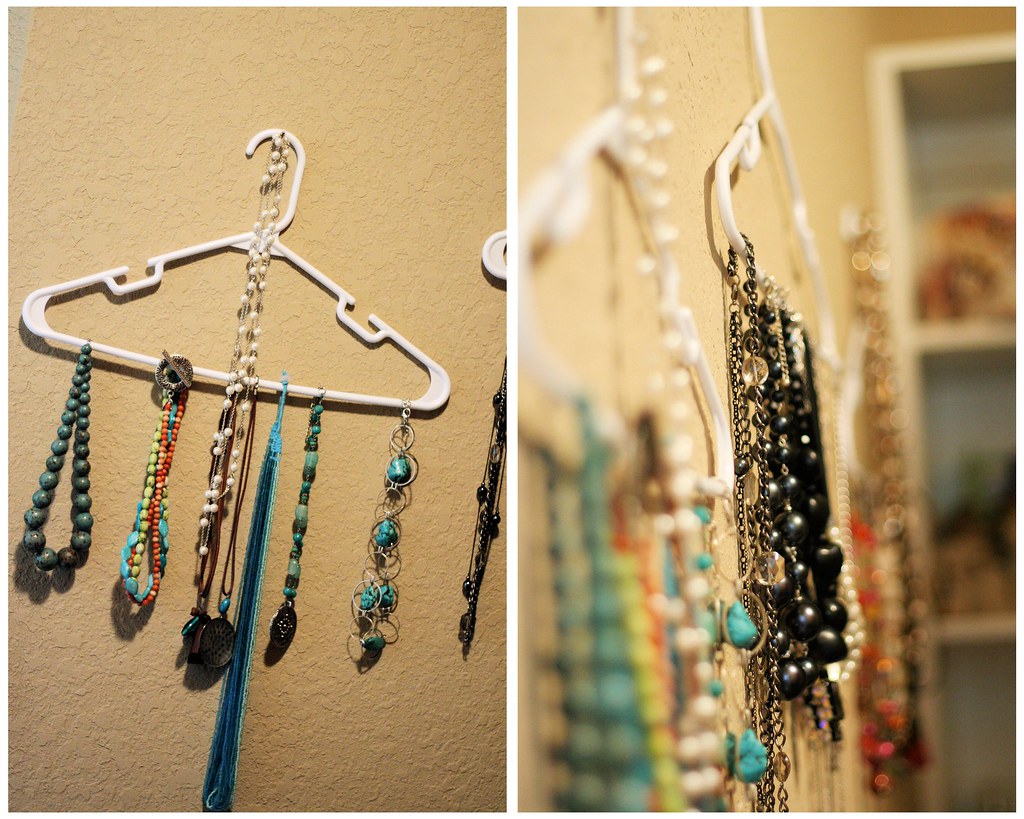
For an easy option, loop your necklaces and bracelets on the hanger rod. Use a wooden hanger with a rod instead of a basic wire hanger since it will seem more professional. To hang your jewelry, use a screwdriver to attach screw-in hooks or pegs along the length of the hanger rod. If you don’t have any hooks, simply wrap your necklace or bracelet around the rod and loop it through the middle.
If you want to make it even more unique, paint or wrap the hanger with a cloth.
Do you really think these ideas could prevent that significant damage to your jewelry items and save up your precious time?