


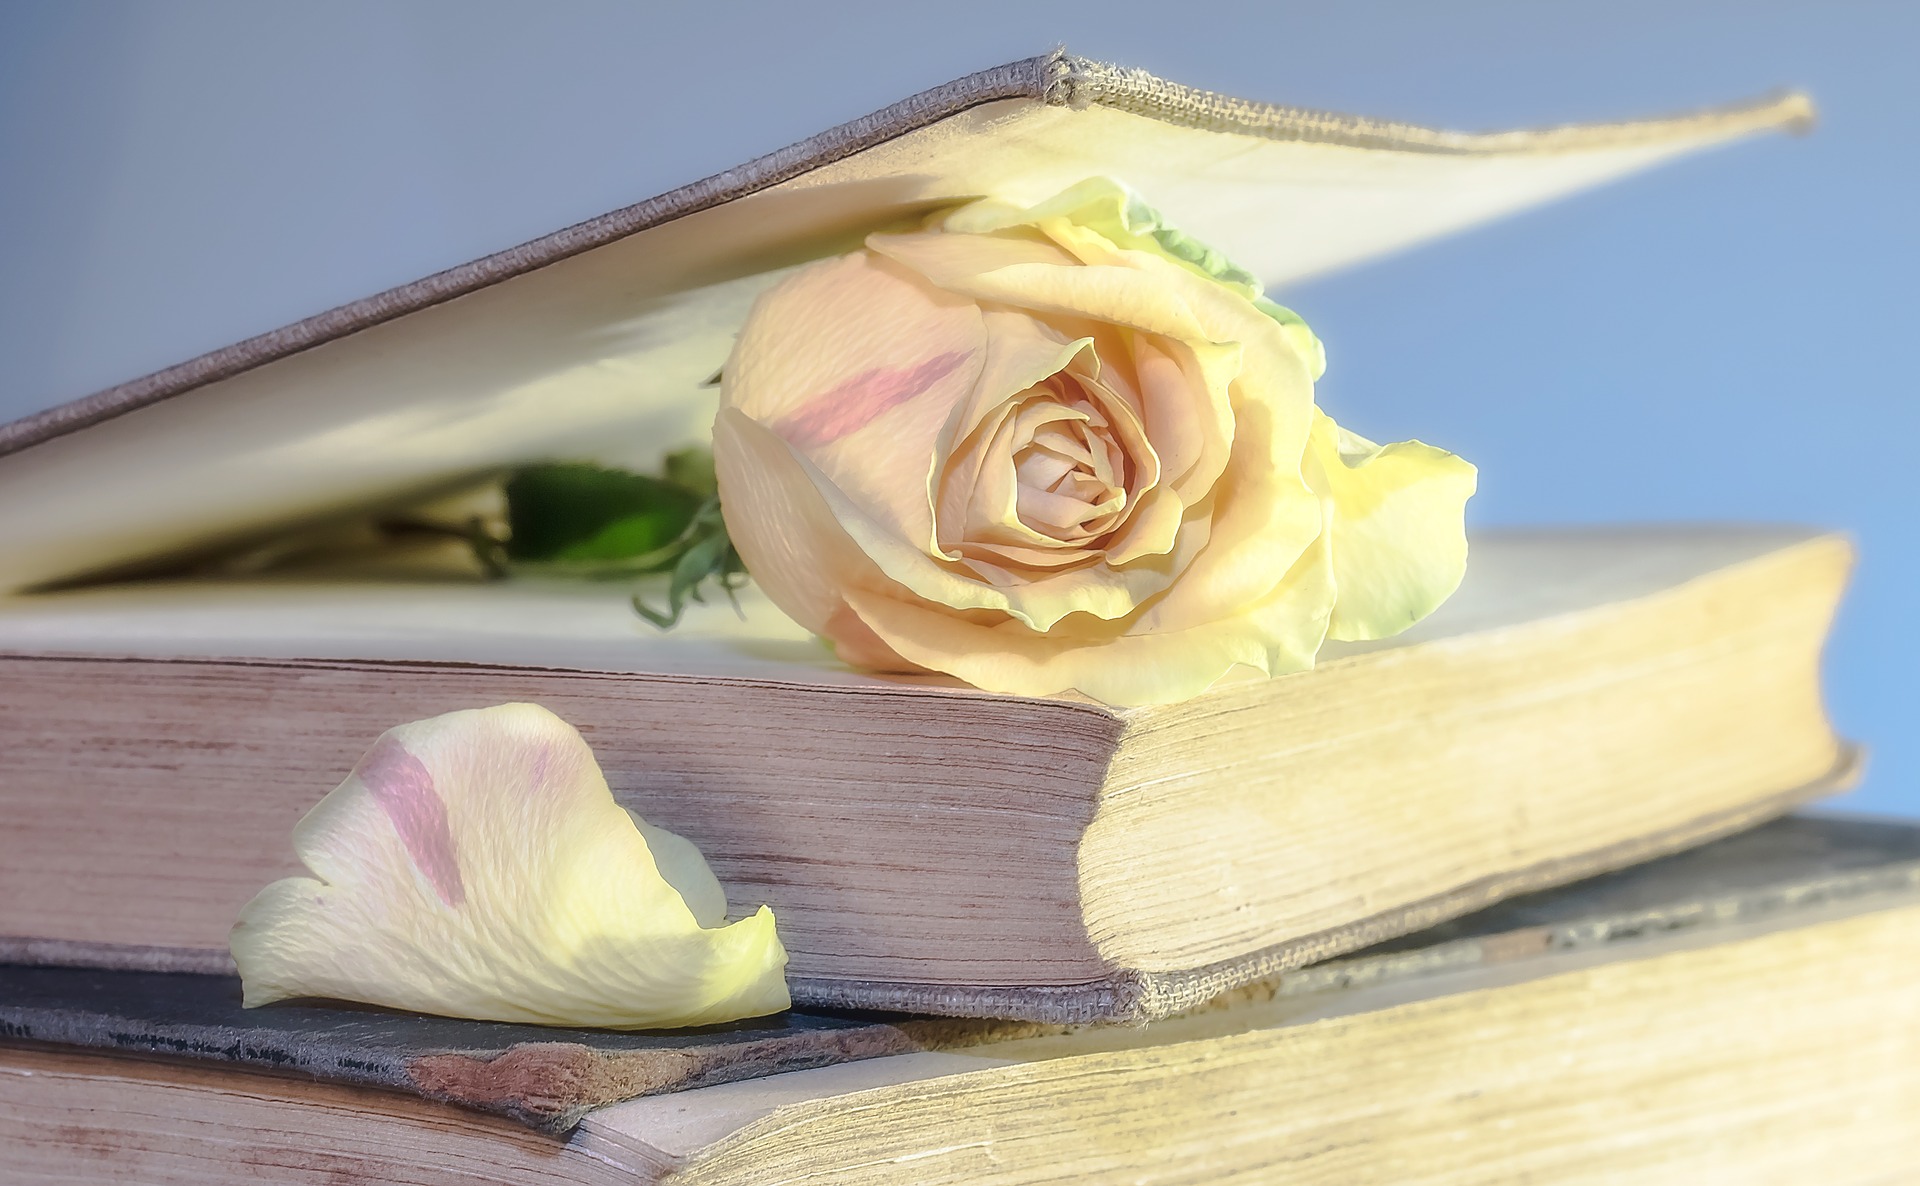
If you are a book nerd like me, then your bookshelf is filled to the brim with books, and your TBR (To Be Read) list is over a page long. But that’s the struggle of being a bookworm and being obsessed with books, but one thing that most of you will agree with me is that bookmarks tend to be quite dull and plain looking. Don’t worry because we got you covered on this one; we will teach you how to create the bookmark of your dreams, and you will be able to customize it till your heart is content. So, come along with us and learn more about the beautiful world of DIY and craft and learn how to make bookmarks which you can even gift to your other bookworm friends.
What you will need for this craft:

You will need some pretty simple and straight-forward items for this craft:
- Cardstock paper/ cardboard
- Epoxy liquid glue/ packing tape or lamination machine
- Ribbon
- Pen and other accessories for décor
- Scissors
- Hole-puncher
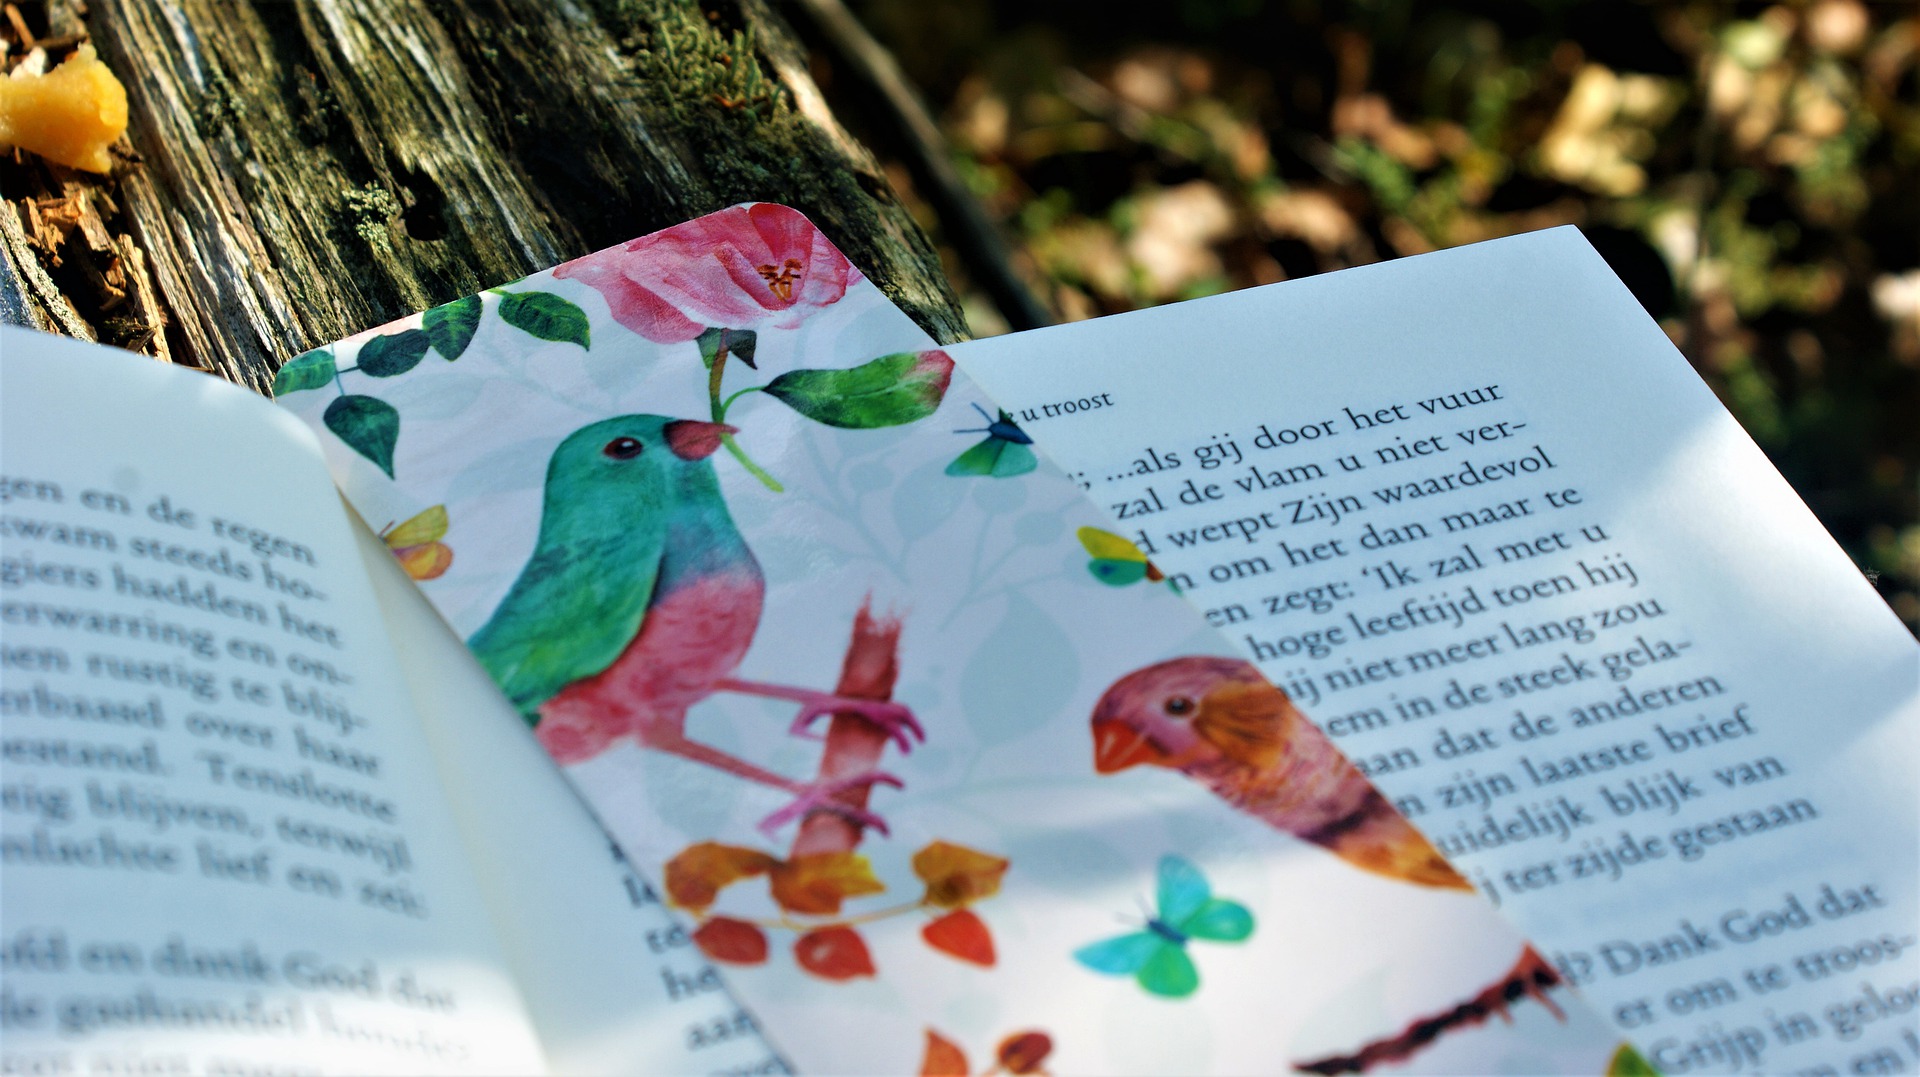
- Your favorite bookmark- to use your bookmark, duh!
So without further ado, let’s get started with this craft.
Choice of material
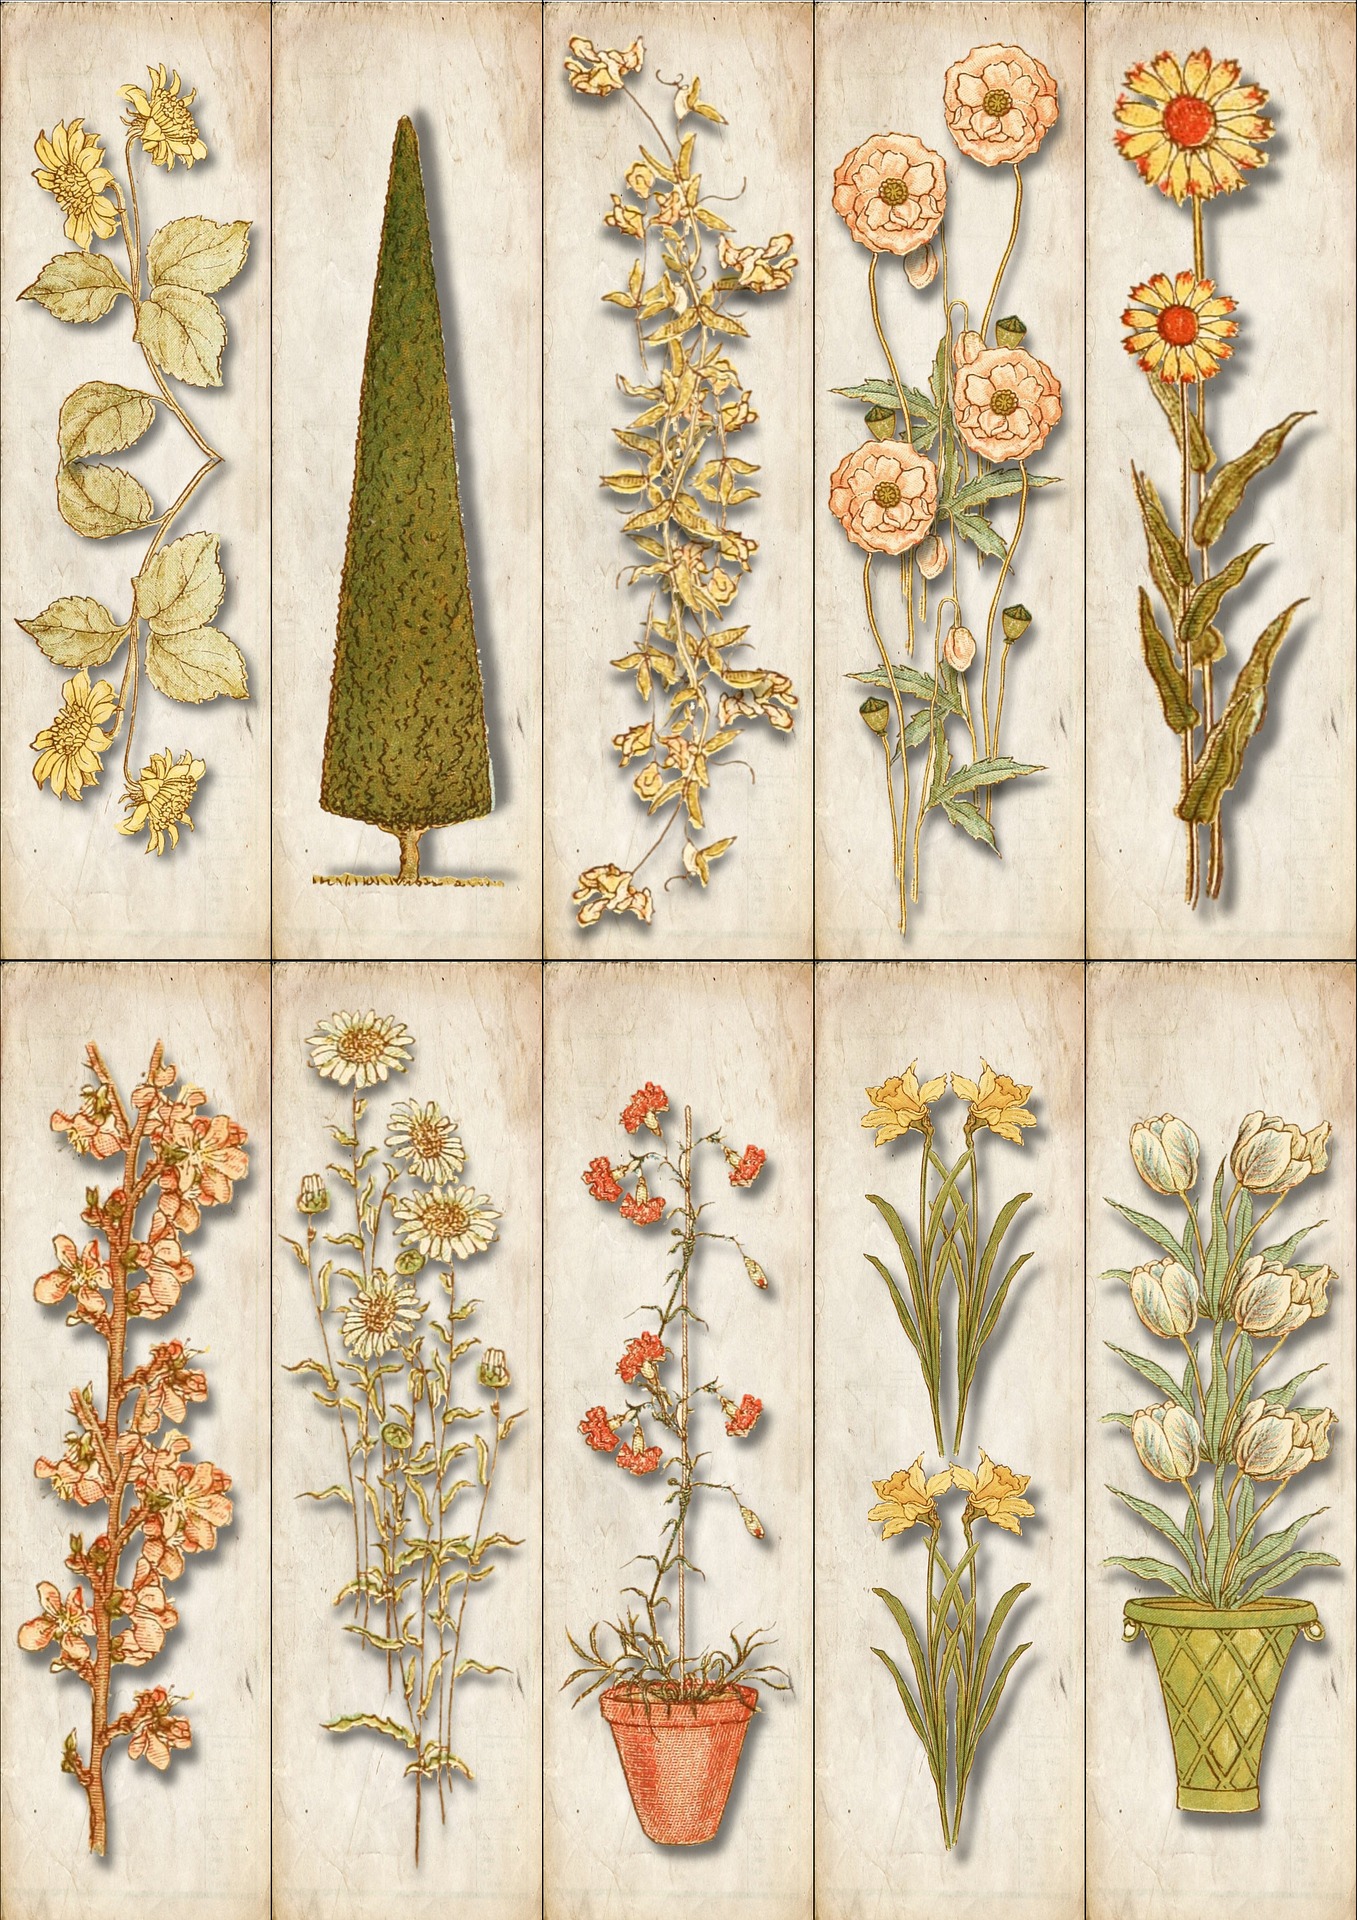
For the perfect bookmark, you need to choose a sturdy material that won’t bend or tear easily and need to be thin enough to not create any marking in your book and distraught the spine. Through my numerous trial and errors, I found that heavy cardstock-like paper is the best material to build the base of your bookmark, an alternate can be cardboard paper, but it will not have the same smooth feeling and surface as cardstock. Choose any additional image or patterns that you may glue on top. What I usually advise people to go on Tumblr and find fanart of your favourite character(s) and print them out and make a sort of collage on your bookmark.
Cut the paper
Your bookmark should be about the same size as your book, and the size according to which you cut your paper will depend. Your average hardcover book is usually 6 by 9 inches, so cut and trim your paper accordingly. To get a traditional bookmark, you can use an old one as a template, which will usually give you an idea of how big your cutout should be.
Add detailing
Here is your chance to let your creative juices flow and this is where you can decorate the bookmark to whoever you want. For me, the perfect décor is to paint it black and get a gold pen with which I can add quotes from my favorite book, including Aristotle and Dante, Red, White & Royal Blue or even memoirs like Mohsin Zaidi’s A Dutiful Boy. But, you can be as extra as you want here; add transparent glue and sprinkle some glitter on top.
Cover your bookmark
In order to protect your bookmark from any wear and tear and fraying that may happen over time, add a protective layer to it. You can either laminate your bookmark; if this is not a viable option, then cover it with a thin layer of packing tape, and this should do the trick. You can also use a craft epoxy liquid gel to paint over the bookmark, giving it a shiner and perfect finish.
Finishing touch

To give it that more traditional bookmark vibe, use a hole-puncher to make a hole at the top of your bookmark. So, now is the time to use the ribbon, cut a piece that is about 6 to 8 inches in length. Place the ribbon through the loop and tie it tight at the end. You can even accessorize the ribbon by adding a couple of beads to it, tying them, and fixing them there.
Remember, you can decorate this however you want; my favorite way to do so is to add quotes from my favorite books because I am not that good of an artist. In the words of Madeline Miller: “I am made of memories.” Books can take you on so many adventures and, for me, is a way to escape to a place where I can be my authentic self. Sound off in the comments section below and tell us your favorite quote from a book or TV show.
One thought on “DIY Your Own Bookmark”