


Summary
– Which roller to choose to paint well?
– Step 1: Mix the paint
– Step 2: Pour the paint into a paint tray
– Step 3: Load the paint roller
– Step 4: Wring out the roll
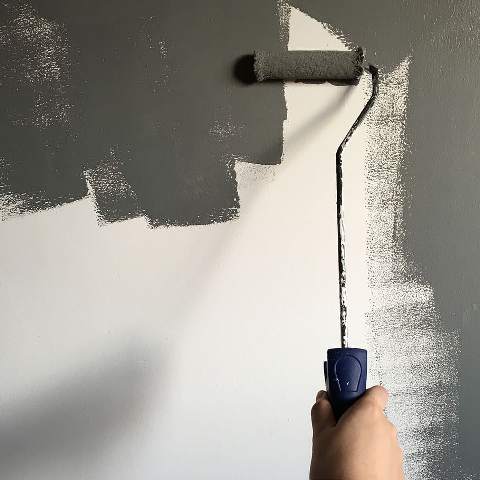
– Step 5: Apply paint with a roller
– Step 6: Cross the roller passages
– Step 7: Smooth the paint
– Step 8: Clean the equipment
Roller painting makes the installation easier and allows you to work quickly. However, it is necessary to respect certain rules to obtain an aesthetic result, without traces of roller passage, and durable.
Before painting with a roller, prepare the surface you will paint: make sure it is smooth, clean, and stable.
– If you are painting a wall with a roller, prepare it. Preparing a wall differs depending on whether you are painting a plaster wall, painting a cement wall, painting a wall covered with glass cloth or wallpaper.
– To paint a ceiling with a roller, fill any holes and cracks and clean it.
– To paint wood or plastic, sand and clean the surface so that it is smooth.
Which roller should I choose to paint well?
A roller consists of a sleeve, a handle and a handle. Rollers come in different sizes:
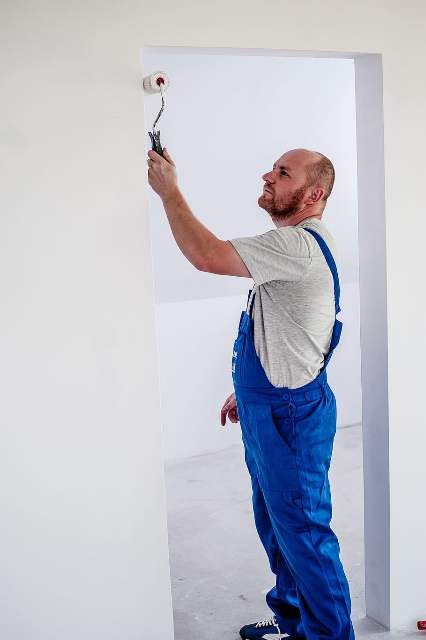
– Rollers with a telescopic handle are handy for painting a ceiling, or a high surface, from the floor.
– The small rollers are suitable for painting objects or small surfaces. When equipped with a long handle, they allow you to reach places that are difficult to paint.
– Some rollers are designed to paint the corners of walls and ceilings.
The roller’s choice depends on the type of paint you use (acrylic, vinyl, glycerol, etc.) and the gloss you want to achieve.
– If you use water-based paint (acrylic, vinyl, alkyd), choose a synthetic fibre roller.
– If you use oil paint (glycerol, epoxy, polyurethane), choose a natural fibre roller.
– On a smooth surface:
◦ choose a short (8 mm) or medium (11/14 mm) nap roller if you cover the surface with matt or satin paint,
◦ choose a roller with short bristles (5 mm) if you cover the surface with glossy paint.
– If you are covering a rough surface (e.g. plaster), choose a long pile roller.
Materials needed for painting with a roller:
1. Paint tray
2. Tarpaulin
3. Mixing whisk
4. Wringing grid
5. Roll
Mix the paint
– Before painting with a roller, start by preparing the paint: paint is composed of several products, including pigments.
– Mix the paint to distribute the colour so that it is homogeneous. You can mix the paint manually, either with a stick or a hand mixer or with a drill equipped with a mixing whisk.
Mix the paint by hand
To mix the paint manually:
– Place the wooden stick or mixer in the centre of the paint pot.
– Mix the paint evenly, from the centre outwards, from the bottom of the can upwards, from right to left and vice versa.
– Do not whip the mixture to prevent air bubbles from forming.
– The resulting mixture must be homogeneous.
Mix the paint with an electric mixer
If you mix the paint with a drill equipped with a mixing whisk:
– Place the whisk in the centre of the can, turn on the drill at a slow speed. Do not activate the percussion function of your drill!
– Slowly move the drill towards the edges and the bottom of the jar. Do not raise the mixing whisk close to the surface to avoid splashing.
– Mix until a uniform colour is obtained.
This post will now continue in part 2 in our next publication. Stay posted, and remember to leave your comments below.
2 thoughts on “How to Paint With a Roller (Part 1)”