


The weather to cuddle in warm and comfy clothes is back! Winter has well arrived and it’s time to wake up the crafty side of yours. If you know how to use a sewing machine, then you’re definitely in luck! For those who ain’t crafty, wait up for your kin to design the scarf of your choice.
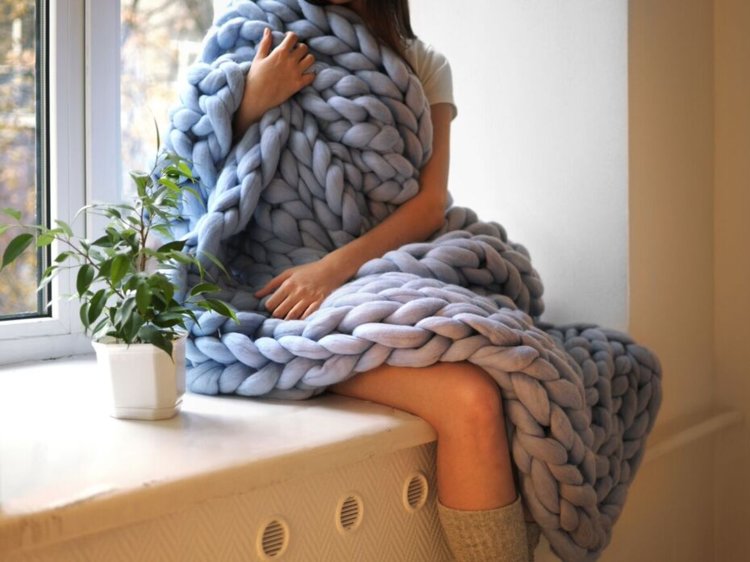
• The Belted Blanket
Start by folding your scarf in half diagonally and throw it over your shoulders with the ends hanging down from your front. Just tie a belt around the middle! It’s done.
![]()
• French Braid Fleece Scarf
Fold your fleece fabric in half, from sleeve to sleeve. Fold again, bringing the sleeve edges up towards the center, then leave a gap between the fold and the sleeve edges. Open up the fleece and let the uncut fold in the center. Start braiding as you work your way down. Then tuck the end of your braid to the center of the fleece. It should look like this by the end. (Image insert)
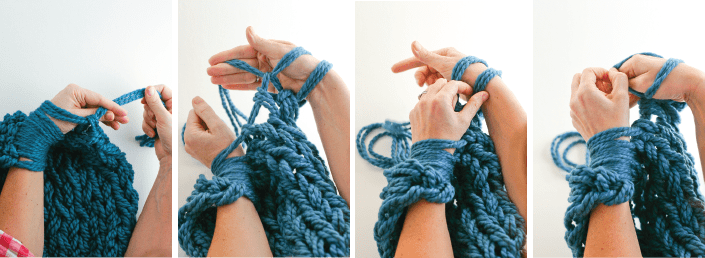
• Arm Knitted Scarf
Pull a long strand of yarn from your skein of yarn and drape the strand around your fingers facing in your direction. Pinch the strand of yarn together below your hand. Turn and grab the strand from the skein of the working yarn. Pull them up and through the loop on your hand. Pull a new loop up to create a slip knot and place this new loop on your right arm with the working yarn further away and the tail of the yarn closer to you. Continue the process until you finish the yarn. And that’s it you have your knitted scarf.
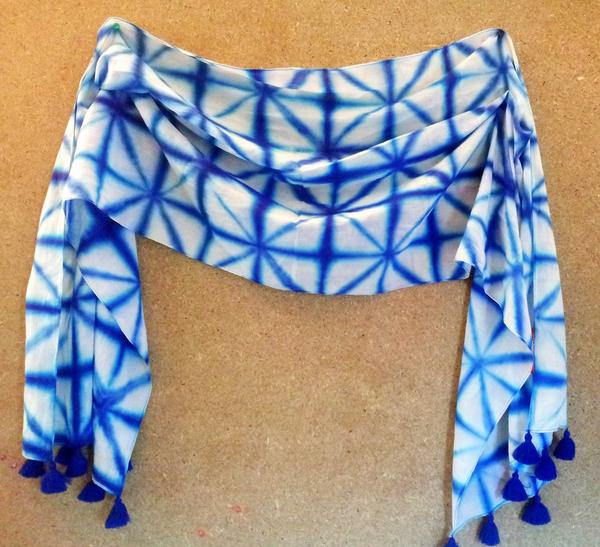
• Tie and Dyed Scarf
Mix the dye in a bucket with warm water and follow the instructions. Get a pair of gloves and stir the mixture slowly to allow the particles to dissolve. The dye will change color. Next cover the bucket to prevent oxidation and wait 30 minutes. The longer you wait the darker the color will be. After that cut 2 yards of gauze fabric in half, the same length you want the scarf to be. Fold it in form of an accordion the long way and fold it again in the other direction using the same technique. Take two wood planks and with the help of rubber bands tie the fabric in between the wood planks. Then dunk the fabric in the water and let it absorb enough colors and it should be wet prior to dyeing. Hold and massage the fabric under the dye for 3 to 5 minutes. Remove the fabric and let it rest. The color will change after a while. Wash in cold water and tumble dry. And you have an amazing tie and dye scarf!
Voila!
PS: Check out for the next blog on DIY Winter Accessories!