


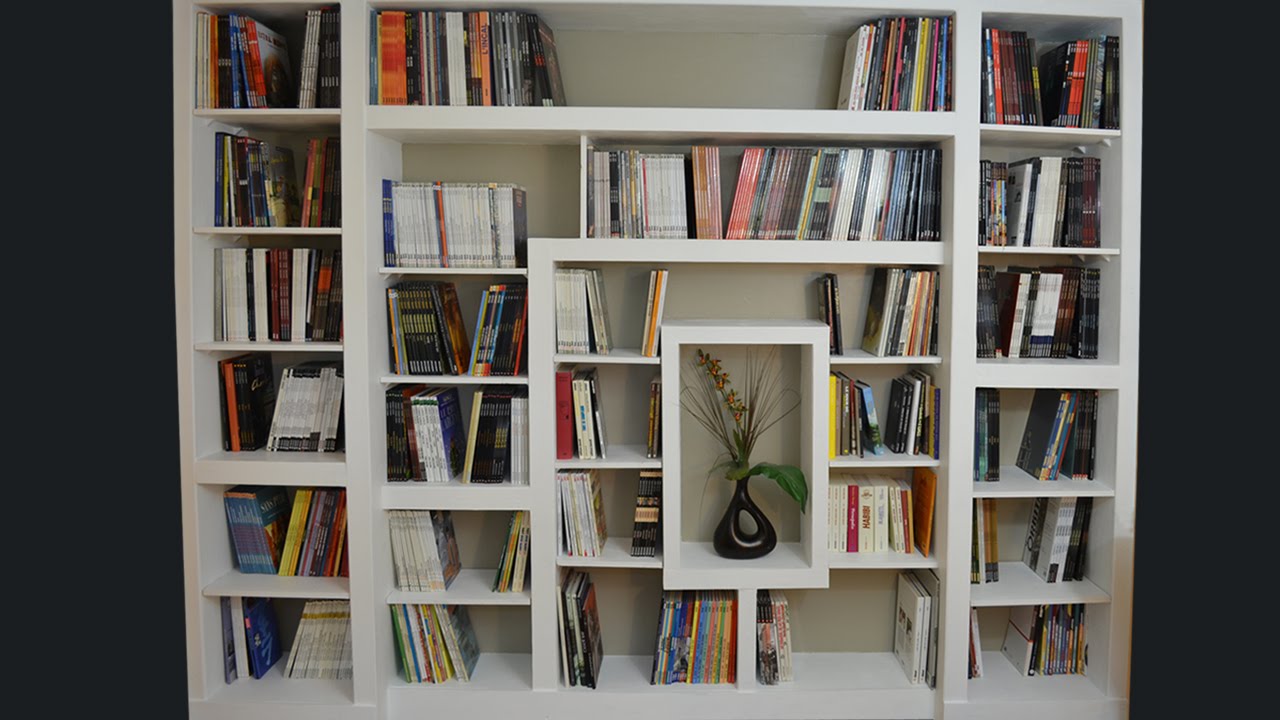
Every bookworm dream of owning a library full of their favorite books. So in the wait of your own library, be content with building your own bookcase to install in your apartment or home.
You will need:
• to print one of these free bookcase plans from the net. The plan includes everything you need from photos and diagrams to step-by-step instructions and videos.
• Some plywoods
• Nails and screws
• Screwdriver
• Drilling machine
• Wood glue
• Decorations
• Strings
• Paint
1. Getting Started
Measure the area where you want to put up the bookcase. Decide on the height and width of the bookcase. Normally, bookcases are 72” in height and the width depends on the materials used. You can decide if your bookcase will have an open or closed back. The weight of the books also depends on the built of a bookcase. The printed plan can be helpful as the dimensions and other diagrams are already given.
2. Measure and Cut the Plywood
With the dimensions in mind and on paper, cut the top sides and interior shelves according to the sizes you want. A table saw might be handy. If you are a novice at DIY, you can always have a professional do it for you. Do the rabbet joints where the glue and nails will be inserted afterward.
3. Mark the shelves sides
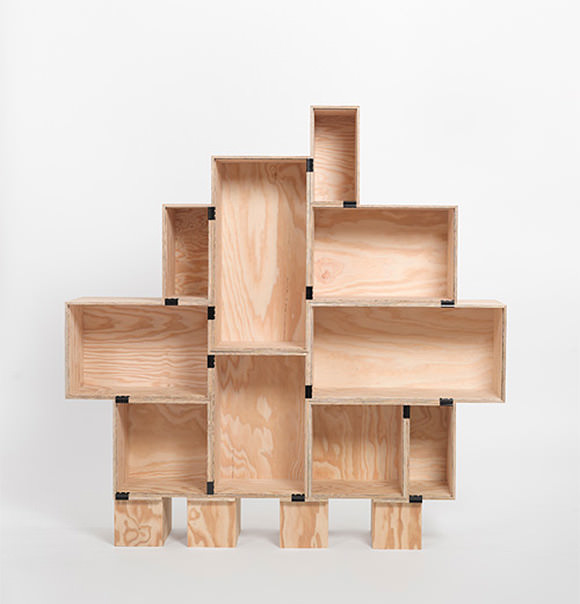
Keep the sides of the shelves separately as you are going to use it later in the process. You can make the shelves in different heights to accommodate different sizes of books. Use a framing square to transfer the shelfmarks from one board to the other.
4. Assemble the unit
Start by fixing the two side panels using wood glue and finish nails. Install the shelves by gluing the rabbet joints and sliding the shelves in the joints that have been fixed beforehand. If your bookcase needs to be hanged, then use glue and a nail across the back to use as a cleat.
5. Finish the face
With the bookcase built, finish it off by covering the rough plywood edges with a nice finished piece of poplar. Cut the poplar in the same dimensions as the exterior panels using the miter saw. It should have a tailored look. Use glue and nails to attach the finished frame to the bookcase.
6. Paint
This totally depends on your choice. If you want to paint it, then it’s better to use a thinner that will be perfect for the wood used. Afterward, you can use the paint of your choice and you can also decorate it according to your style.
So good luck on bookcase adventure!