


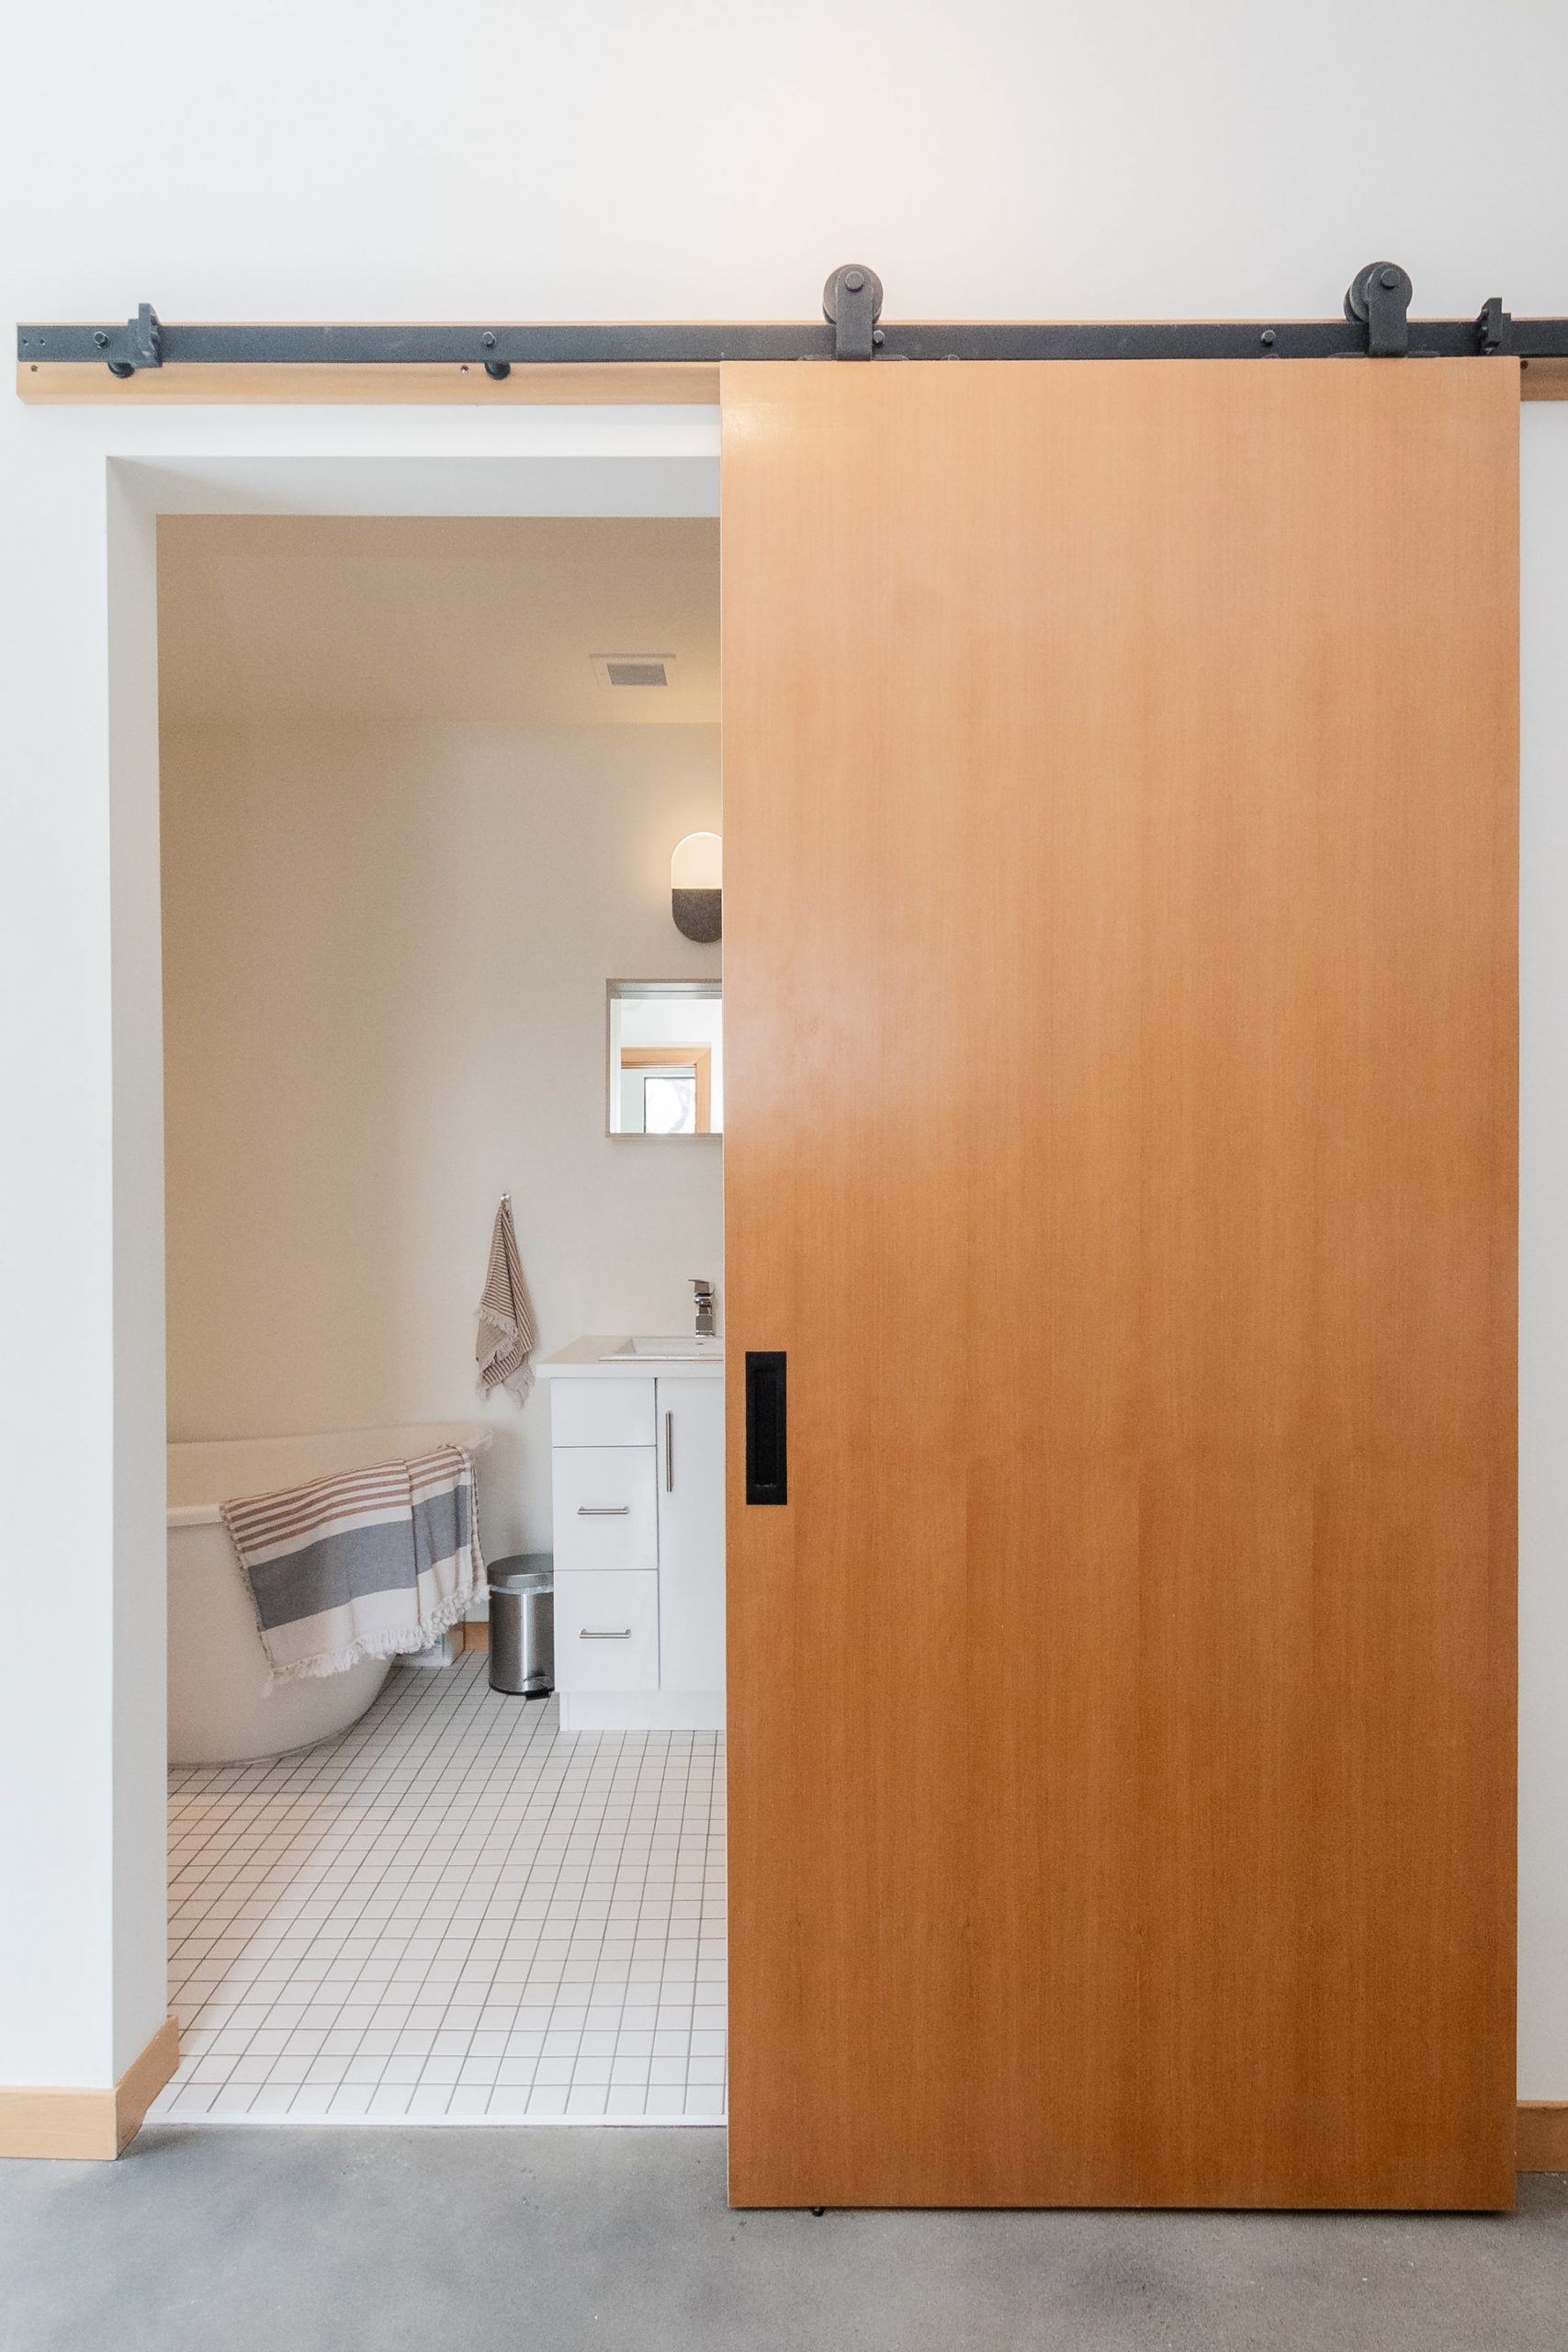
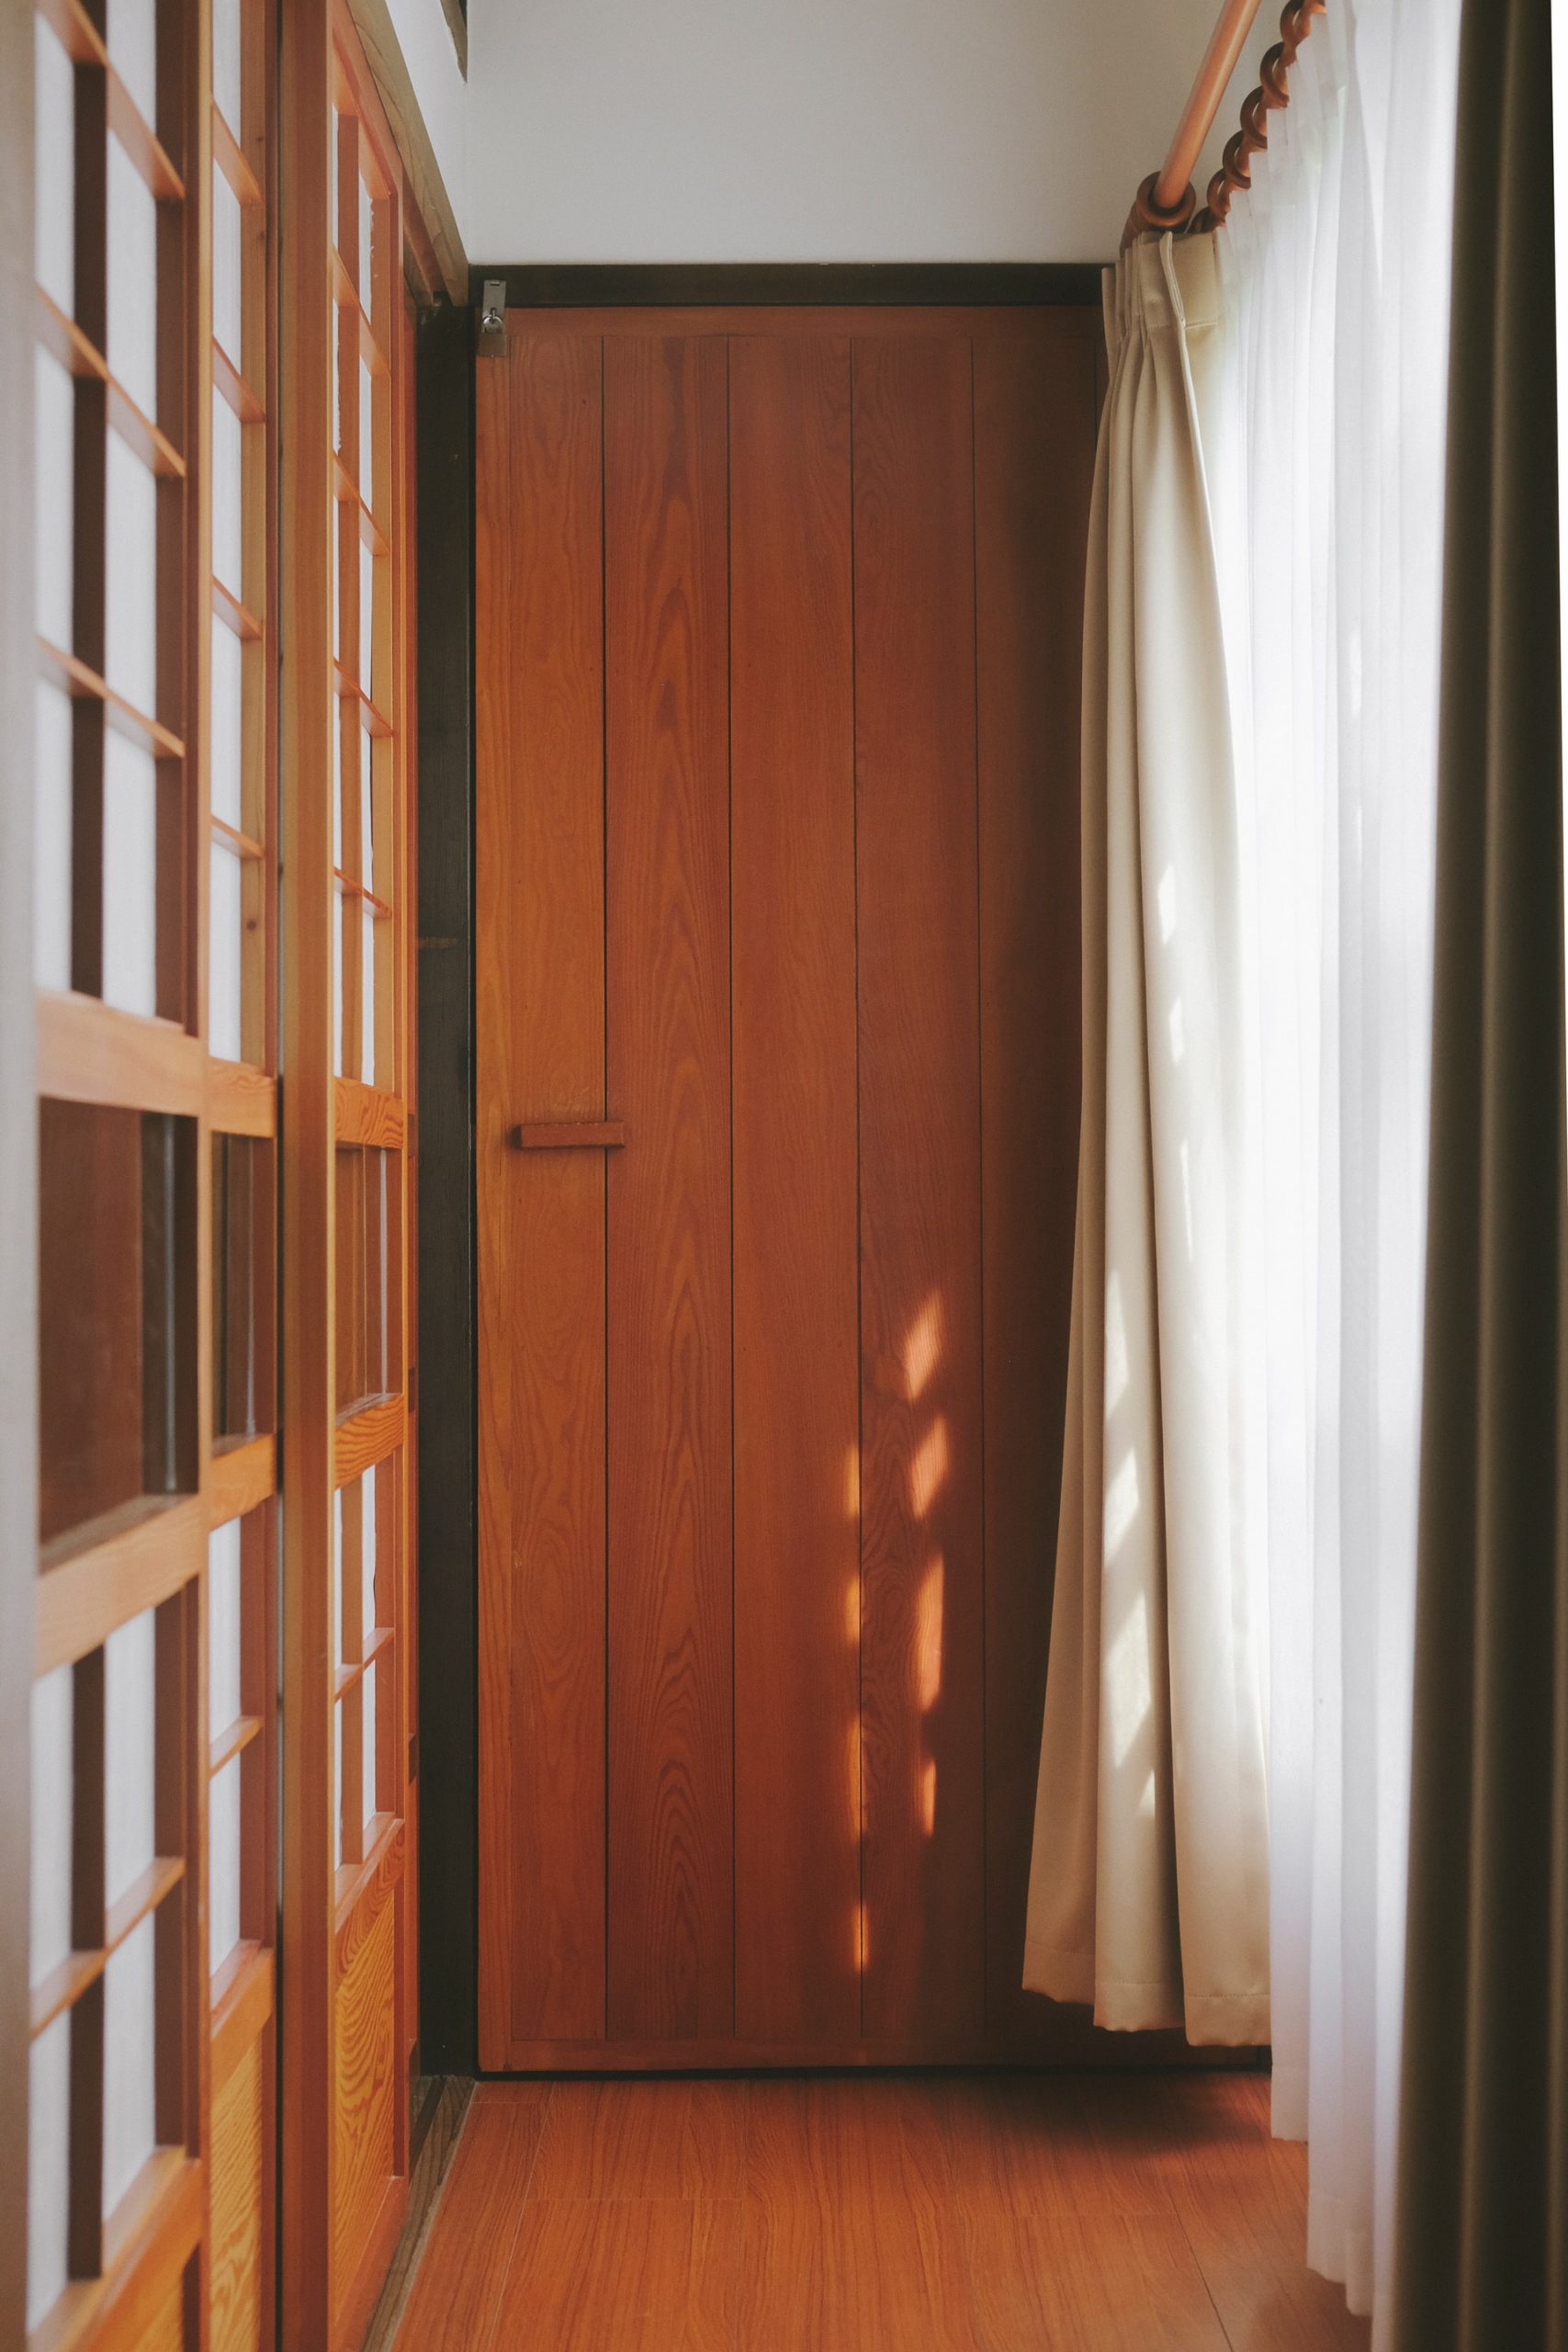
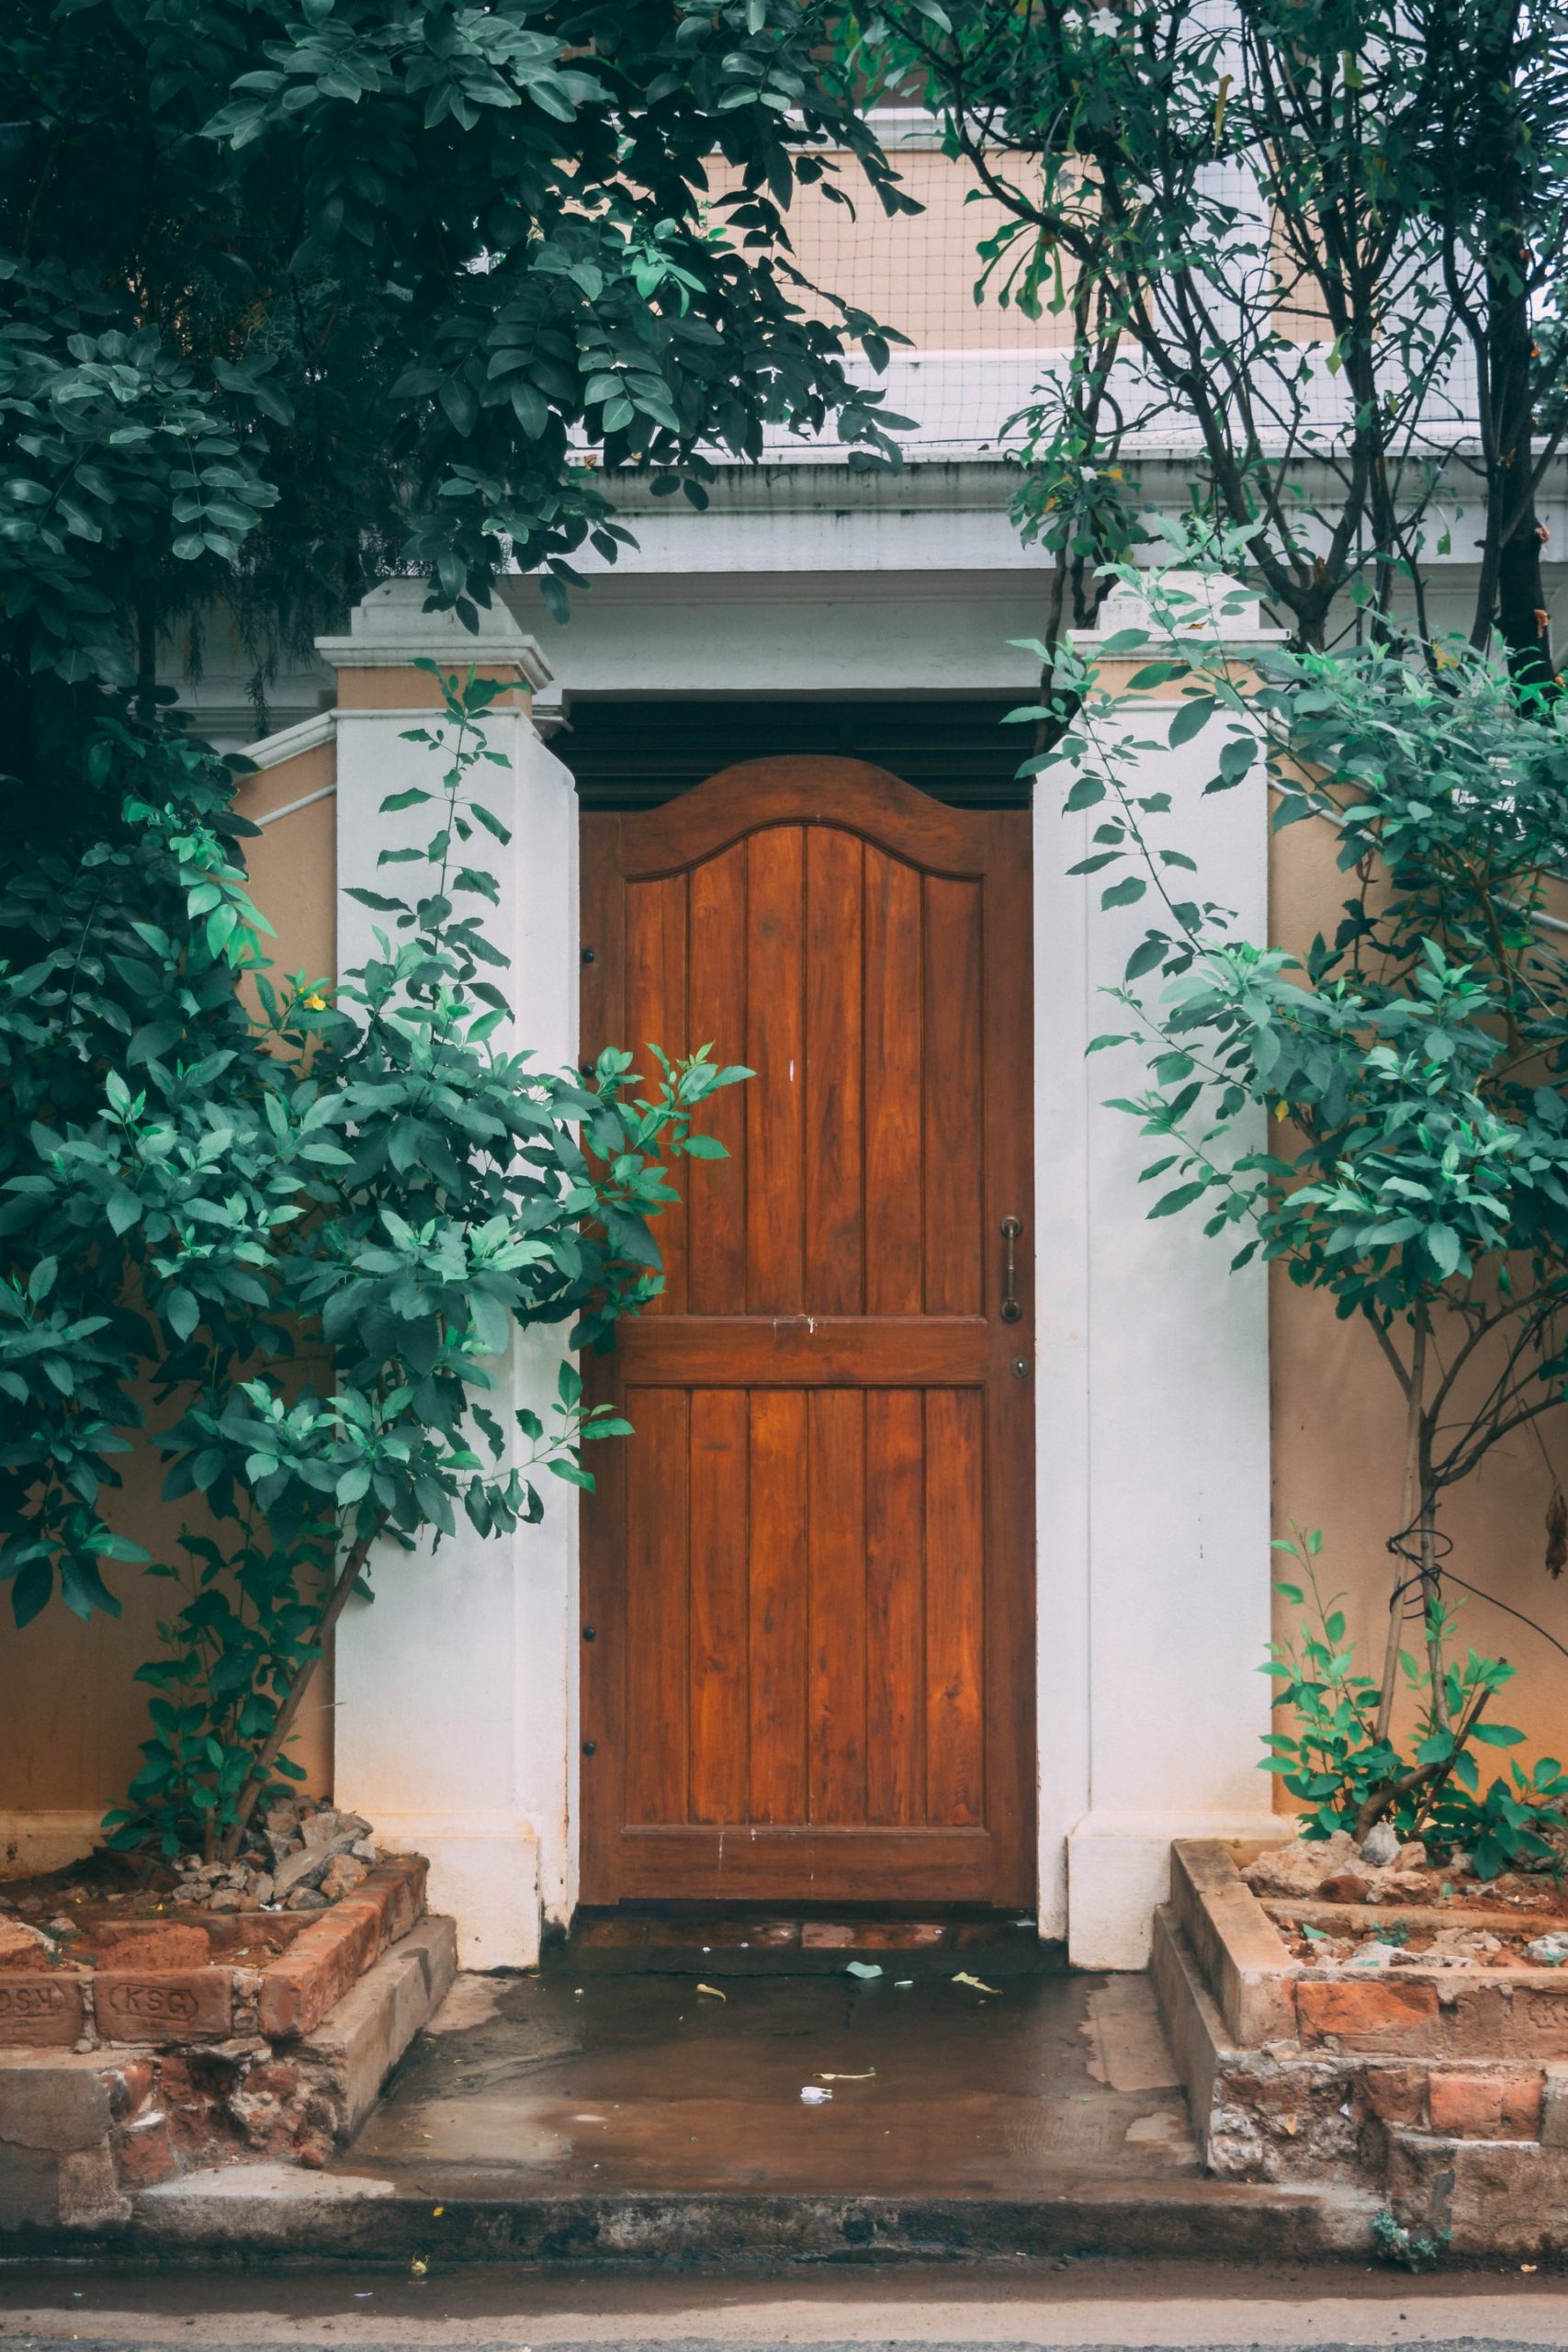
With the passage of time, the sun’s or humidity’s action causes wood to deteriorate and lose its original appearance. Although the nobility and quality of wood are present throughout the life of the door, it is true that it requires some care.
Refurbishing your home’s old wooden door is both economical and sentimental. On the one hand, you won’t have to spend money to buy a new one, and on the other hand, you won’t feel like you’re taking away part of the soul of your home.
In most cases, the best option is to go to specialists. Be aware, however, that if you decide to take on such a project yourself, you must have all the essential elements, as well as the skills, to do it properly. Note that wood protection is the basic pillar.
There are restoration agencies out there that you can consult and use if you don’t think you can do this yourself. This way, they will ensure that the steps have been done meticulously and carefully. This will result in the health of the wood and, consequently, longer life for the piece.
By following the instructions below, you will get a new door without changing it!
1. Remove the accessories from the door
First of all, remove all the accessories on the door: handle, knocker, fittings… This will allow you to work more comfortably while obtaining a better result.
2. Clean the door
The second step will be to remove the old layer of paint or varnish, as well as any deteriorated wood parts. It is also essential to remove any dust or dirt from the surface of the door. In this step, you can use caustic soda to achieve optimal cleaning of the wood.
3. Correct small defects
If the door has minor imperfections or dents, it’s time to repair them. So, if necessary, you need to incorporate pieces of wood to rebuild the door. To do this, you will use wood filler, as it allows you to cover each of the defects.
This step is somewhat subjective because depending on the final result you want to achieve, these minor imperfections can be part of the door’s finish, giving it more character, personality, and an original style.
4. Sanding or sandblasting
In this step, you will sand or sandblast, and it will depend on the final look you want the door to have. You will use the sanding technique to enhance the grain of the door. The goal of both of these options is to clean the surface, trying to do as minor damage as possible.
You can also completely remove any remaining paint or varnish that could not be removed in the second step. Important: after sanding the door, clean up the dust created.
5. Paint or varnish
It’s time to decide what you want your door to look like. If you want to give it the color, you will apply a stain. If you prefer a more natural result, you’ll give it a patina of open-pore eco-friendly varnish. To get a more antique result, you can apply antique wax.
6. Equip the door
Finally, you will equip the door according to the style you want to achieve. You can add different fittings, sharp nails, gypsies, knockers… Moreover, these can be made of different materials. Know that bronze and wrought iron are the most common
Restoring an old door can be a great DIY that you can take your time to work on and perfect. Restoring an old door is a great way to turn something old into something new; you are saving the planet and your bank account by recycling. Sound off in the comments section below and tell us the next craft you want to read.