


With so many different colors, textures, and patterns to choose from, it’s not easy to find the perfect rug. However, instead of purchasing one, you can create and customize your own rug based on your preferences and needs.
So, let’s go through the DIY rug list together!
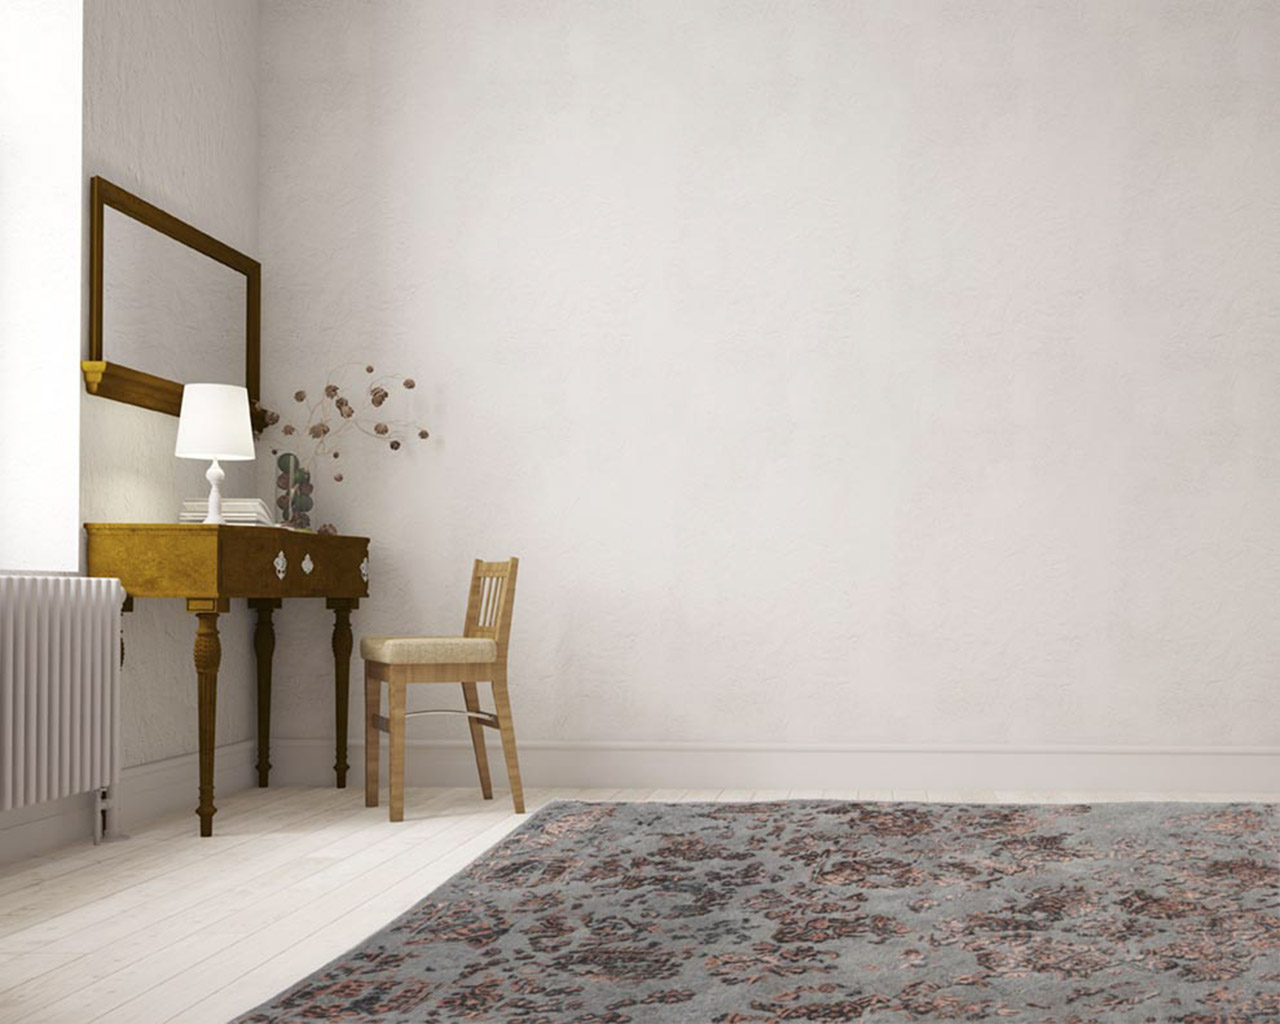
#1. DIY Door Rug
It’s undeniable – I’ve always been a sucker for DIY stuff and I cannot explain how or when I started making rugs from scratches.
But, honestly who can resist making a stylish doormat with a catchy design?
All you’ll need for a DIY Door rug:
- A simple doormat
- Using a light-colored spray paint
- Small poster fragments
- Cameo by a silhouette
- A 1224 cutting mat or an x-acto knife, as well as a printer
To make a personalized door rug, follow these steps:
Stage 1: First and foremost, if you’re using a Silhouette Cameo, you’ll need to trim your paper to fit. It is now necessary to consider the poster board when printing your file in Silhouette Studio.
Stage 2: It’s possible that the word you want won’t fit straight across your poster board. So, after you’ve adjusted it to the desired size, rotate it until it fits onto the board. Also, because your poster board is only 2 inches long, please leave the last 2 inches of the mat unused.
Stage 3: After you’ve cut and removed it, flip it over and peel the mat away from the poster board. And I don’t recommend going the other way because you’ll end up with a big curled-up mess on your hands for your stencil.
Stage 4: If some of your words do not fit on one piece of poster board, cut it in half and place some of the words on one board and the rest on the other. Trim around your words so that you can see your mat through the cut-out letters.
Stage 5: Use spray adhesive to adhere the stencils to the mat, and then secure the edges with tape.
Stage 6: Finish by spraying a lot of adhesives on the inside of the letters and placing something heavy on them, such as a shoe or a can, to help them sit tight.
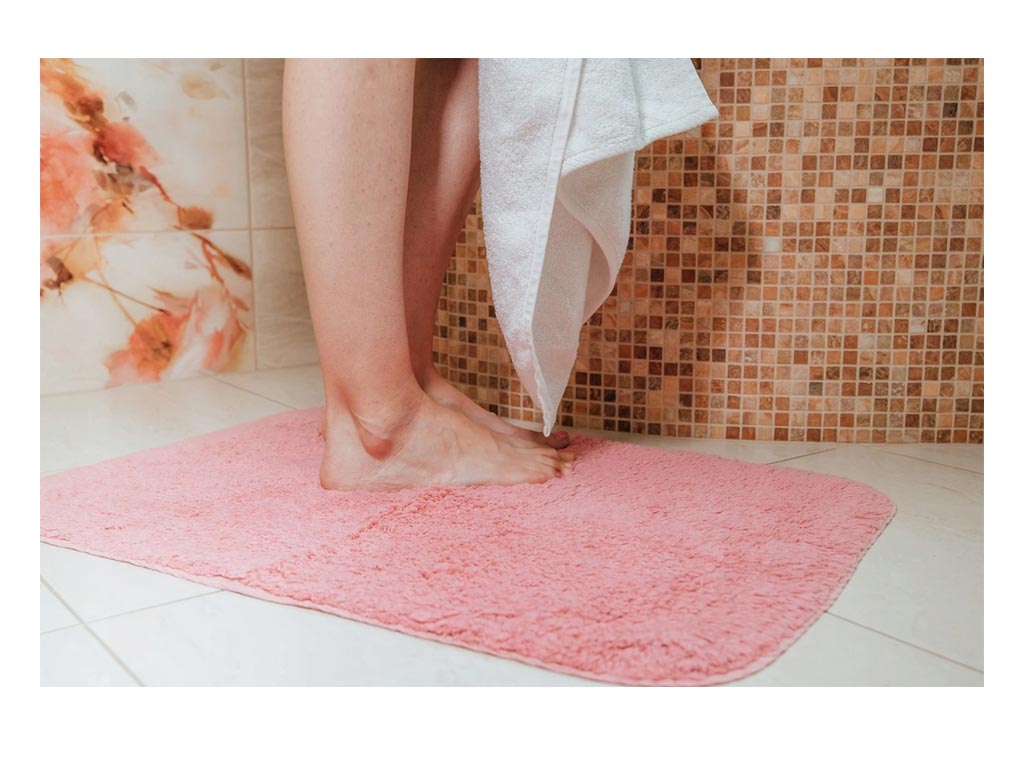
#2. A DIY Wine Cork Bath Mat
You will require the following materials:
- 175 corks from wine
- Sticks of hot glue
- Shelf liner (non-adhesive)
- Knife in your pocket
- chopping board
- Mat and rotary cutter
- Yardstick or long ruler
- The hot glue gun
- Sandpaper (coarse)
Instructions on how to make a DIY Wine Cork Bath Mat:
Step 1: Using a sharp pocket knife, cut each cork in half lengthwise. Also, make certain that you don’t lose a finger in the process.
Step 2: Arrange the corks in a rectangle with the flat sides down. To ensure that your cork configuration is as close to a proper rectangle as possible, use a ruler or the lines on a cutting mat.
Step 3: Using a rotary cutter, ruler, and cutting mat, measure and cut the shelf liner to size.
Step 4: Transfer the cork columns to the shelf liner and glue them to the top side of the liner. Line up the cork with the edge of the mat and press firmly after applying a rectangle-shaped line of glue to the flat side of each cork. After it has cooled, wipe away any glue dribbles.
Step 5: Once your frame is in place, transfer the remaining corks to their proper positions on the mat. To make all of the corks fit, some rearranging will be required. After that, take one cork at a time and glue it down. Finally, you’re finished!
Which one are you going to try first? Please share your thoughts in the comment section below!