


6 Steps to Install Wallpaper With Seams
Summary
– Step 1: Prepare the 1st strip
– Step 2: Prepare the following strips
– Step 3: Glue the strips
– Step 4: Prepare the wall
– Step 5: Install the wallpaper strips with joints
– Step 6: Trim excess wallpaper
Installing a seamless wallpaper requires some care and technique. The final result depends on the perfect match of patterns or textures between the different strips.
The height of the seams is usually indicated on the rolls. Take this into account when purchasing and cutting the strips.
It is advisable to have well-prepared support to facilitate the sticking and the good behavior of the wallpaper and the joints.
Materials to install wallpaper with joints
Wallpaper paste
Wallpaper brush
Aluminum ruler 2 m
Gluing brush
Sponge
Cutter
Wide spatula
Tape measure
Spirit level
Pair of scissors
1. Prepare the 1st strip
Before starting, mix the wallpaper paste according to the dosage and instructions indicated on the product. Unfold the gluing table if necessary.
Tip: If you don’t have a gluing table, you can use an unstuck door placed on two trestles.
– Unroll the roll and transfer the height of the wall (and therefore of a strip) to it, adding 10 cm.
– Using a ruler and a pair of scissors or a cutter, cut out the paper.
2. Prepare the following strips

For the second strip, mark the pattern so that they coincide: lay the two strips side by side and make a small mark on the second strip with a pencil.
– From the mark, transfer the height of the wall and 10 cm for the cuts.
– Cut the strip with scissors or a cutter.
– Proceed in the same way to cut the other strips.
– Number the strips on the back (top) as you go along to keep the installation order.
3. Glue the strips
– When you have cut all your strips, glue several with the brush. Spread the glue from the inside to the edges.
– Fold the strips in an accordion or wallet fashion so that the glue soaks into the paper, making sure to overhang the number.
4. Prepare the wall
Start by removing everything attached to the walls: switches, outlets, lights…
Make sure your wall is smooth, without holes or cracks. If not, fill them in.
To be sure to stick your strips straight, draw a guideline on the wall:
– Starting from a corner or a window, transfer the width of a strip to the wall in several places.
– With the ruler and the spirit level, draw a perfectly vertical line.
– If the wallpaper requires double gluing, glue the wall.
Attention: check that your corner or window is straight with the spirit level because otherwise, you will stick your wallpaper crooked! If the corner is not linear, draw your guideline in the middle of the wall without taking the corner into account.
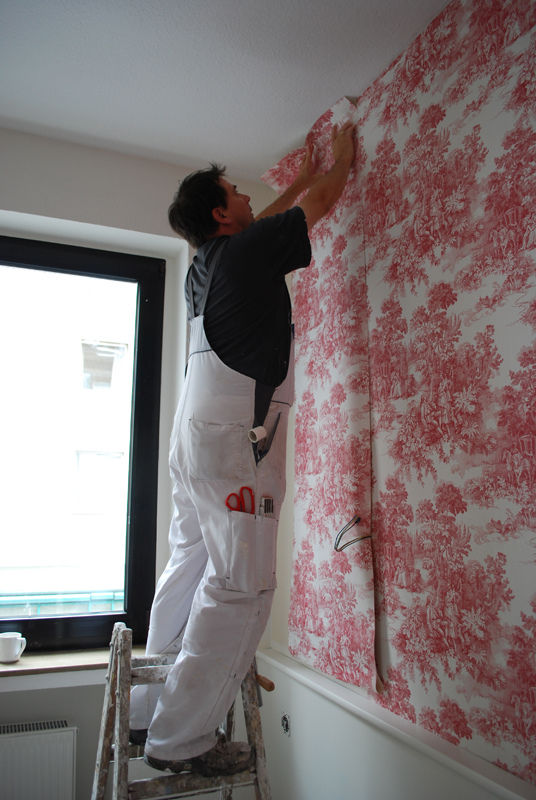
5. Install the wallpaper strips with seams
When the strips are ready, you can start the installation:
– Apply the first strip to the wall, using the guideline and leaving about 5 cm at the top and bottom for the cuts. Always start at the top of the wall.
– Stamp with the special brush from the center to the outside. Unfold the strip a little at a time and gently lay it on the wall.
– For the second strip, make sure to match the patterns or textures between them, positioning it edge to edge with the first. Take the time to fit the two parts together.
– Step back if necessary to check the finish. If necessary, gently peel the strip back or slide it to recover the gaps.
– Roll the paper over the seams with a rolling pin to glue and adjust the edges (except if the paper is embossed to avoid packing them). On the surplus of glue, wipe with a damp sponge.
– Do the same for the installation of the other strips.
6. Cut the surplus of wallpaper
To finish hanging your wallpaper with joints, cut the surplus at the level of the ceiling and the baseboard:
– Mark the fold with the spatula.
– Follow the blade of the spatula with the cutter.
3 thoughts on “6 Steps to Install Wallpaper With Seams”