


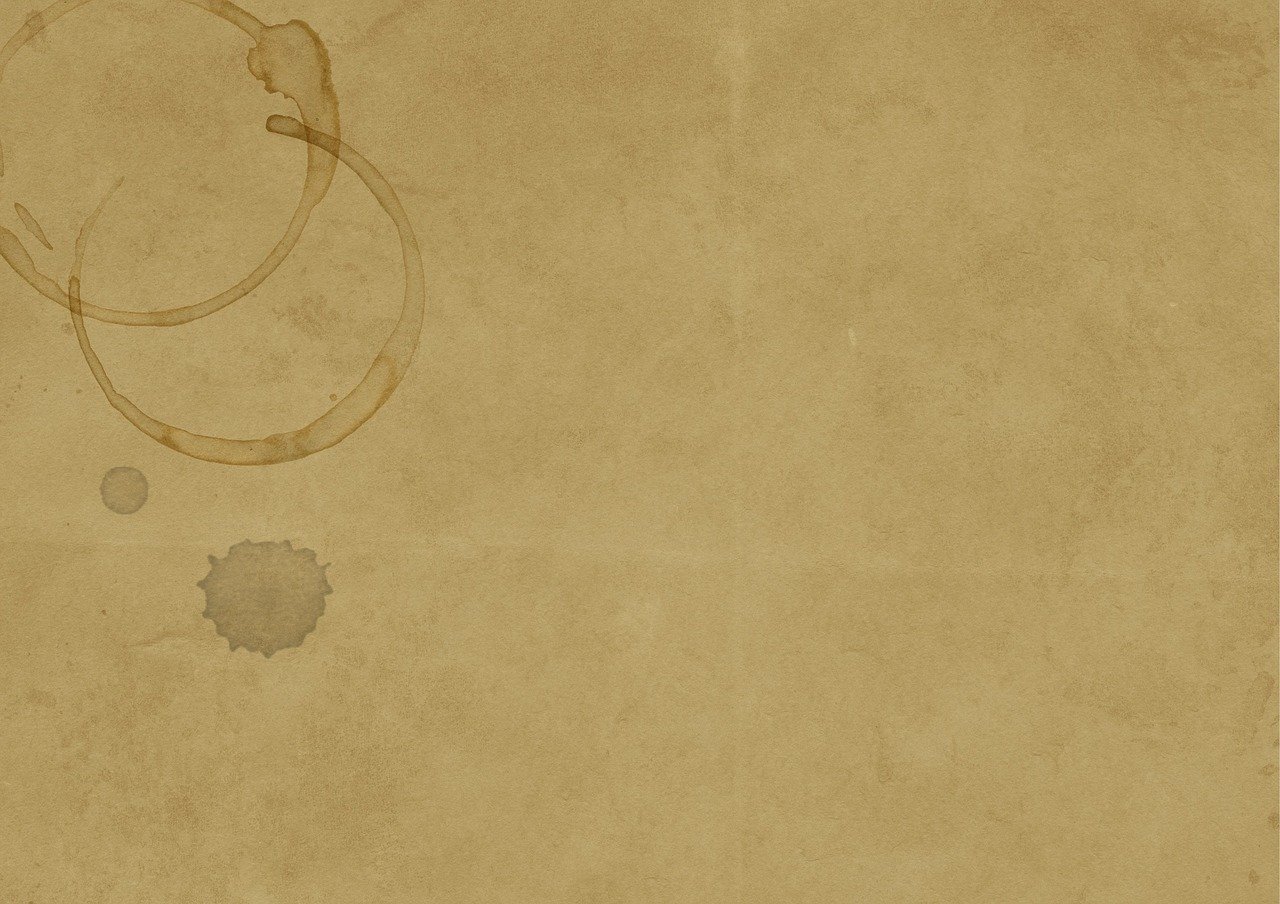
If you are a bookworm and bibliophile like me, then you love the smell of paper and dream of having an antique collection of old books. Okay, that last part might just be me, but still. So, in honor of old things being on trend again, let’s learn how to age your paper and make it smell great at the same time. Stained paper is the perfect paper to use to write to your loved one or your pen pal, or it could be the medium you use to express your artistic side. Personally, I use my DIY stained paper to write poems because it makes me feel like a modern-day Emily Dickinson. So let your freak and artist flag fly high and come along with us and learn how to craft your coffee stain paper.
Things you’ll need for this craft.

For this craft, you won’t have much and can find most things in your cabinets, and it is a cheap yet effective way to give more allure to a dull-looking piece of paper. Get yourself your own cup of coffee and try this craft out. It is super relaxing and makes you forget your routine. All you need is:
-
- Paper
-
- Coffee- use your favorite blend because this is what will give the paper its fragrance
-
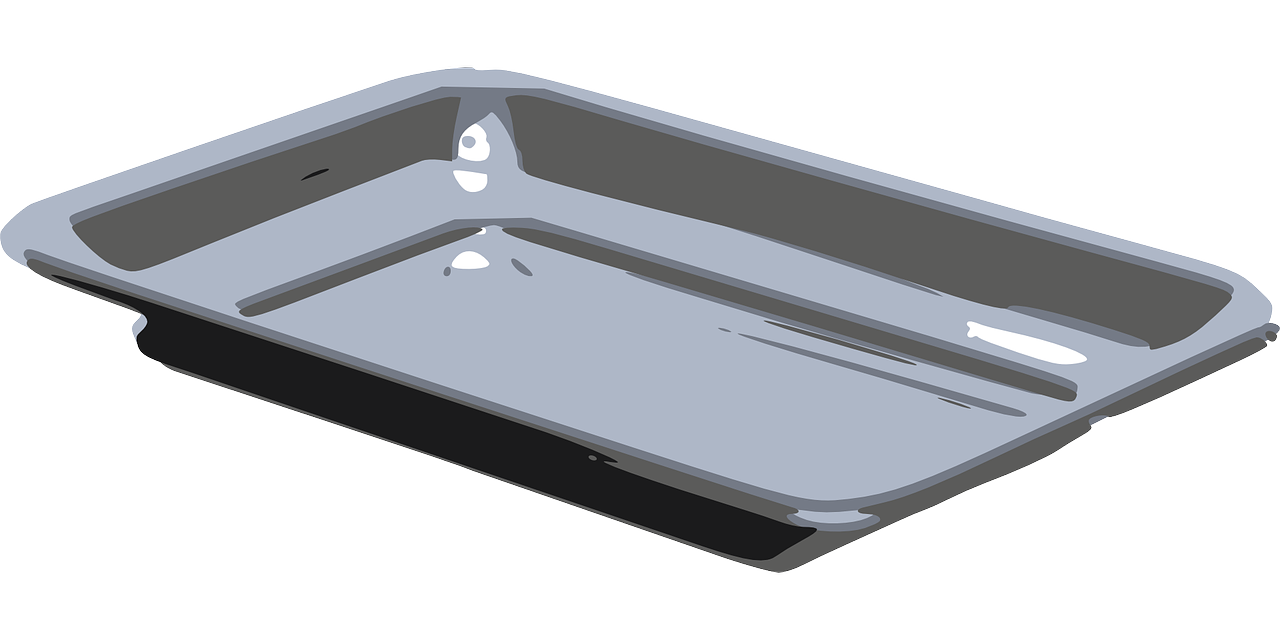
- A shallow tray
-
- Blow Dryer or Oven or iron.
1. Get your things ready
Brew your cup of coffee well in advance, but you will need room temperature or even cold coffee for this craft. While the coffee is brewing, you can search for the perfect tray that is big enough for the paper to lay in and for in to soak. Here you can use anything from a plastic tub to a baking pan. Whatever you are using should be deep enough for you to be able to submerge your piece of paper in it without having any spillover.
2. The coffee

Side note, the coffee you are brewing should be really strong, let’s say to the point that you can’t even drink it; this is because the deeper the coffee is in color, the darker the paper will be. More coffee also means more aroma that will stick to the page, and you can actually can a whiff of coffee from it. You can make the coffee overnight or an hour or two prior to starting the craft because hot coffee will disintegrate the paper. You also have to make enough coffee to live at least 2 inches from your tray or appliance.
3. Submerge your paper
This is where the fun begins; this is akin to the Titanic sinking; you need to submerge your paper slowing in your brew coffee. After fulling putting it inside the tray, use your hands or chopstick to press it down and let it soak the coffee. Here the paper should sink at the bottom of the tray, again a bit akin to the Titanic sinking, but here there will be no Jack to sink alongside it.
4. Let it soak!
Leave the paper in the liquid for at least 5 to 10 minutes; this will leave the paper with the desired effect and smell that you wish for. Remember, the longer you soak the paper, the darker it becomes. So, the amount of time you let it soak depends on the shade of paper you want.
Use both hands to remove the paper from its liquid as this will avoid any tear in the paper and get rid of the excess liquid from the paper more uniformly. Be very careful with this step as wet paper is super fragile and can break really easily. I am speaking from experience here, don’t rush this process, and it will ruin your paper and mood.
5. Dry it out!
How you dry your paper depends on you, some people use a blow dryer while others use the oven. Both methods work, but they give out different results.
1. Blow dryer– this will give your paper a smoother texture and lighter color. To do this, place your paper on a waterproof tablecloth and then blow dry it. Once the first side is visibly dry, flip it on a new tablecloth and blow-dry the other side too. You’ll need to do this a couple of times for the paper to be truly dry, and you can even use a paper towel to blot any excess coffee.
2. Oven– This is more of a hands-off kind of situation and lets the oven do all the work kind of vibes. Set your wet and stained paper on a clean baking tray and set it in the oven. Set your oven on 94°C or 200°F and leave the paper in there for 5 to 10 minutes again. The low temperature of the range will cook it at a warm place, and you’ll end up with a more textured paper, which will also be darker in color.
6. Final touch
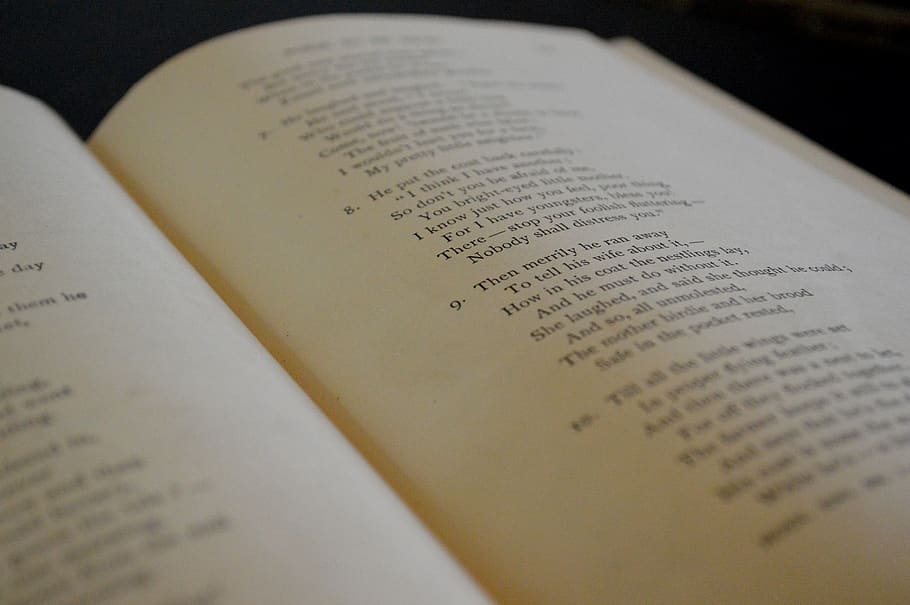
After using either the blow dryer or the oven, leave the paper in a place where no one will touch it and let it do its thing for a couple of minutes. After this, you are free to do whatever your heart desires with the paper. You can flow my steps and write poetry on it or use it to craft your own book, and it is up to you what you use it for.
Sound off in the comment sections below and if you want to create your own stained creations after reading this.