


If you love the “vintage” furniture effect that is now so popular among decoration trends, you can create one on your own. You just need to know several tricks that will allow you to age the wood immediately and also be guided by the tips that follow.
Tricks to Age Wooden Furniture
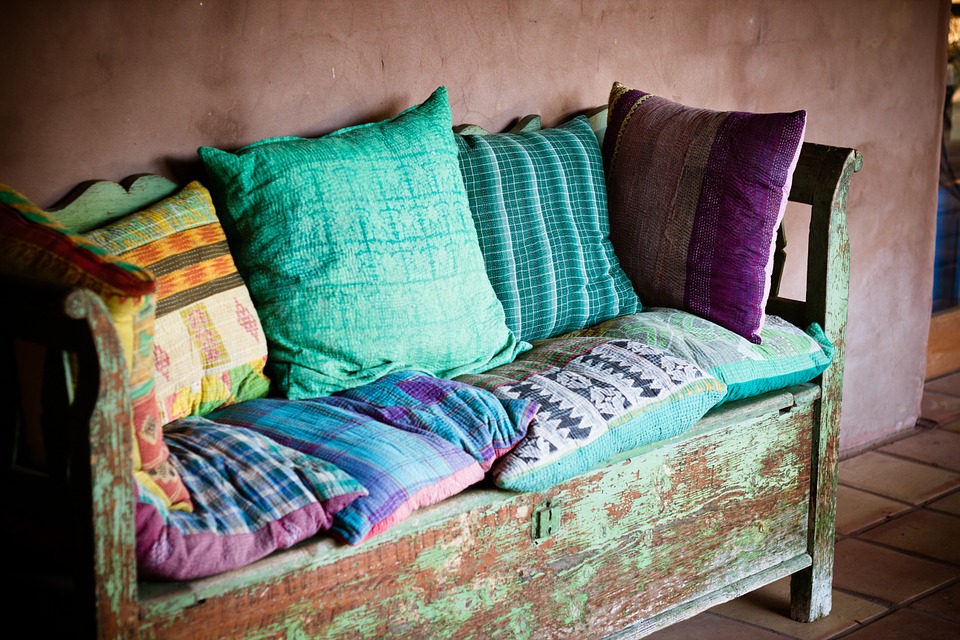
When it comes to having wooden furniture at home, and more so if it is natural wood, it is essential to always take care of them so that they do not deteriorate and, above all, repair any scratches or blemishes. In recent years, it seems that everything has been imposed on the contrary; that is, take the furniture and age it by applying various remedies or use methods such as sanding in those strategic areas where you want the furniture to look aged.

1) Aging the Wood With a Sourcing Pad and Vinegar
These ingredients are beneficial for darkening the wood. The first step is to dissolve a piece of steel wool or a scouring pad (rinse well beforehand) in a white vinegar jar.
Wait between one to five days, depending on the shade you want to get. The longer you wait, the darker the color will be. Meanwhile, sand the shelf or wooden object to be treated to remove old paint and lacquer stains.
Boil black tea and brush it over the wood to give it a wet look. Finally, apply the vinegar solution with a brush. One coat should be enough to get the desired look. After drying, remove any iron residue with a damp brush and apply wax to protect the wood.
2) Aging Wood With Baking Soda
Baking soda is also a good trick because it will help reduce the tannin dark woods like cedar, pine, redwood, or mahogany and leave a stripped, bleached appearance to the wood.
Choose untreated wood because if the furniture has been treated, it is better to sand it first. Next, prepare the solution. The amount depends on your project’s size, but the ratio to be observed is: one measure of baking soda for every measure of water poured into a container. Apply the solution with a brush and leave it in the sun for 6 hours.
3) Aging Wood With Stokes
On the other hand, aged wood is also wood with scratches and bumps. But how do you mimic the wear of time with scratches or bumps? Hit the wood with an old sock full of screws and nails. You can also use a hammer or mallet or rub the wood with coarse sandpaper.
To mimic termite holes, hammer in small nails and make sure none of the nails are the same by playing with the nail’s size or angle, for example.
Tips for Aging a Piece of Wooden Furniture
In addition to the ideas we have given you, there is nothing better than to guide you with these tips that will help you age a piece of wooden furniture.
1) Prepare Your Space
Every project must start with proper preparation. This is no different. So to get started, cover your workspace with dryer sheets or old sheets to avoid making a mess everywhere. If you’re working with wooden furniture with handles, levers, or other accessories, you’ll need to remove them to work correctly on the wood.
2) Sand and Clean the Piece
Clean the piece you want to wear. But to recycle used furniture, lightly sand (if the surface has a finish) and dust with a damp cloth to remove any sanding residue. To age/wear new wood, sand the edges/corners to make them smooth. Old reclaimed wood has no sharp edges.
3) Choose the Technique You Prefer
From the tricks we have explained, you can choose one that will effortlessly age the wood. In case you are not convinced by any of the options we offered, you can use a specific wood stain to give any piece of furniture an aged look. Generally, you need two shades. First, you must stain the wood with a sun-bleached stain and wipe off the excess. Then add a small amount of brown stain and wipe it off.

Let us know if these tips have helped you in the comments below!