


Welcome back to the ongoing series for Mother’s Day Home-made gifts!
If you liked part 1 of the series, you would love this part 2 also as we bring you more easy-to-make DIY gifts.
Below are some new Home-made Gifts Ideas:
1. Brown Sugar Scrub

The ingredients you will need are:
- 1 Cup of brown sugar
- 3 tablespoons of extra virgin olive oil or sweetened almond oil
- 1 teaspoon of Vitamin E Supplements
- Essential oil (Optional)
- 1 tablespoon of honey (Optional)
- 1 teaspoon of vanilla extract
- A mixing bowl
Instructions:
Take the oil, vitamin E and vanilla extract and combine them in a mixing bowl. The second step is to add the brown sugar and mix all the ingredients well. You can also add a few drops of the essential oil. The type of essential oil depends on your mother’s preference of flavour which can be peppermint, rose or lemon. Furthermore, if your mother has dry skin, it is recommended to add some honey to the mixture.
Once the mixing process is completed, you have your brown sugar scrub ready!
Use:
The scrub can be used before showering where you apply the scrub in circular motions over the body and rinse it off. This will make your skin become soft and smooth and can be used daily.
2. Home-Made Lotions
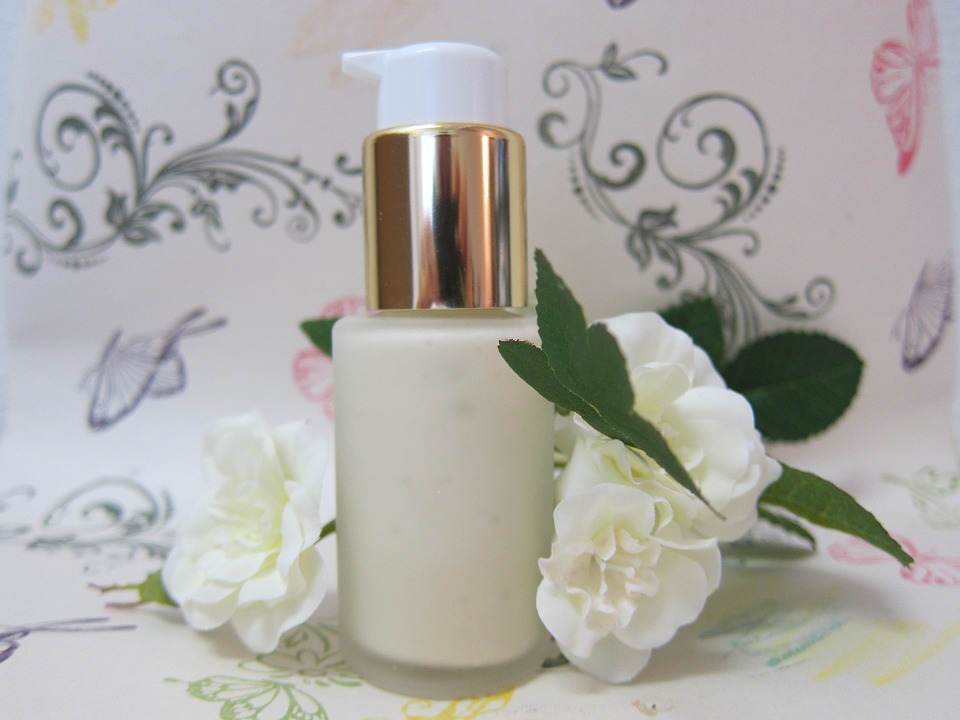
One way to pamper your mother is to create lotions with her favourite scents!
What you will need:
- 4 tablespoons of coconut oil
- 2 tablespoons of shea butter
- 2 tablespoons of cocoa butter
- 1 tablespoon of liquid oil
- Few drops of essential oil
- A jar
- A pot
Instructions
The first step includes heating the coconut oil, shea butter and cocoa butter in a pot over low heat until they all melt and mix together.
After removing the pot from the heat:
- Put a liquid oil of your choice.
- Add some few drops of your mother’s favourite essential oil such as peppermint oil, avocado oil, lemon oil and so on.
- After mixing all the ingredients properly, put the mixture you obtained in a jar and after placing a lid on it, let it cool.
You can also customise and personalise the container of lotion by sticking a colourful tag which contains the scent of the cream and a little message to your mother. Ribbons can also be added around the neck of the jar.
3. Your Own Designed Bookmark
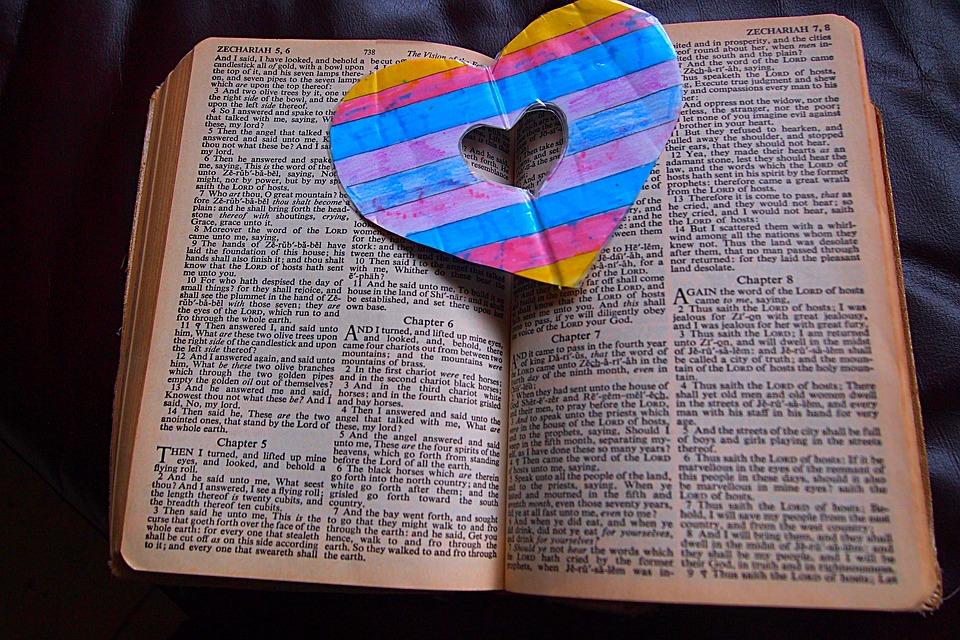
If your mother is a book-lover, she will love this gift!
The first stage in the bookmark making process involves choosing the type of material with which you want to make your bookmark. For example, you can choose a simple print paper or a card stock. Usually, card stock is recommended as it is a more substantial base for a bookmark compared to a simple piece of paper. Some people tend to use the card stock from a cereal box or an old show box. Now, the colour of the material is also up to you. Suppose the favourite colour of your mother is red, you will choose a red card stock.
Then, decide on the types of decorations of your bookmark. This stage involves lots of fun as you try to be creative and think of unique ideas. Some decorative items that can be used are buttons, ribbons, glitters, small ready-made jewellery. Some even add personal photos of family vacations or a close up picture of their mother.
Once you have made your decisions and planning, you can get to work!
After taking the appropriate measurements, with a pair of scissors, cut your paper or card stock. Place your decorations on the area where you want them to be and make a tracing to try different design layouts. Once you have decided on the arrangement, you can stick the decorations on the card stock with a strong glue and let it dry. Writing a personal and touching message on the bookmark with a calligraphy message is also recommended.
And there you have your bookmark ready!
4. Personalised Cup
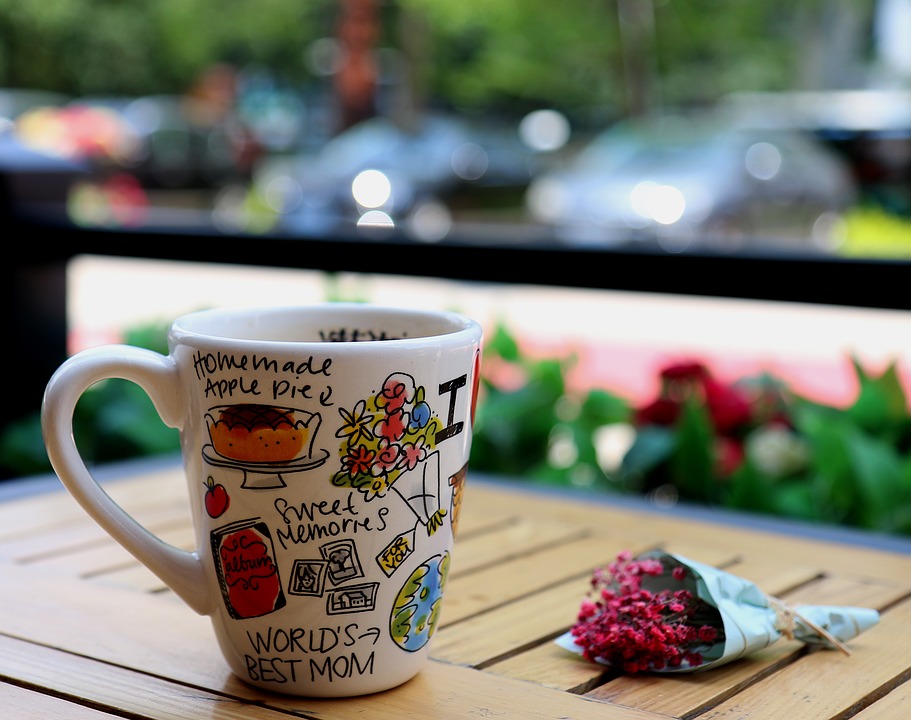
Giving your mother a personalised cup so as she can be reminded of your gift every time she drinks from it is a great idea!
Materials:
- A Cup
- Tracing paper
- Letter stencils
- Paint pen
- Acrylic paint
- Wax pencil
Instructions
You start with buying a cup or you can choose one without a design from your home itself and before you start your project, wash the cup.
The following step consists of creating and planning the cup’s design. You can either create a design from your own imagination or choose a design online. Once you have decided over the design layout, make a tracing of it.
Before imprinting your design, you should add a coat of acrylic paint of your choice on the cup. Once the background of the cup is completely dry, transfer your design from the tracing paper to the cup with the help of a wax pencil. With unique letter stencils and paint pen, you can insert a special message devoted to your mother.
How do you like the above home-made gift ideas? Please share your opinions!