


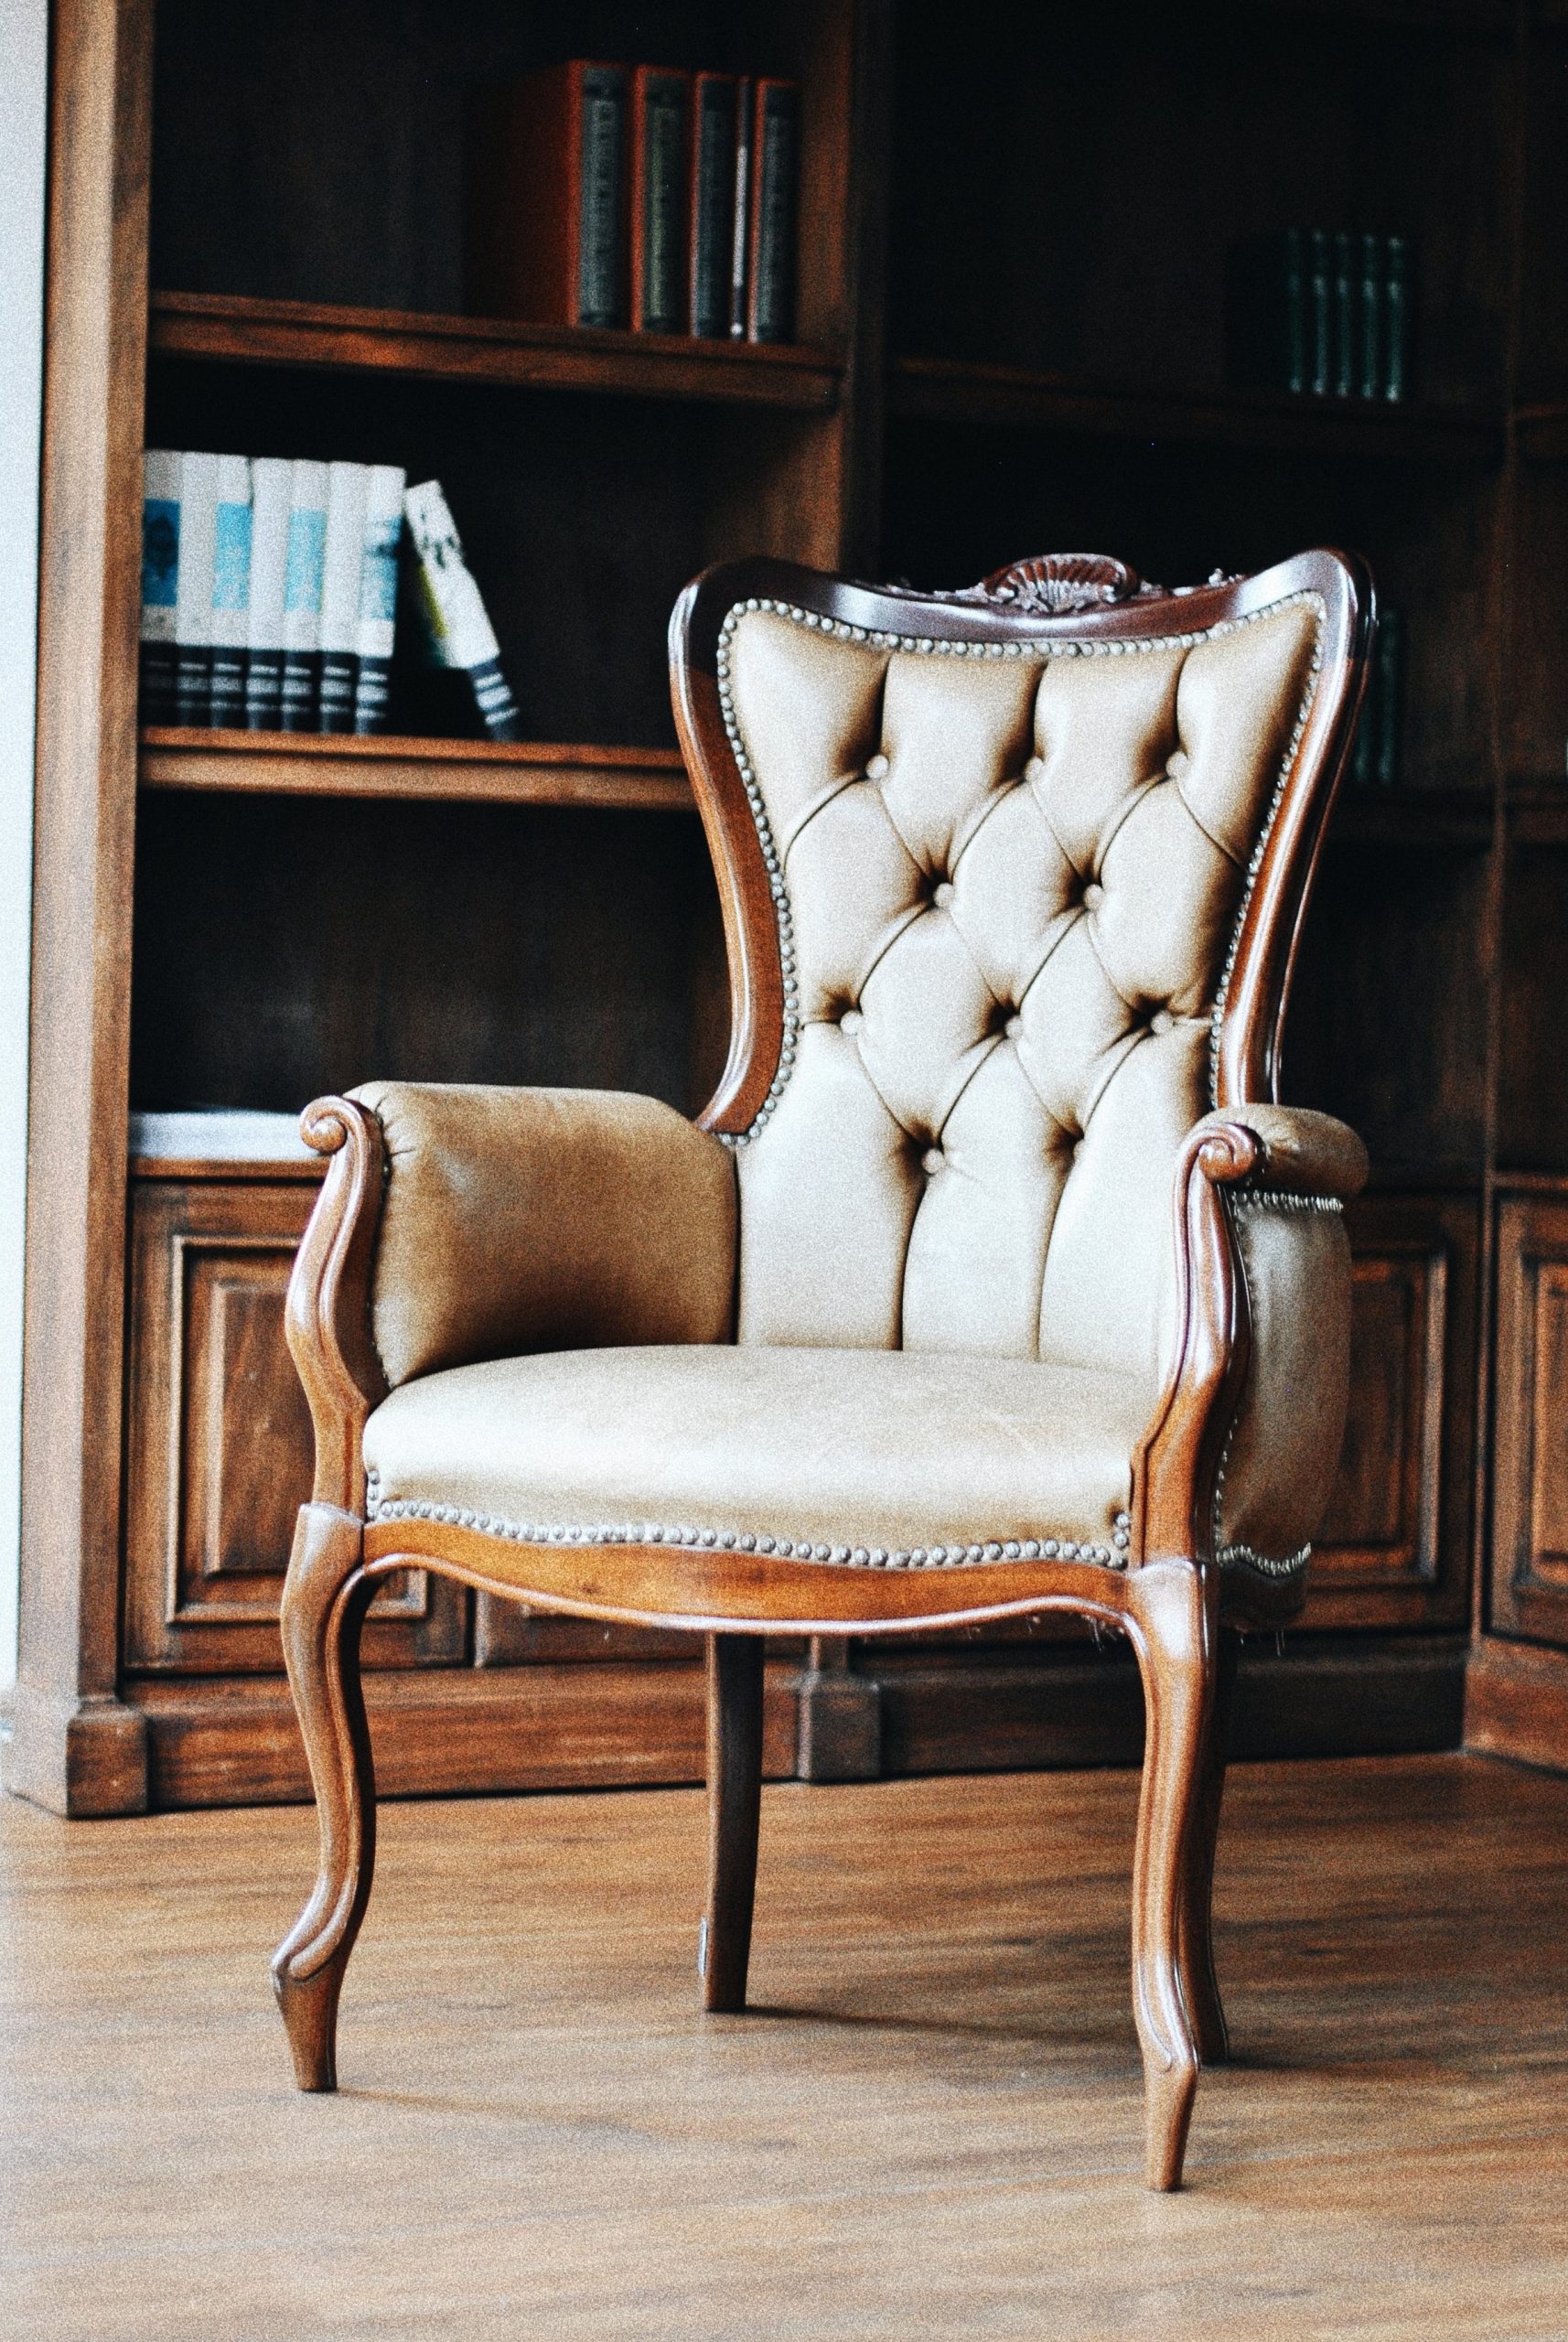
Do you want to renovate your woodwork like dresser, chairs, frames, gates…? Thanks to stripping and some repairs, your furniture will regain its shine. But you don’t know what to do to succeed? To learn more, read the following article.
Consider the right equipment

Before you choose the products and equipment you need and start working, you should have the following equipment:
- Gloves for better protection of your hands during the application of the products
- A mask to avoid inhalation of sanding products or paints
- Goggles to protect you during the stripping process
- A sponge
- Brushes of different categories
- Rollers for painting
- A disk coated with coarse sandpaper for sanding
- Wood paste and special wood glue
- An eccentric sander to facilitate the task
- A metal wool pad
- A stripping brush
- A wood stripper
- A universal stripper
The different steps
Step 1. Preparation of the wood support

This step consists in removing the rest of the paint or wax on the visible parts by stripping the furniture in question. Therefore, to obtain a smooth surface suitable for a new color, it must be sanded with an eccentric sander.
In addition, to know if the furniture is waxed or varnished spread a little water on a part. If it is waxed, the drop of water will leave a stain. So, to thoroughly clean and restore the original color of a dressing room or a table, among many others, apply a soft product and rub it along the direction of the fibers with a metal wool pad and let it dry.
Step 2. Filling and repairing the furniture
After cleaning, small holes and cracks are revealed. So, you have to mask them with a retouching pen. It is up to you to choose the right stain for the wood. Then let’s move on to the filling. To do this, use tinted or colorless wood paste or wood fillers for major fillings. Apply a piece of wood filler directly to the crack or hole with a spatula, let it dry, and sand with fine sandpaper.
Before proceeding to the finishing phase, fill the fragile areas with a hardener and let it dry for 4 hours. After this time, carefully sand the served areas with sandpaper in the direction of the fibers. Do not forget to remove the dust with a cloth soaked in methylated spirits.
Step 3. Application of paint and total finish

To have a piece of furniture and woodwork adapted to your style and decoration, opt for a stain with a crackled or leather effect, which is the trend. To do this, first, apply an undercoat of paint before applying the two final coats. Use a filler to protect the wood from stains and fix the color. This should be done before applying the final wax or varnish.
Finally, a small detail to help you choose: the varnish intensifies the color of the wood and brings the shine. The wax is excellent for the treatment of woodwork. To do this, pass the brush several times and then smooth it carefully. If necessary, ask for the services of a woodwork restoration specialist.
How to stain wooden furniture?
Speaking of professionals in the field, it is normal that we indulge in a puzzle to know who we are talking about. Stain painting is a work that is obviously the expertise of painters. Indeed, for more than satisfactory results, professionals in the field are of great help.
Woodworkers are the most sought-after for this mission. We are simply talking about the woodworking professionals. These experts know how to make the right choice of stain and also master the behavior of each type of wood. Nevertheless, thanks to our tips, it is possible to stain your wooden furniture yourself. These tips allow anyone to stain their furniture like a pro.
Sound off in the comments section below and tell us what you want to read next and if you want to read more about wooden furniture.