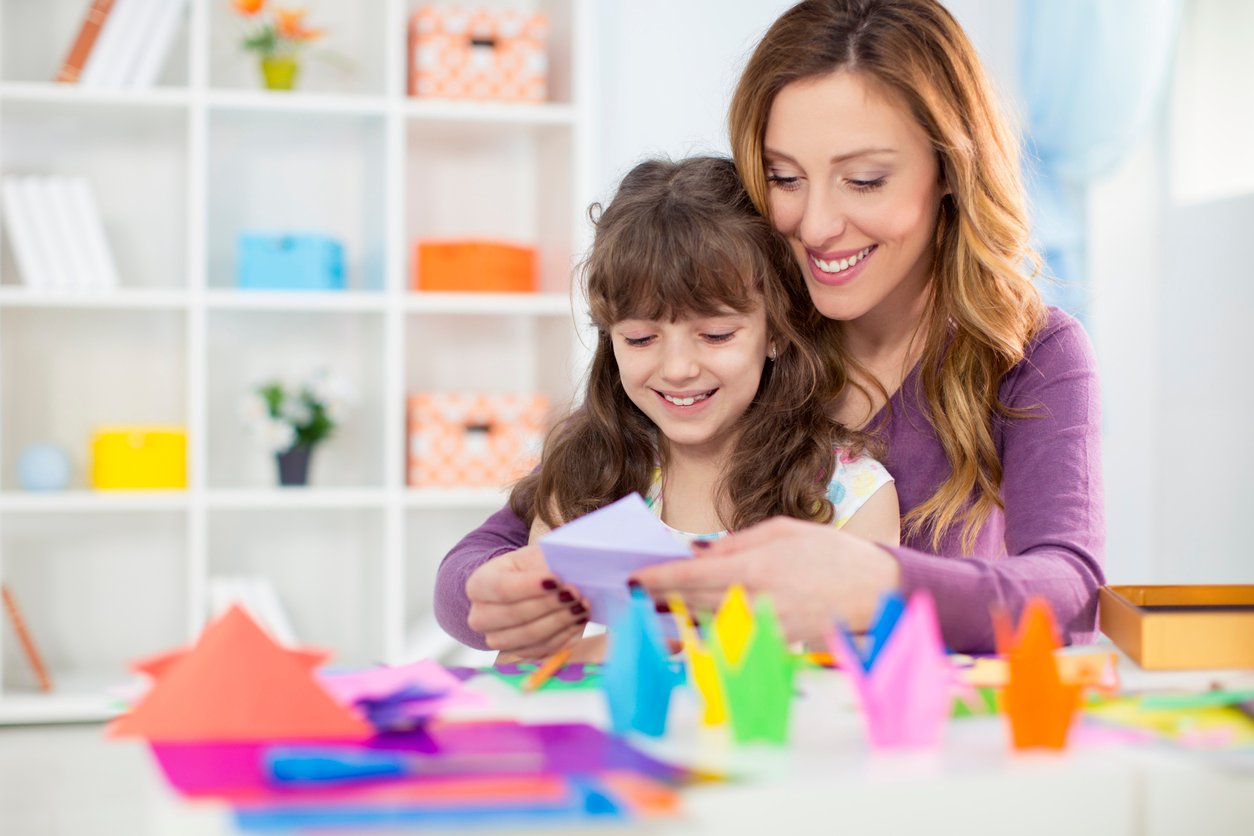
Originating from Japan, origami is the art of paper folding. This art is also considered as a fun activity for kids. So, if you have a kid’s party or just want your kids to have some fun, here are some interesting and easy origami projects that you can help your kids to create.
#1. Modular Origami Cube

You will need at least six sheets of square paper and I suggest using two or more different colored sheets.
Beginning Folds
Start with the paperwhite side up if it has one.
1.First, start by folding your paper in half from left to right and unfold. Now, you will obtain a central crease.
2.Then, fold the left and right edges to the central crease and unfold.
3.Fold the top left corner and bottom right corner inwards, lining them up with the two previous creases.
4.Fold the left and right edges back to the central crease.
Make Diagonal Folds, Rotate, and Repeat
1. You need to fold the lower-left section diagonally up to the right along the diagonal flap that is in the right section.
2. Then, tuck the flap you just created underneath the right section.
3. Once you have rotated the paper, fold the lower-left corner up in the same way as before.
Connect Your Sonobe Units
1. Insert the flap underneath the lower right section.
2. Flip the model over to the other side, left to right.
3. Fold the lower-left corner up to the lower point of the right edge.
4. Fold the topmost point down and to the left.
5. You will then obtain six of these “Sonobe” units.
6. Now, you can start by taking one unit with its flap on the top and bottom. Then take two more, place them on the left and right of the first one. The two on either side have their flaps out to the right and left.
Finishing Up
1. Now get two more Sonobe units, place them above and below the central unit.
2. Insert the top flap from the central unit into the right pocket of the one above.
3. Insert the bottom flap from the central unit into the left pocket of the one below.
4. And, now it is time to pick up the units, but I advise you to be very careful or else they can all come apart. Shape the units into a box, inserting the flaps as shown.
5. Now that you have a box, you can get the last unit and finish the origami cube.
#2. Origami Boat

Step 1 – Make the first folds: Starting with a rectangular paper, orient it vertically, with the long edges going up and down. After folding the bottom half up to the top, fold the bottom right corner over to the left corner and make a small pinch (just enough so as to crease the paper). Then, open it back up.
Step 2 – Create a Triangle Shape: You can use the crease as a guide to fold the left and right bottom corners up and to the middle. After flattening the folded pieces down, rotate the paper. Fold one layer from the bottom up along the bottom of the front flaps.
Step 3 – A Boat Begins to Take Shape: Once you have flipped the paper over to the other side, fold the bottom edge up in the same way. Unfold and then fold the bottom right corner in along the crease you made. Repeat the same process on the bottom left flap.
Step 4 – Form the Bottom of the Boat: Re-fold the bottom edge back up and open the bottom of the model. Take a look at the corners, and then flatten and insert the overlapping flap on the left underneath the right section.
Step 5 – Continue Folding: Fold one layer up to the top. Repeat the same thing on the back and then open the bottom of the model.
Step 6 – Finalize the Folds: Pull apart the left and right flaps. Flatten it out, in the shape of a boat. Open it slightly. The triangle in the middle looks like a sail.
Did you carry this activity out with your kid? Well, you can share your great experience with us in the comment section below.


