


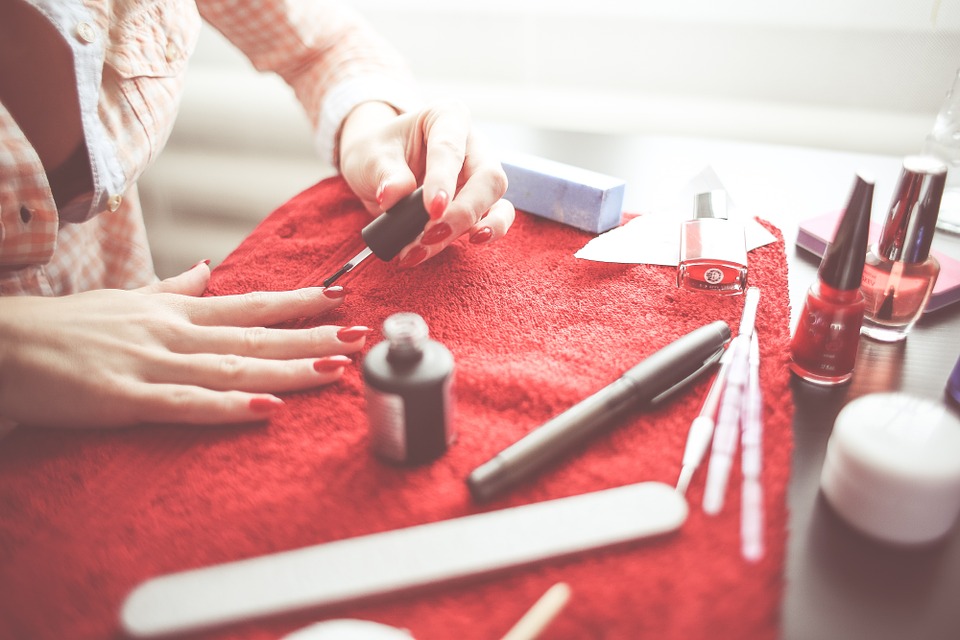
Are you a huge fan of nail polish? And, like me, do you also have dozens of eyeshadow palettes with shades that you have never used (and probably won’t even use in the near future)? If yes, then why don’t you try this simple DIY nail polish tutorial!
Materials you will need:

- Eyeshadow
- Clear Nail Polish (base coat or top coat)
- Cuticle Pusher
- Paper funnel (optional)
Instructions on How To Make Your Own Nail Polish:

Step 1 – Pour out some of the clear polish: You will need some extra room in the bottle to add the eyeshadow. Hence, if you are using a brand new bottle of clear nail polish, you will need to empty out at least 1/6 of the polish. However, if it was used a few times and there is some room at the top, there is no need for you to follow this step.
Step 2 – Crush up some eyeshadow: Now, it is time to pick an eyeshadow that you don’t plan to use ever again. It is up to you to choose from any color eyeshadow that you want to use to make your nail polish. Let me tell you that you can even combine a few eyeshadow colors together to create your own custom shade (but if like me, you can’t trust yourself to make the right choices with colors, then I suggest you don’t try it or else it might result in a mess of colors).
Once you have identified the eyeshadow shade you want to use, I suggest you use a cuticle pusher to gently crush the eyeshadow powder. There is no need to apply excessive force as they will come apart pretty easily. So, remember you need to crush the eyeshadow until it forms a fine powder, eliminating all large lumps.
Step 3 – Pour the crushed eyeshadow powder into your clear nail polish: once you have crushed and turned your eyeshadow to a fine powder, it is time to pour the powder into the nail polish. So, to carry out this step, you can either use the same cuticle pusher that you used before or you can also make a mini paper funnel.
For all those who are worried about making a mess, here’s how to make the paper funnel.
- First, you need to fold a rectangle and printer size paper in half and then in half again, so you have creases in the middle both vertically and horizontally.
- Keep the paper folded like this and cut off the edges by going in a curve from corner to corner.
- Next, you open up the oval you just made and cut out 1/4 of it, following the creased lines.
- Try to overlap the two straight edges you just made and pull the outside edge toward you until you get the cone shape that you want.
- Now on the outside of the cone, put a tape to secure it properly and then clip off the tip.
And, there you have your paper funnel ready.
When it comes to the amount of nail shadow to add to the polish, once again, its’ up to you if you want a light or rich and dark color.
Step 4 – Shake the bottle to mix: Once you are adding the powder to your clean nail polish, you will notice how it will start to settle at the bottom of the jar. And, once you have added the desired amount of eyeshadow powder, put the cap on tightly and shake it up properly. In just a few minutes, your formula would be ready and you will have your own DIY nail polish ready for use.
Will you create your own nail polish? Please share your comments!