Getting your walls ready for painting or finishing requires careful preparation. Mudding and taping are essential steps in creating a smooth and polished surface. This article will guide you through these important processes, ensuring your walls look flawless.
Mudding and taping: that you need to know
Mudding refers to the application of joint compound to fill gaps and create a smooth surface, while taping involves using a special tape to cover the seams between drywall sheets. Getting these steps right is essential for a professional finish.
What you need for mudding and taping
Before starting, gather the necessary tools and materials. Here’s a quick list:
- Joint compound
- Drywall tape
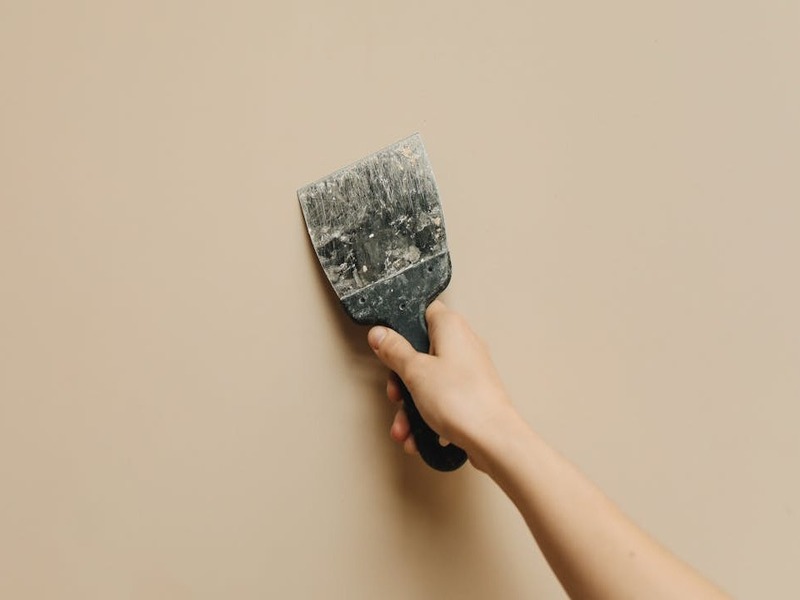
- Wide putty knives
- Drywall sander or sanding sponge
- Bucket for mixing
- Hawk for easy application
- Measuring tape
- Corner trowel for edges
The mudding process
Begin by ensuring your drywall is clean and free of dust. This helps the joint compound adhere better. Apply the joint compound using a wide putty knife. Start from the top and work your way down, applying a thin layer over all seams and screw holes.
Once applied, allow it to dry completely. This can take several hours or even overnight. After drying, use a drywall sander to smooth the surface. If needed, apply a second coat of mud and sand again for a flawless finish.
Taping for seamless joints
Taping ensures that the joint lines are not visible. There are two main types of tape: paper tape and fiberglass mesh tape. Paper tape is ideal for flat surfaces, while fiberglass mesh tape is better for corners and irregular shapes.
To apply tape, press it into the wet joint compound, ensuring it is firmly embedded. Then use a putty knife to smooth it out, removing any air bubbles. Allow it to dry before applying another layer of joint compound over the tape.

Essential tips for mudding and taping
Follow these essential tips for the best results while mudding and taping:
- Always wear a mask to avoid inhaling dust particles.
- Keep your workspace organized to make the job easier.
- Choose a well-ventilated area for drying time.
- Use a light to check for imperfections after sanding.
Timeline for mudding and taping
Here’s a simple timeline to guide you through the process:
| Step | Time Needed | Notes |
|---|---|---|
| Clean walls | 30 minutes | Ensure dust-free surface. |
| Apply first coat of mud | 1 hour | Thin application is best. |
| Drying time | 4-6 hours | Longer in humid environments. |
| Sanding | 1 hour | Be gentle to avoid damaging surfaces. |
| Applying tape | 1 hour | Check for air bubbles. |
| Apply second coat of mud | 1 hour | Cover tape fully. |
| Final drying time | 4-6 hours | Same as first coat. |
| Final sand | 30 minutes | Ensure smooth finish. |
Avoiding common mistakes
To achieve the perfect look, avoid these common pitfalls:
- Not using enough joint compound, which can lead to visible seams.
- Applying thick layers of compound; always aim for thin coats.
- Skipping the sanding step, as it is crucial for a smooth finish.
Investing in the right tools can also make a huge difference in your project:
- A quality drywall knife provides better control and smoother application.
- A drywall sander speeds up the smoothing process significantly.
- Consider an automatic taper for larger projects, saving time and ensuring consistency.
By following these steps and tips, you will prepare your walls for an impeccable look. Remember, mudding and taping are foundational skills in home renovation. The time you invest in getting it right will pay off in the final appearance of your walls.
If you’re looking for the perfect look and want to avoid the common pitfalls of DIY projects, consider enlisting a professional for your mudding and taping needs. Trust the experts to deliver exceptional results that will make your walls shine.
![]() https://www.youtube.com/watch?v=3T7vu20Ac5Q
https://www.youtube.com/watch?v=3T7vu20Ac5Q


