


If you’re planning a home improvement project, caulking is a skill you’ll want to learn. Caulk is a flexible substance that can be used for a number of reasons, from sealing gaps and cracks to giving your home improvement projects a complete touch. In this comprehensive tutorial, we’ll go over everything you need to know about caulk and provide some helpful hints for a good caulking job.
Caulk Fundamentals

Caulk is a flexible substance that comes in several varieties, including silicone, acrylic, and latex. Each variety has its unique set of benefits and applications, so selecting the correct caulk for your job is critical. For example, silicone caulk is ideal for regions exposed to water or harsh temperatures, whereas acrylic caulk is better suited for interior work.
Getting the Surface Ready
Proper surface preparation is essential before beginning to caulk. Thoroughly clean the area, removing any dirt, debris, or old caulk. Remove the old caulk using a scraper or putty knife, leaving a clean and smooth surface for the new caulk to stick to.
Selecting the Best Caulking Gun
A high-quality caulking gun may make or break obtaining a smooth and controlled application. To prevent the caulk from seeping out with each press, use a caulking gun with a smooth trigger action and a release lever. Before beginning your project, practice using the gun to become acquainted with the application procedure.
Caulk Tube Tip Cutting
Aim for a tiny aperture that matches the width of the gap you’re filling when cutting the tip of the caulk tube. To ensure a smooth and equal application, cut at a 45-degree angle. Begin with a smaller aperture since you can always make it larger if necessary.
Caulk Application
To distribute the caulk, hold the caulking gun at a 45-degree angle and apply consistent pressure. Begin at one end of the gap or joint and work your way along, keeping a constant bead of caulk. Use a continuous motion and avoid stopping and beginning to avoid uneven application.
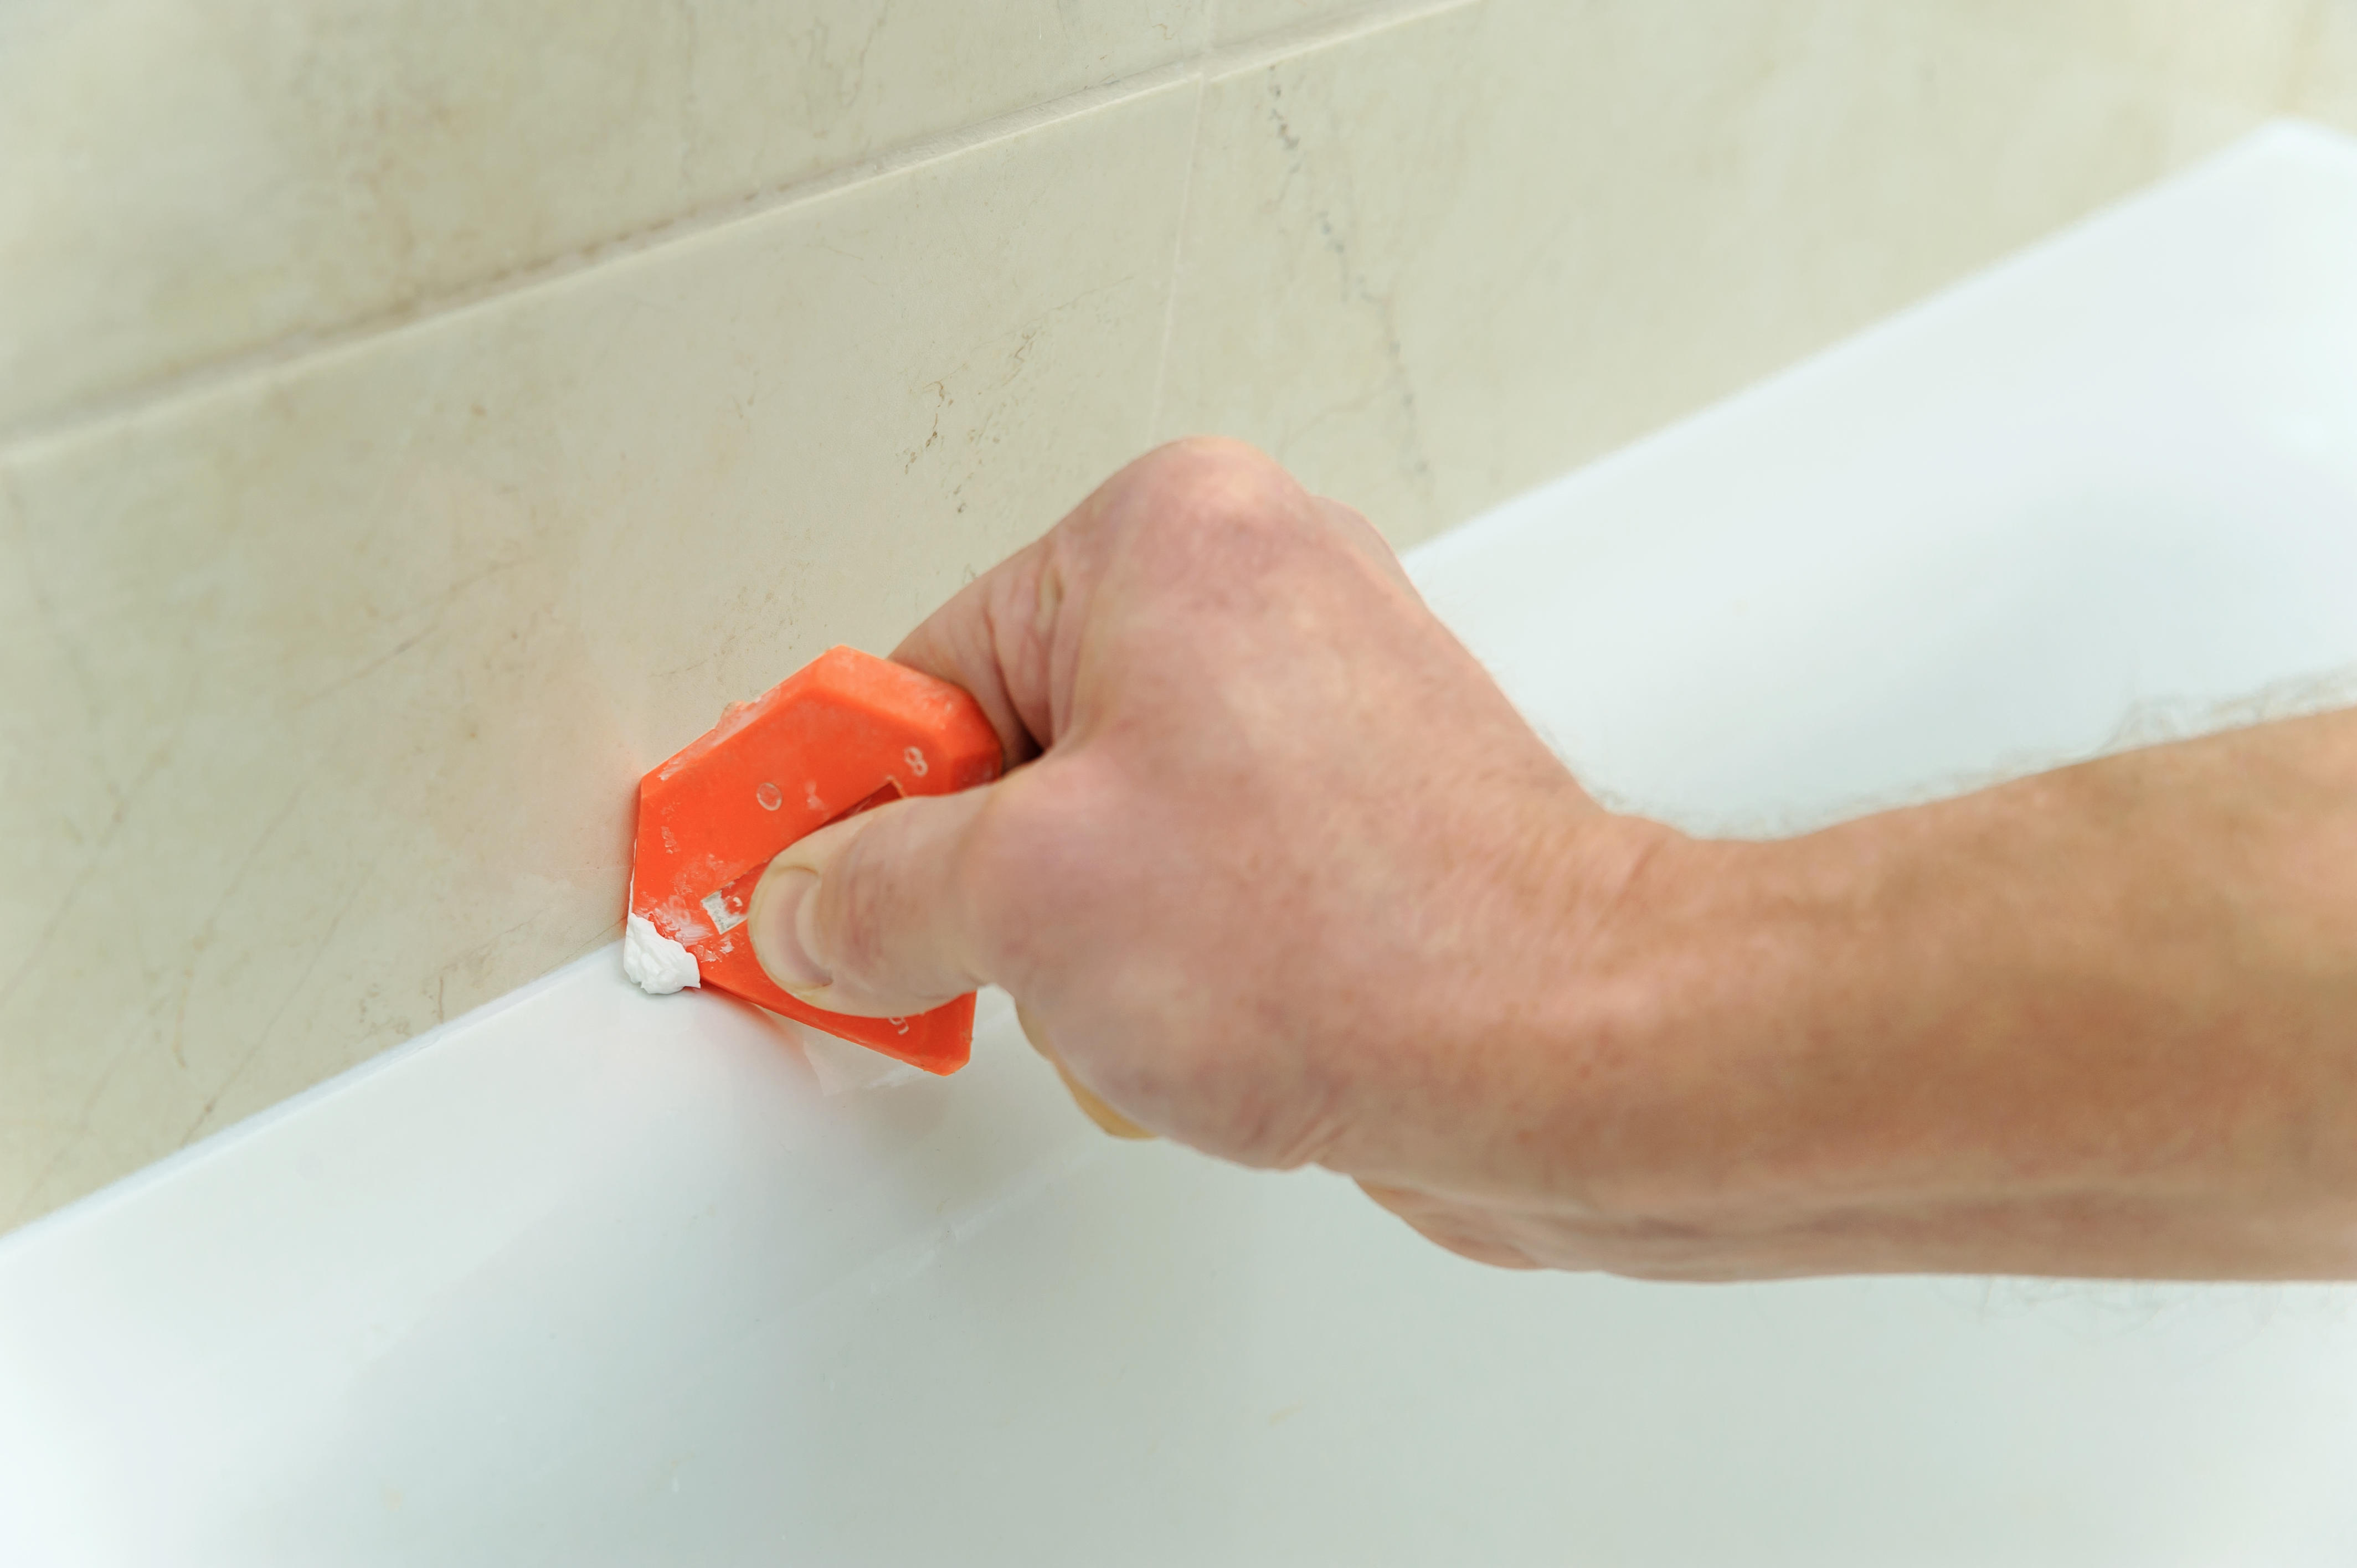
Smoothing and Finishing
After applying the caulk, smooth and shape the bead using a caulk finishing tool or a wet finger. This will assist in achieving a professional-looking finish and guaranteeing optimal caulk adhesion. For a clean finish, remove any excess caulk with a moist cloth or sponge.
Allowing for Drying Time
Allow enough time for the caulk to dry and cure before exposing it to water or other factors. The suggested drying time will vary based on the type of caulk used, so consult the manufacturer’s instructions. Touching or disturbing the caulk should be avoided until it has fully cured.
Cleaning Up

Once you’ve finished caulking, promptly clean up any equipment and materials. Excess caulk should be removed from surfaces using a moist cloth or sponge, as dry caulk can be difficult to remove. Empty caulk tubes should be disposed of appropriately in accordance with local waste disposal regulations.
You’ll be well-equipped to tackle your next DIY job with confidence if you follow these caulking guidelines. Caulking is an essential skill that will improve the aesthetic and operation of your house, whether it’s sealing gaps around windows, doors, or baseboards or adding a finishing touch to your bathroom or kitchen. So, grab your caulking gun and get ready for your next DIY project!
Remember that practice makes perfect, so don’t be disheartened if your first effort at caulking isn’t ideal. With practice and time, you’ll become more competent at producing professional-looking outcomes. So roll up your sleeves, embrace the art of caulking, and let your imagination run wild as you remodel your living areas one caulk bead at a time.