

“Create Your Own Pallet Shelf: DIY Guide”
Unleash Your Creativity with Pallets
Do you love the idea of adding a unique and rustic touch to your home decor? If so, a DIY pallet shelf is the perfect project for you. Pallets, often discarded and overlooked, can be transformed into stylish and functional shelves with just a bit of creativity and effort. In this step-by-step guide, we’ll show you how to make a pallet shelf from scratch, allowing you to customize your space and proudly display your favorite items.
Materials and Tools You’ll Need
Before you embark on your pallet shelf journey, gather the following materials and tools:
Materials:
- Wooden Pallet
- Sandpaper (Various Grits)
- Wood Stain or Paint
- Polyurethane (Optional for Sealing)
- Wall Anchors and Screws
Tools:
- Saw (Circular Saw or Jigsaw)
- Hammer
- Nails
- Paintbrushes
- Measuring Tape
- Level
- Safety Gear (Goggles, Gloves, and Dust Mask)
Step 1: Selecting and Preparing Your Pallet
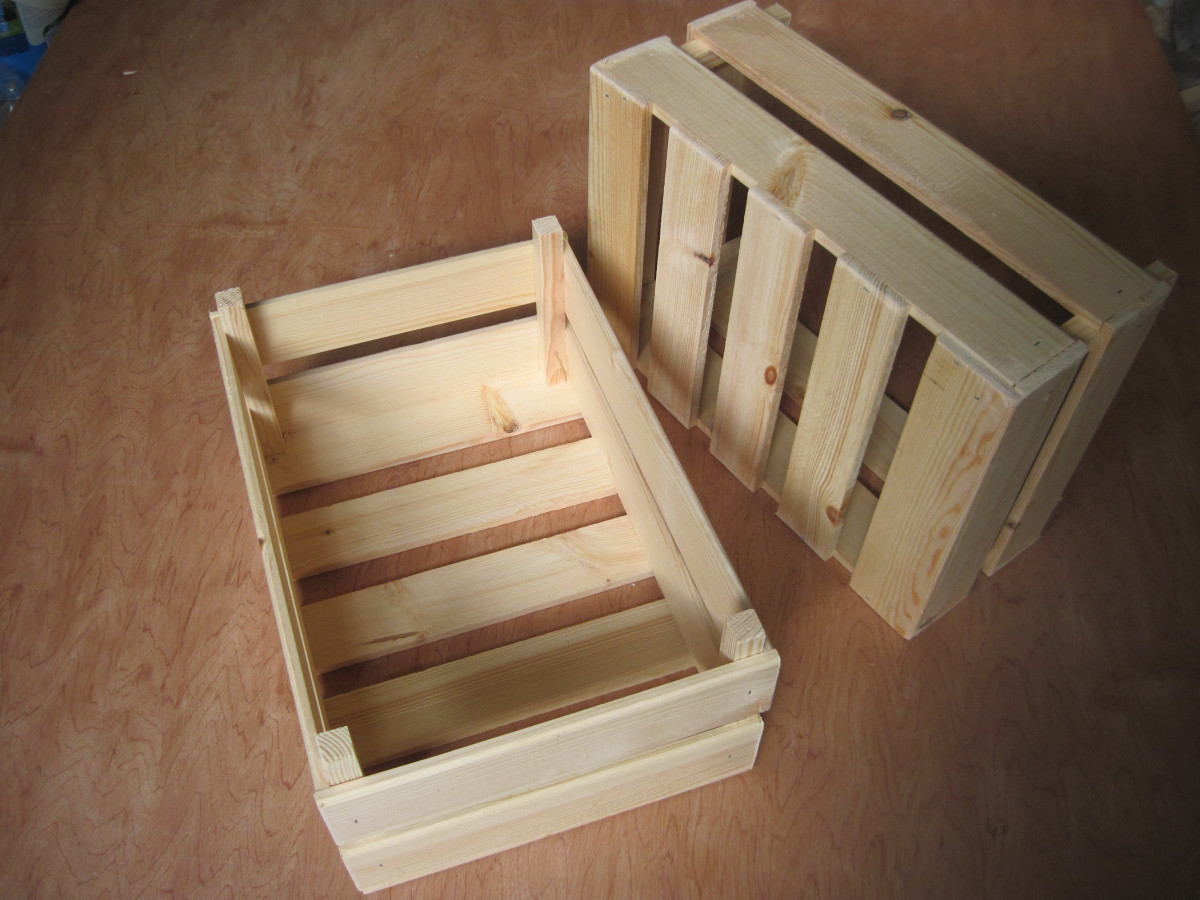
Choosing the Right Pallet
Not all pallets are created equal. Look for pallets that are in good condition, without rot or damage. You can often find them at local businesses or online marketplaces.
Preparing the Pallet
- Begin by disassembling the pallet using a saw. Carefully remove the top and bottom deck boards, leaving you with individual planks.
- Sand the planks using various grits of sandpaper to smooth out rough edges and surfaces. This step is crucial for achieving a polished look.
Step 2: Staining or Painting Your Planks
Adding Color and Character
Now, it’s time to customize the appearance of your pallet shelf:
- Apply a wood stain or paint of your choice to the planks. This is where you can get creative with colors and finishes. Allow each coat to dry thoroughly before applying the next.
- For a rustic look, consider a weathered or distressed finish by lightly sanding the edges and surfaces after staining or painting.
- To protect your pallet shelf and enhance its durability, consider applying a coat of polyurethane as a sealer.
Step 3: Assembling Your Pallet Shelf
Bringing It All Together
- Measure and mark the desired height for your shelf on the wall where you plan to install it. Use a level to ensure your marks are straight.
- Attach the pallet planks to the wall using wall anchors and screws. Make sure to secure them firmly to support the weight of your items.
- For added stability, you can attach additional pallet planks vertically to the underside of your shelf.
Step 4: Styling Your Pallet Shelf
Showcasing Your Creativity
Now that your pallet shelf is securely in place, it’s time to decorate and style it to suit your taste:
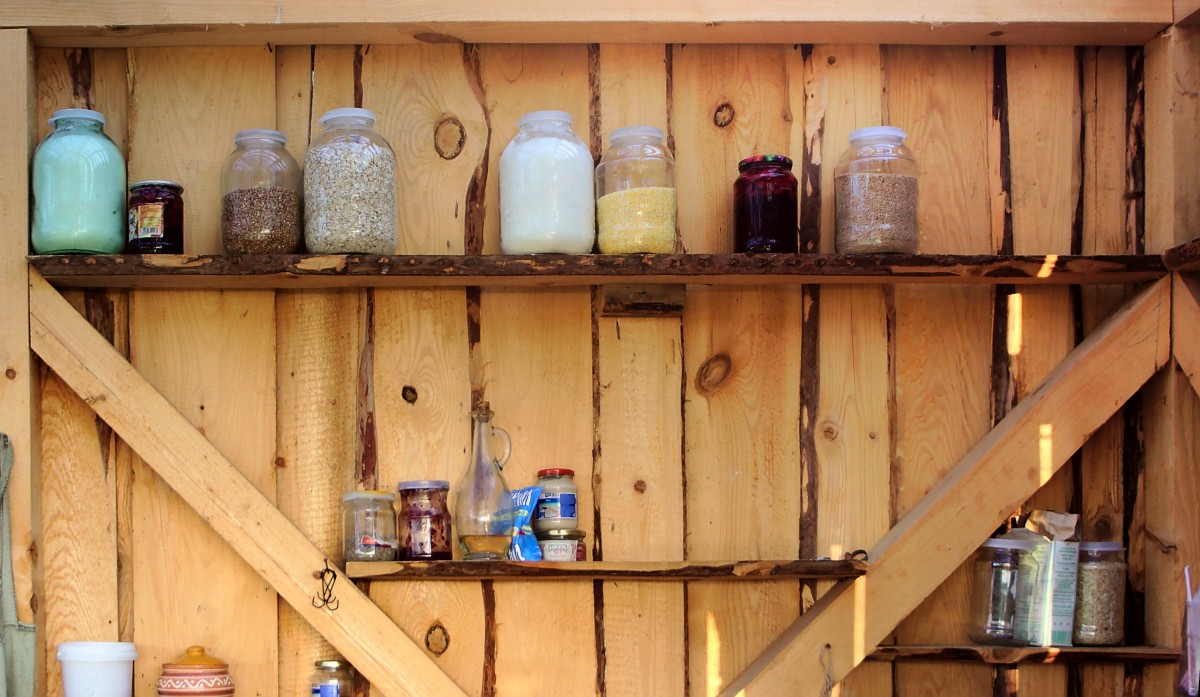
- Arrange your favorite books, plants, decorative items, or kitchen essentials on the shelf. The open design of pallet shelves allows for versatile styling.
- Consider adding small hooks or brackets to hang items like mugs, utensils, or keys for added functionality.
Step 5: Maintenance and Enjoyment
Caring for Your Pallet Shelf
To ensure your pallet shelf remains a long-lasting and attractive addition to your home:
- Periodically inspect the shelf for any loose screws or instability. Tighten screws as needed to maintain its sturdiness.
- Wipe the shelf clean with a damp cloth to remove dust and maintain its appearance.
Your Unique Pallet Shelf Creation
Congratulations! You’ve successfully crafted your own pallet shelf, adding a touch of rustic charm to your home decor. DIY projects like this not only allow you to personalize your living space but also offer a sense of accomplishment and creativity. Now, whenever you admire your pallet shelf, you’ll know it’s not just a piece of furniture—it’s a reflection of your ingenuity and style.